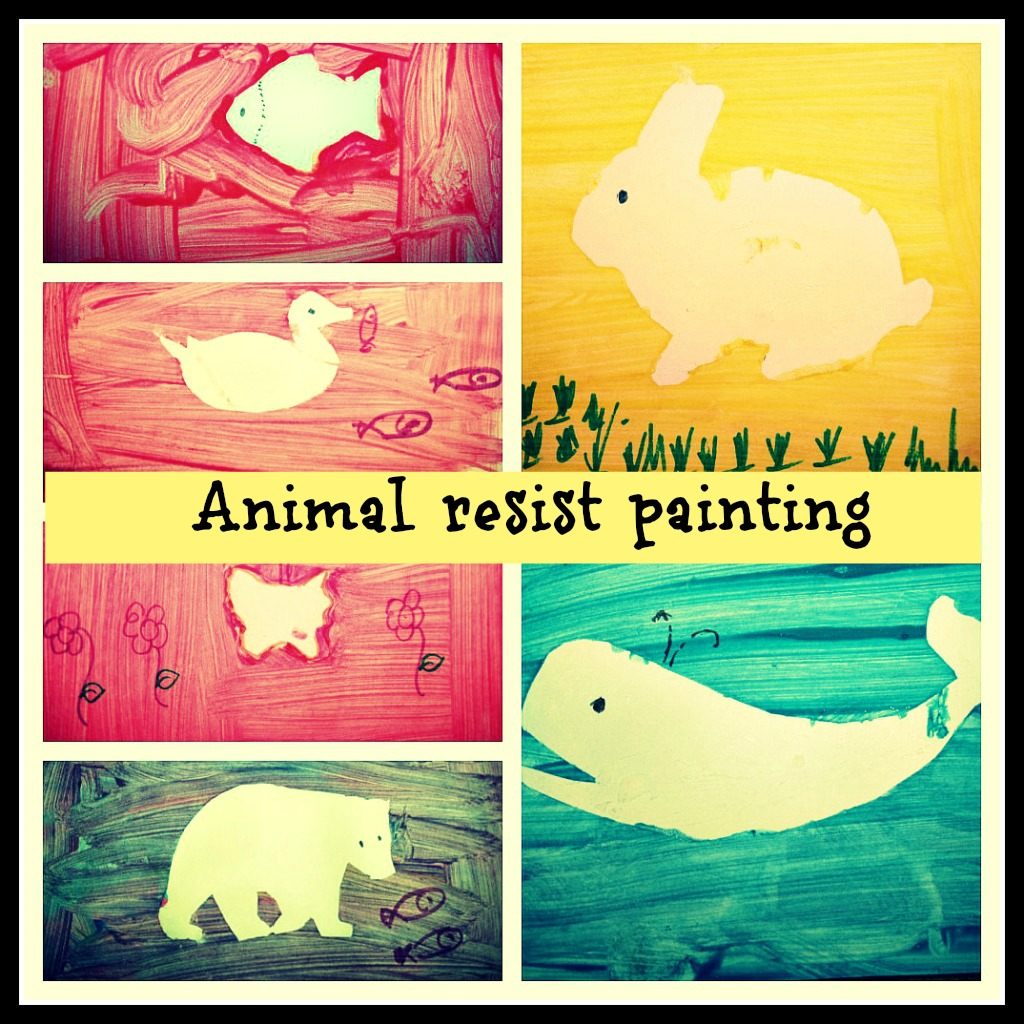
Today I wanted Baby A to be the lead mess maker of this animal resist painting project. While Big A was away, mom and baby buckled down with something we both love – PAINT.
I’m introducing brushes to Baby A.I cut 4 cardstock paper into halves and made 8 individual pieces to work on.
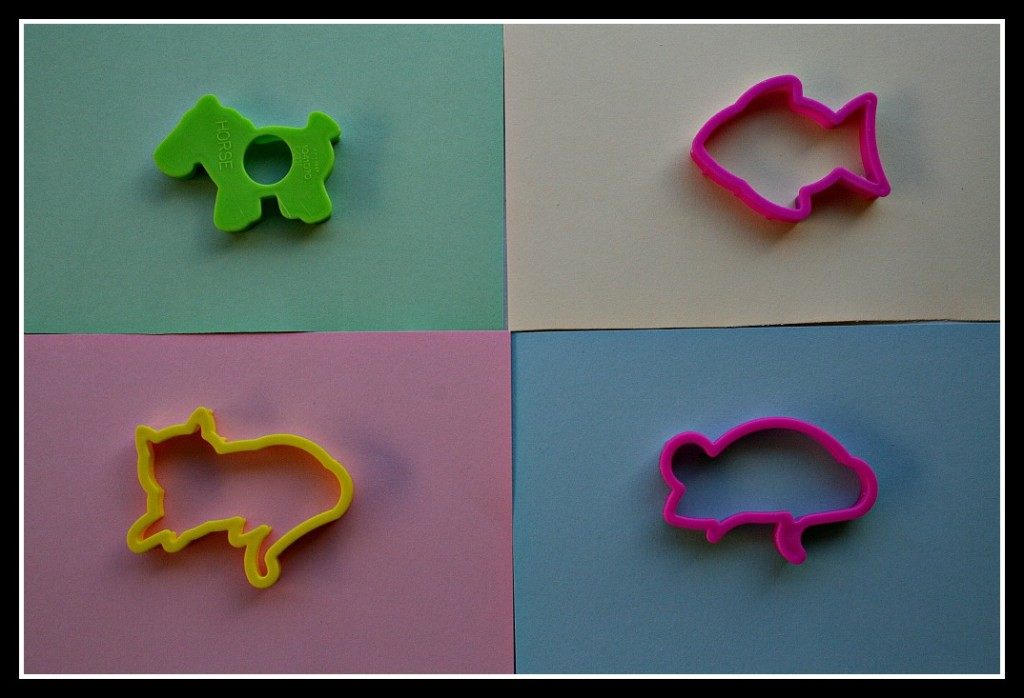
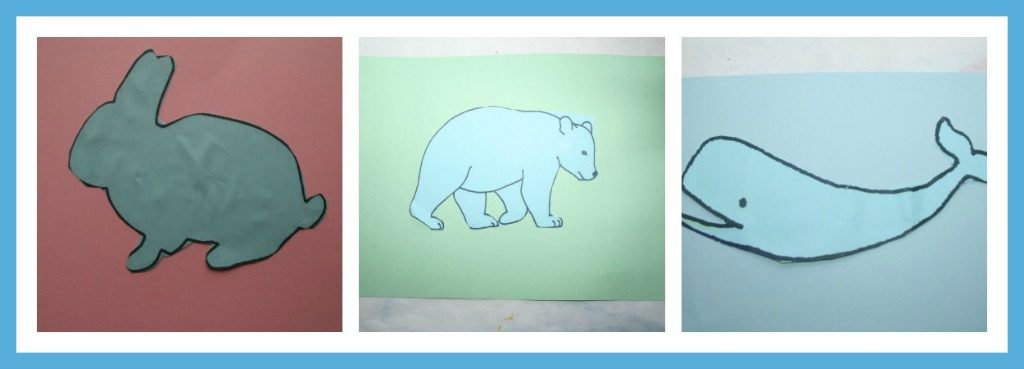
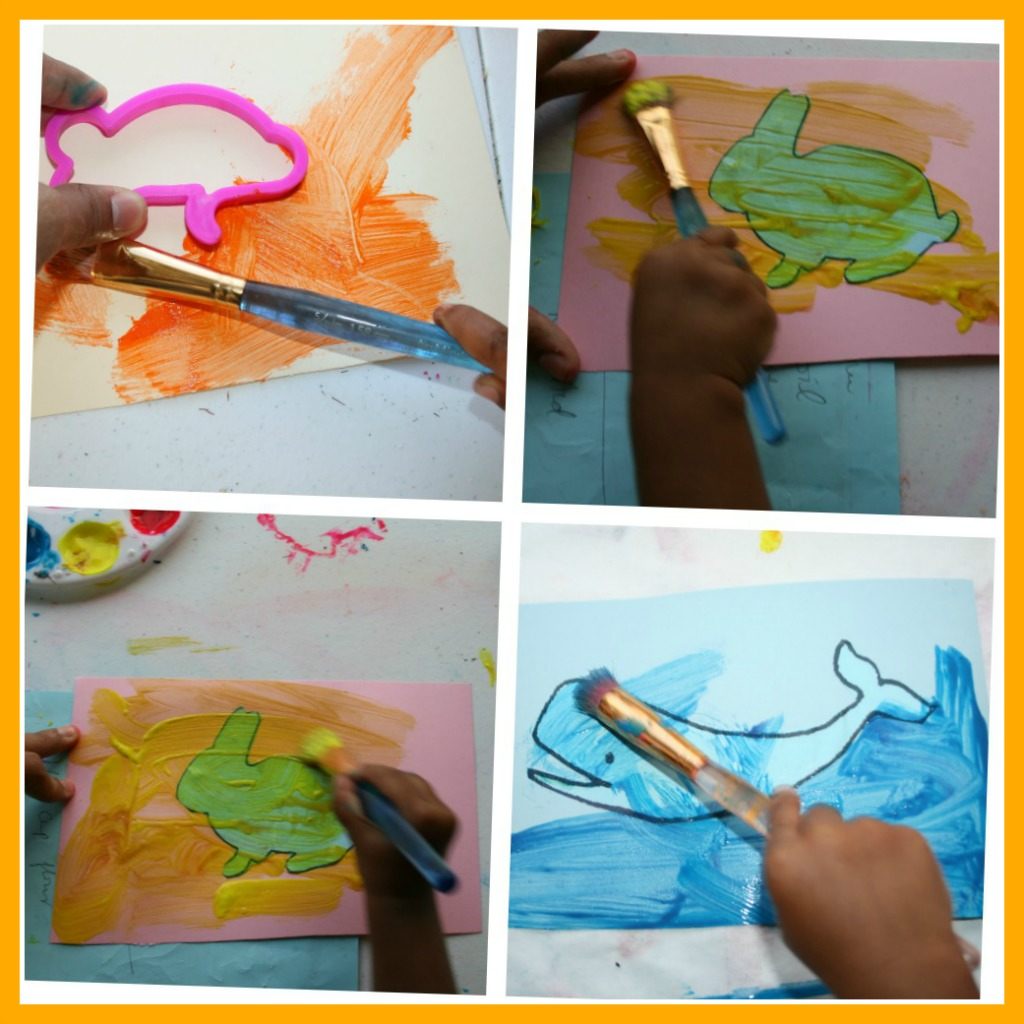
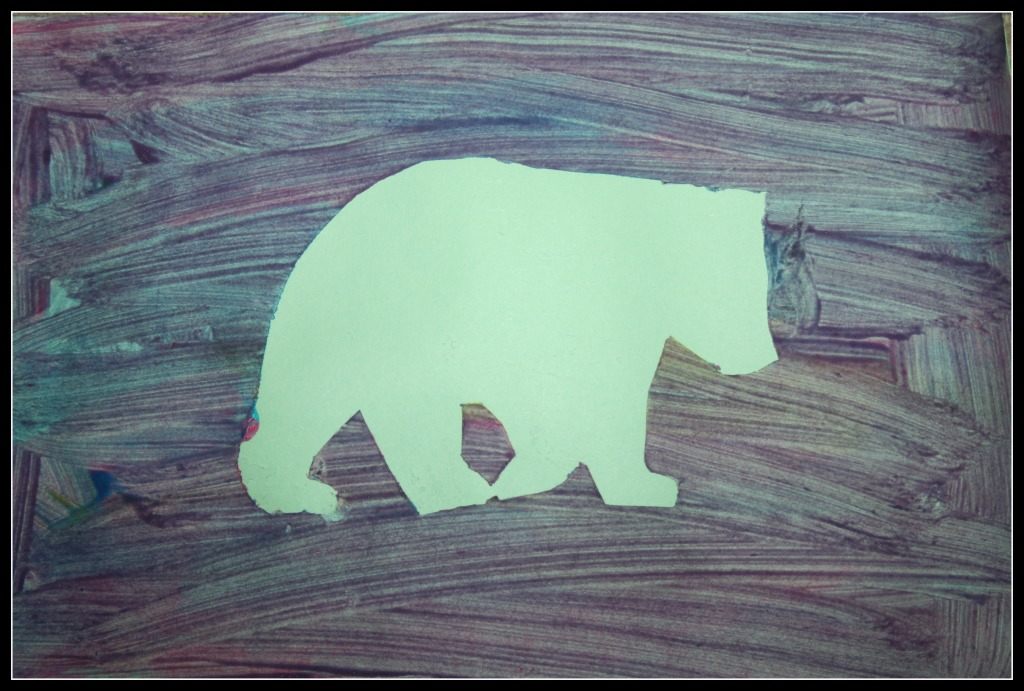
We started with the play doh stencils and soon realized that regular printable worked much better. Anyway, mom picked out a few resist art animals to add to the fun element and to create more interest in wildlife with babyA.
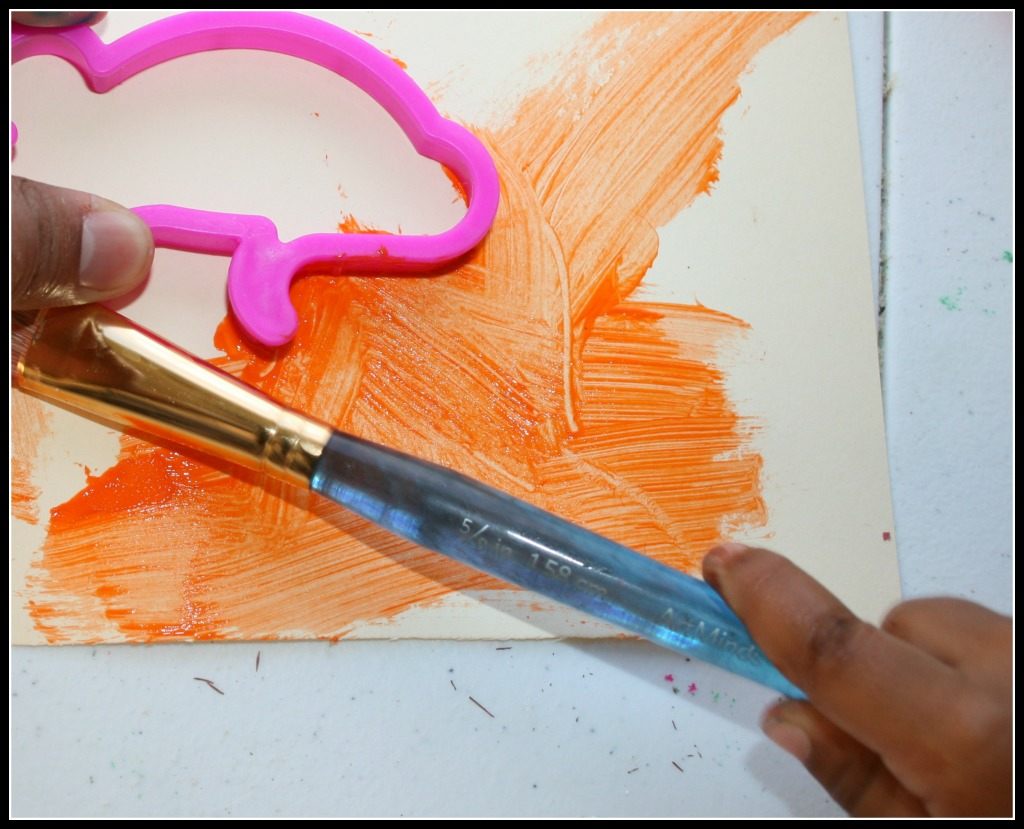
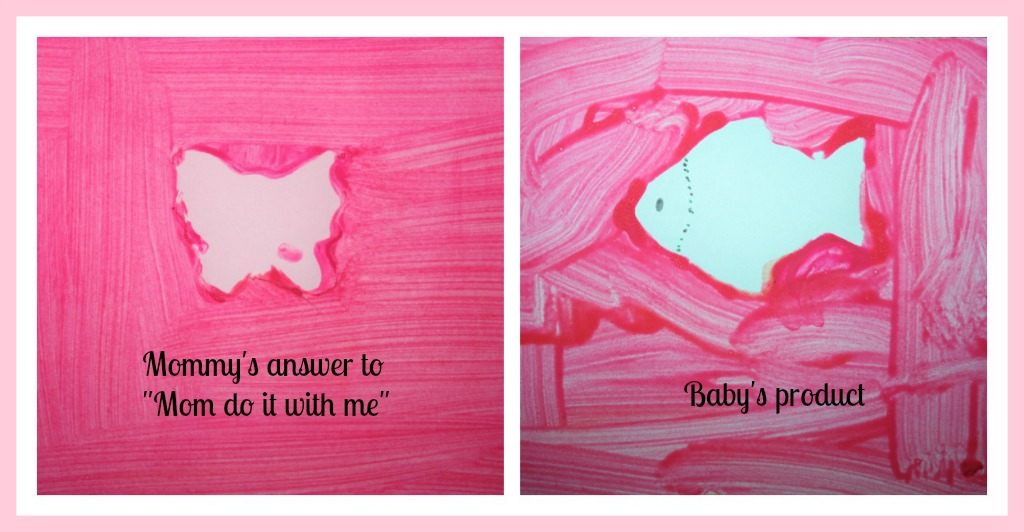
While I held on to the animal stencil, baby A started painting, might I add vigorously around the stencil. Once I removed the stencil I thought she would have a tada! moment. She looked at it and said “one more” Bummer!
[highlight bg=”#DDFF99″ color=”#000000″]Baby repeated the names of the animals over and over while making corresponding animal noises. [/highlight]Mom and baby had an amazing uninterrupted conversation while making art. I just talked to her about where each animal lives and what it eats. I’m not sure if anything got into her amidst the vigorous painting and splattering.
Love one-on-one with kids. Makes me feel like a much better mother.
We tried a couple of more stencil art.
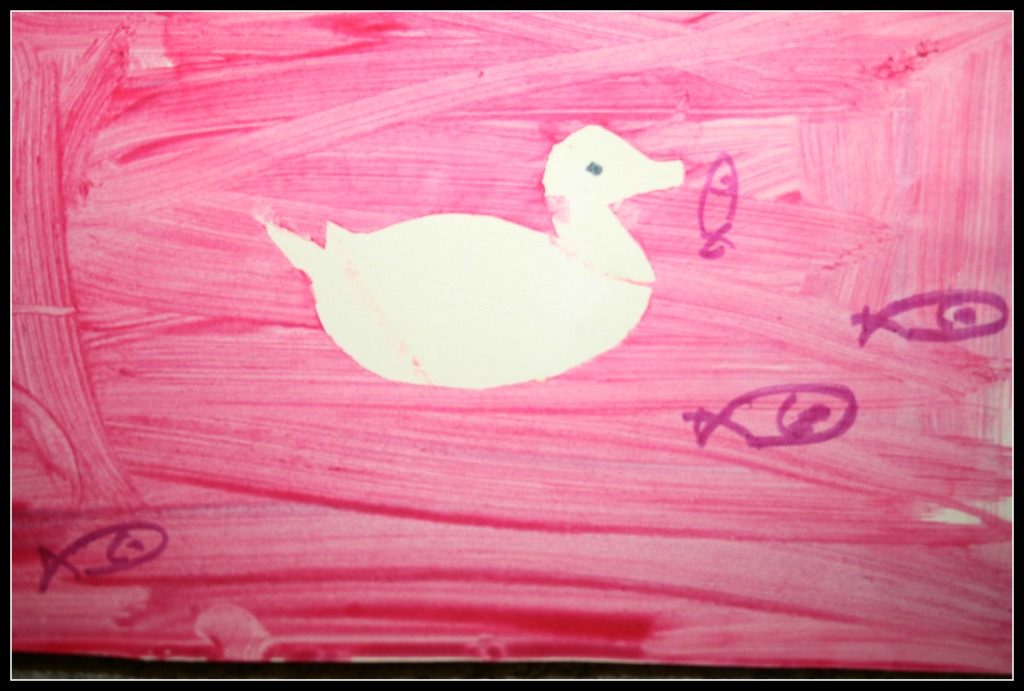
Soon Baby A wanted new resist art animals – a duck and a rabbit. The stencil looked miserable and so I just cut out the image from an outline printable.
Baby worked her fine motor skills and process learning skills, by applying glue on the back and then sticking them on the cardstock paper. Once the animal is stuck on the card stock, it shouldn’t take long for the kid with a fat brush to fill up the cardstock paper with paint.
Peel off the cut out immediately. It comes off without any trouble.
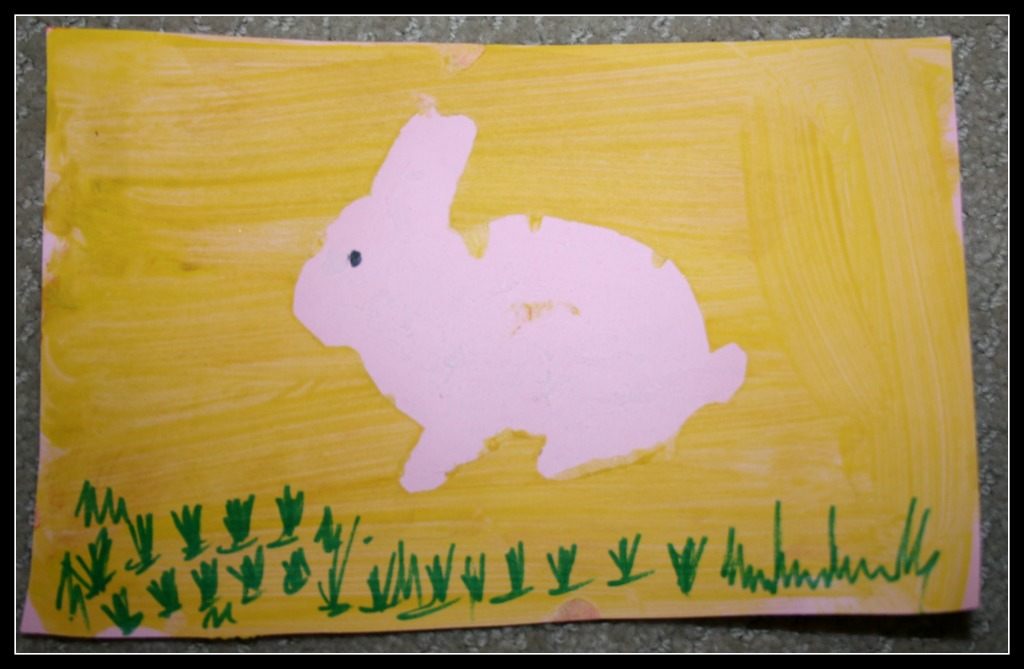
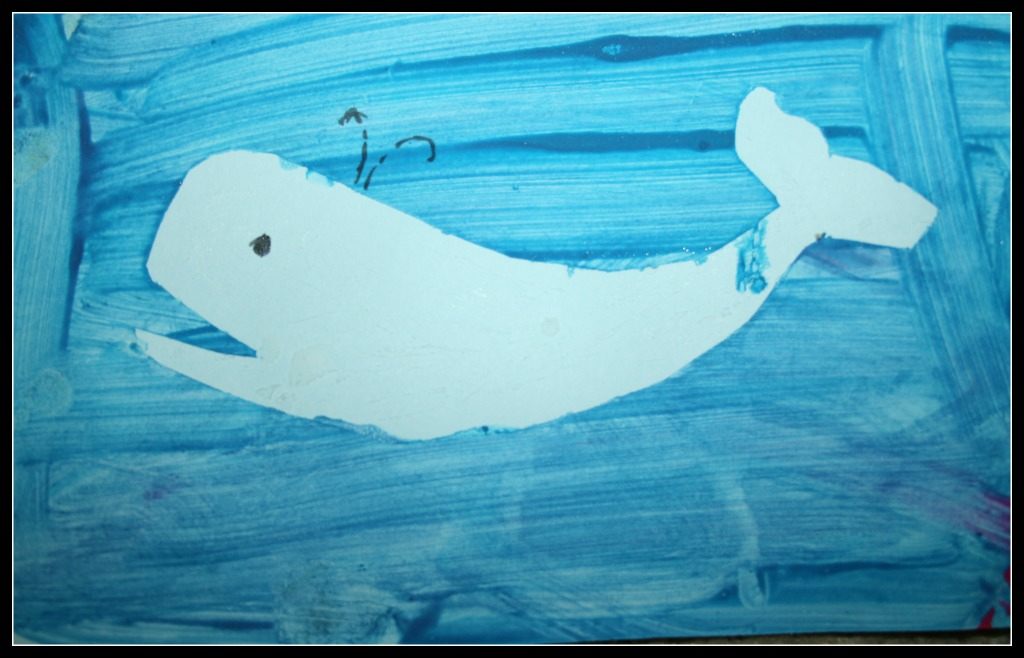
That’s it you got your own animal resist painting.
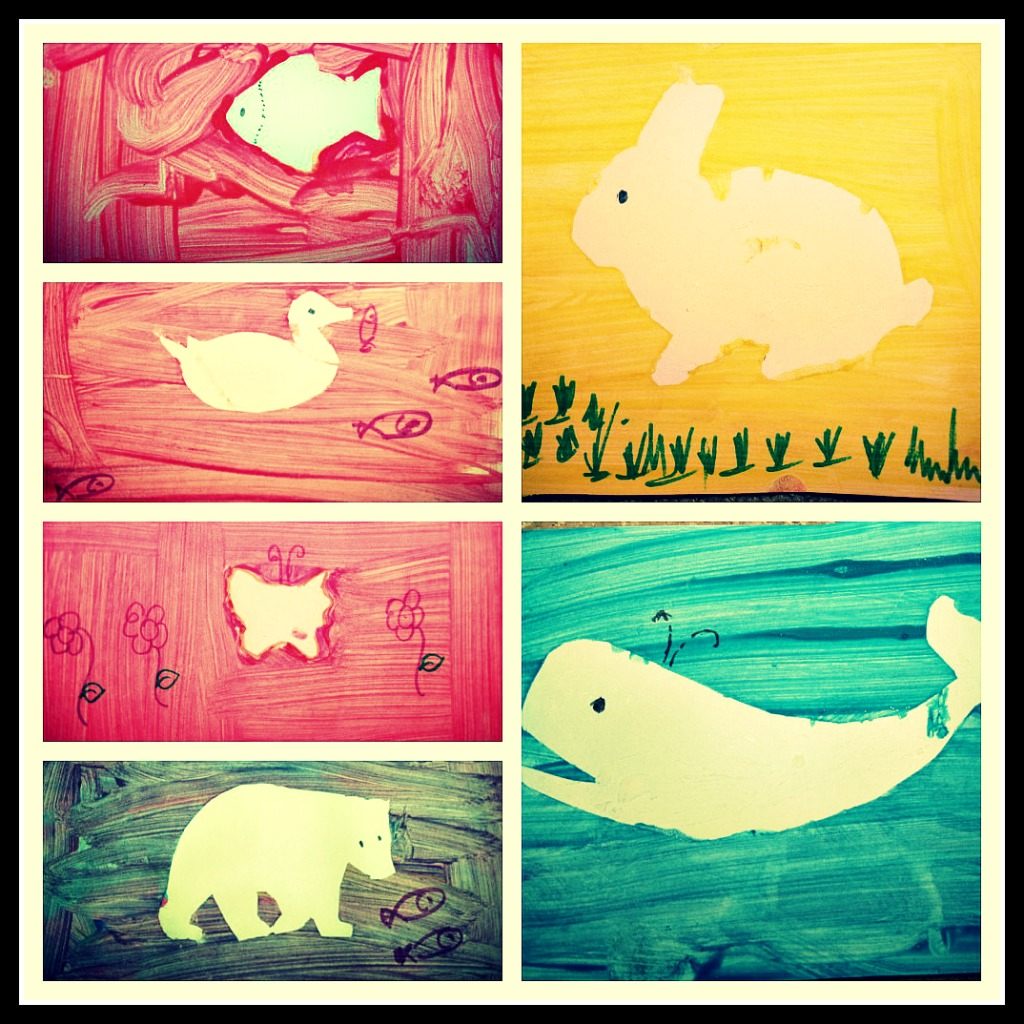
We made a bunch more.
[highlight bg=”#DDFF99″ color=”#000000″]Once they dried, I added habitat and diet details.[/highlight]
Unlike us (with a toddler who chose the colors she wanted to use) you could also do a nice job and choose appropriate background colors for each animal
Here is the final line up of all our color resist art animals.
I realized it is NOT EASY making art with a toddler because co-operative toddlers are very hard to come by! Made me want to do more toddler activities.
[highlight bg=”#DDFF99″ color=”#000000″]Ways to extend this activity[/highlight]
1. Once dried, you have an older sibling to add details to the card. For example, add flowers for the butterfly and talk about where each animal lives and what they eat.
Add fish to the bear art..You get the point.
2. Convert it into a birthday card for another person. Glam it up with stickers, sequins, whatever catches the kid’s fancy.
Thanks for reading
Happy Sharing
Please take a moment to comment

ok I am probably commenting a bit to much. But I am just LOVING posts. This was a great idea! Jo and I did a painting this week, but it was with a homemade stencil.. it went really well, but this would be fun to try!
Quick, adorable artwork that will make baby and mama happy : ) I would frame this with a photo of baby painting in one space !
these are great – for older kids, and even younger kids, you can also get this affect with removable labels (staples). kids cut out shapes (I love Christmas/winter shapes) arrange on watercolor paper then cover with liquid watercolor paints. Let dry com
pletely, if you’re in a hurry use a hairdryer. If you peel when not dry, they stick.
Oh, this is so easy and lovely. I think it must be really encouraging for the child to see a pretty result…and they will not want to stop. We must try this one:)
Kids love to freely paint all over any given surface anyway.
Great idea! Will definitely have to try with my 1 yr old AND w/ my classroom full of 1 yr olds!! #patience
What a great idea! I would never think of something like that. And to turn them into cards?? Genious! I have an overflowing stack of stuff I can do this to right now. haha Thanks for linking up to tip-toe thru Tuesday!
these are so cute! would be perfect to decorate a playroom! thanks for linking up to tip-toe thru tuesday!
This is one of those ” why didn’t I think of that?” moments! I happened to see this on pinterest and it was exactly what I was looking for with a few adaptations for my special education students in a general education art class. We are working with textures and this would be a great way to have them use different textures to create art! I will probably start with sandpaper, then maybe wax paper, foil, mesh, etc. What is especially nice is the versatility and numerous possibilities that have been sparked by your idea! Thank-you for sharing!
This is such a great activity for littliest and I loved that you added learning in there. Well done. I think my twinkles would love this!
Your website and my older one are match made in heaven! A site for animal activities is great.
I love the way they turned out! When I saw resist painting I thought you were going to use wax, but these are so much better. Thanks for the great idea, I can’t wait to do this with my kids!
Yeah. I didn’t expect them to turn out clean. But the printable were surprisingly easy to peel off since we were painting on half a card stock- that should not take long to finish painting. Mom’s library link-up is amazing. I’m still working on my buttons page.
Oooh these are really lovely. A wonderful to get arty with with kids! Thanks for joining in with Kids Get Arty – the next session is in Nov – would be great to see you there again, as well as looking at a real artist with your child as part of the post!
Maggy
Thanks for the lovely words. We will see you again in November – when my kids turn 4 and 2 around Thanksgiving time. Turkey babies with their faces!. All your link parties are amazing!