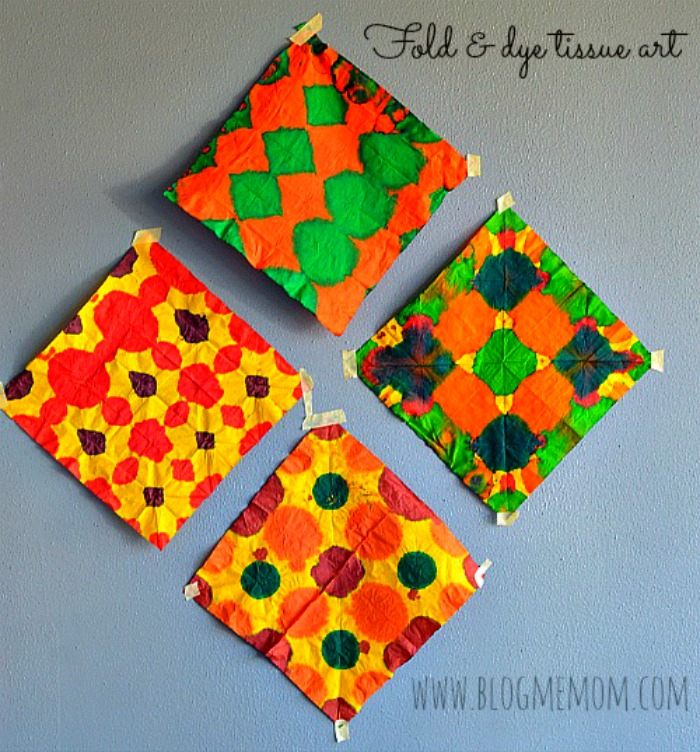
Art Activities for Kids : Fold and Dye Tissue Art
Have you heard of Shibori Art? Well I hadn’t heard of that particular name although I was familiar with the actual technique- the process of dip dyeing. Then I came across this awesome arts and crafts book in the library which has so many wonderful art activities for kids. One such project was this fold, dip and dye art project. I also came across a similar post on Things to make and do.
Materials { Affiliate link for your reference}
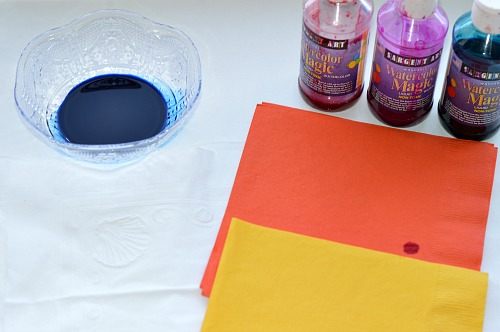
- Sargent Art Watercolor Magic
- or Undiluted food colors
- High-quality colored and white dinner napkins
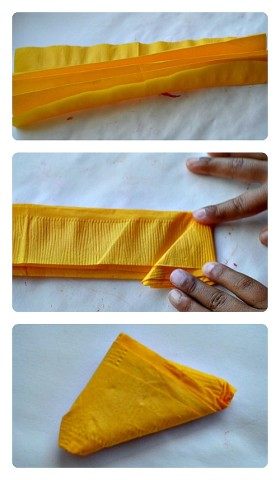
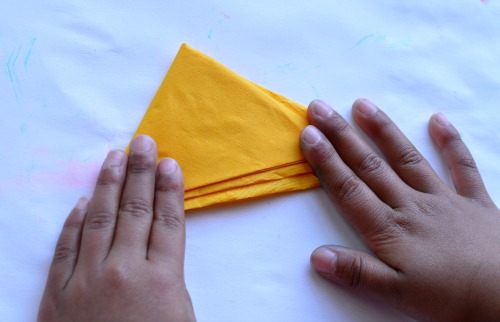
I helped my 5 year old fold the tissue accordion style { Fine motor workout} Once we got a long strip paper, we started folding the edge into a triangle. Continue folding by turning over the strip making sure you always are left with a triangle.
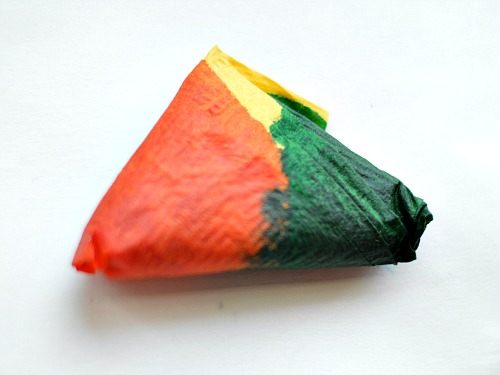
If you feel you need more security for the tissue, you can always add rubber bands around the edges to keep the tissue from opening. Then it is DIPPING time. We dipped the 3 edges of the tissue paper with our super vibrant liquid watercolors.
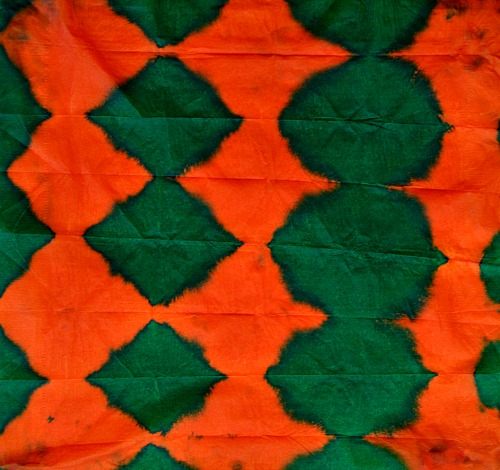
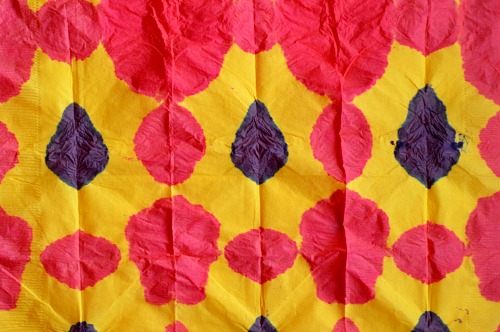
Based on the amount of liquid water colors you let the paper suck in, you will see various designs. I’d strongly suggest just gently letting the tissue suck the water colors since too much liquid watercolors just drenches the tissue without much of a design.
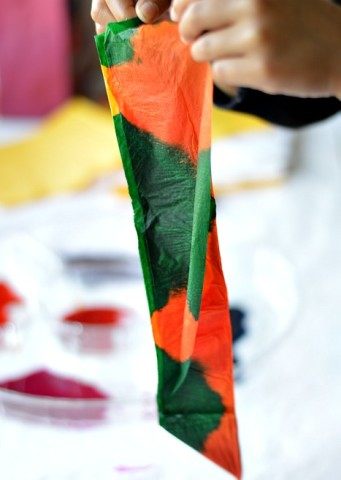
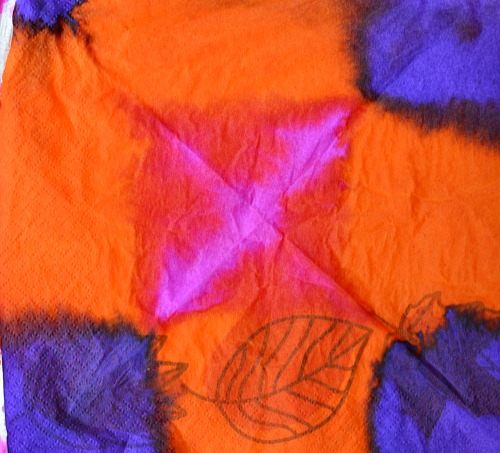
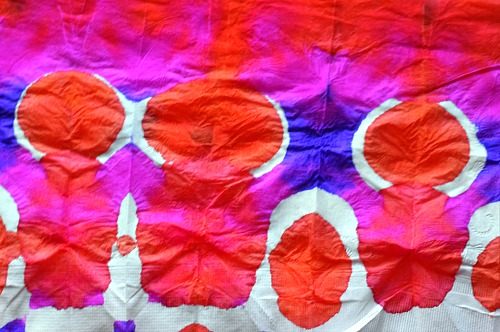
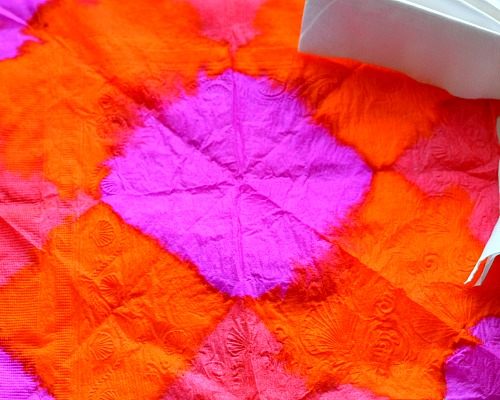
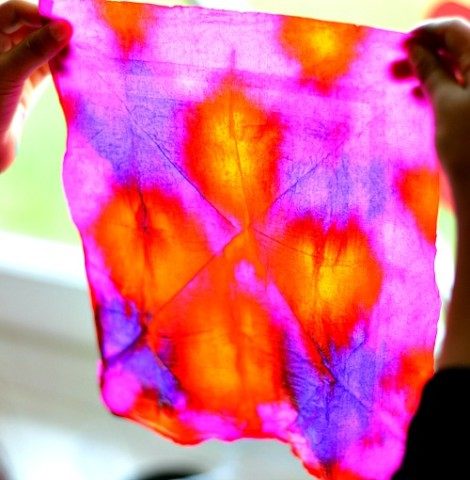
Ideally people wait after dipping and dying. Since we are working with young children ( and an even more impatient mother) we opened our tissue paper with so much excitement. Gently open the wet tissue paper to reveal your design!
Tada! The design will be so unique.
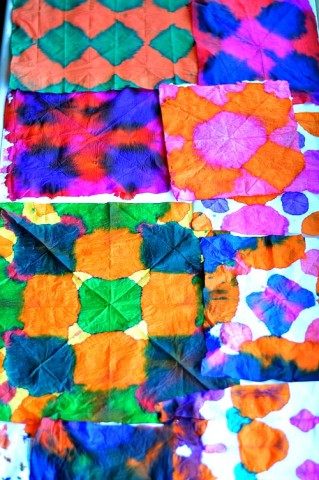
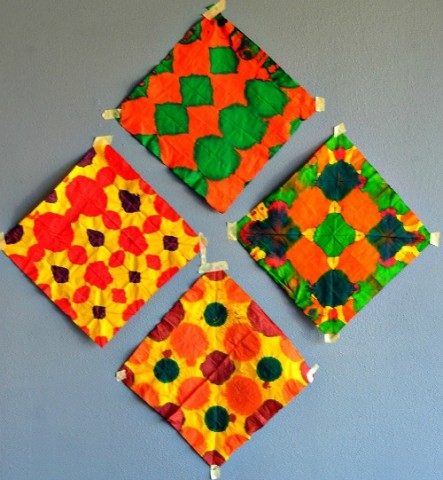
You don’t have to do the same accordion style folding. We did regular triangle folding.
Based on the type of folding, size of the tissue paper, amount of water colors we were left with stunning pieces of colorful art on tissue. This art activity was a lot different than many other art activities for kids we do around here.
This one in particular was done by cutting an accordion folded strip into half. Looks like paper chain dolls?
They look gorgeous against the sun.. This shot gave me an idea for a sun catcher craft!
They also looks awesome as wall art. I just need to pop these beauties in frames and I’d have kid-made wall art for our home.
Feel free to pin this image
NOW for the big announcement!
I’m so excited to be a part of an amazing collaborative effort – Introducing the Rockin’ Art Moms (RAMs). We are 10 bloggers who are very passionate about art, design, art for kids, art for the entire family art in everyday lives and art education. Phew! that was a whole of art in one sentence. We love art and we believe art should play a big role during a child’s early years.
Here are the fabulous ladies I’ll be working with.
Stephanie from Two-daloo
Ana from Babble Dabble Do
Meri from Meri Cherry Blog
Jeanette from Artchoo and Tiny Rotten Peanuts
Asia from Fun At Home With Kids
Kristen from Art History Mom
Gina from Willow Day
Bar from Art Bar
Melissa from Green Owl Art
And we have a rockin’ art board on Pinterest. Follow us to keep up with all the fun art projects we will be doing.
Check out our resourceful e-book filled with many preschool play ideas.
We have also collaborated on another e-book with simple and practical baby play ideas.


I love these, I am thinking to either cut into ovals or dip with oval shape and use them as eggs. The children can weave a basket out of paper (great hands on) add some Easter grass and have beautiful Easter art!
Yes we are hoping to do the same- flowers, shamrocks and eggs!
Stunning!