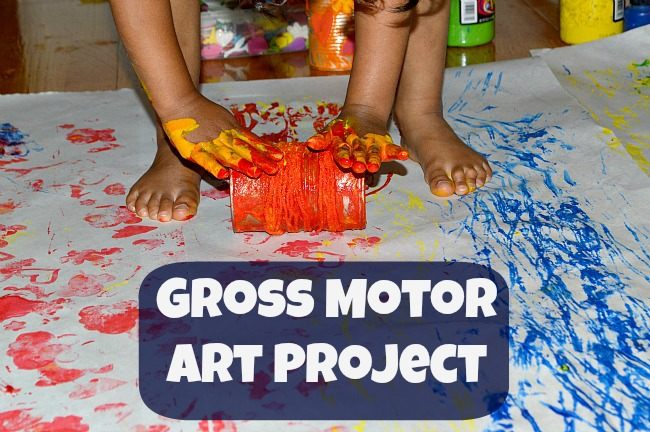
This entire tin can painting idea was spurred after I came across Hands on: As we Grow’s post on a tin can art activity. With two kids in different age groups, only art activities seem to work well when it comes to tandem hands on kids activities. Open ended art activities seem to get the best response from my kids, simply because of its nature – allows freedom of expression, independent thinking and best of all no rules to follow. At 4 and 2, you think kids will get a kick of following rules?
For the super easy tin can roll art activity we used only just a few basic supplies.
[box title=”Things we used” color=”#333333″]
- Tin Cans
- Yarn
- Foam Stickers
- Glue/Tape
- Paint
- Butcher Paper (optional)
- Paper rolls (optional)
[/box]
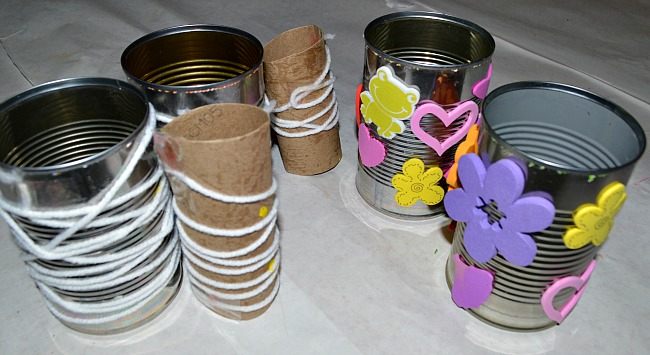
The base of this art activity is to get some texture on our tin cans. We used stickers and yarn to do the trick.
My stickers loving toddler was more than happy to get her hands on an endless supply of foam stickers and cans. Peeling off the backing and sticking on tin cans called for some serious fine more skills. If you think about it, almost all kids activities, especially art activities will have some form of exercise to develop fine motor skills. So if you can’t go out and setup some fine motor activities for kids, just engaging them in some form of art activities will by itself will do the deed.
For my pattern loving preschooler, it was the yarn wrapping which did the trick. She enjoyed getting the yarn around the tin can which yet again was a fantastic fine motor activity. I helped her tape one end of the yarn to the can while she wrapped the rest around the can and we taped off the other end. Alternatively, you could use yarn dipped to glue to get a much better and more complicated yarn pattern. My preschooler was happy with her yarn pattern for this art activity.
You can do this tin can roll art activity 3 ways
1. Just roll the paint dipped tin can
2. Roll the tin can with stickers
3. Roll the yarn wrapped can.
Again just like any art activity, you can do this on a smaller scale with a sheet of butcher paper taped to a table or go bigger like us.
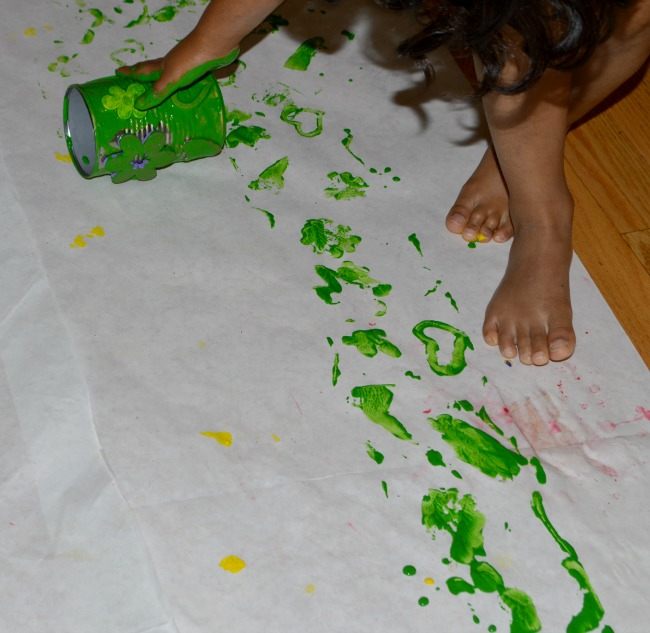
I taped down large sheets of butcher paper to my kitchen floor ( easier to clean the wooden floor)
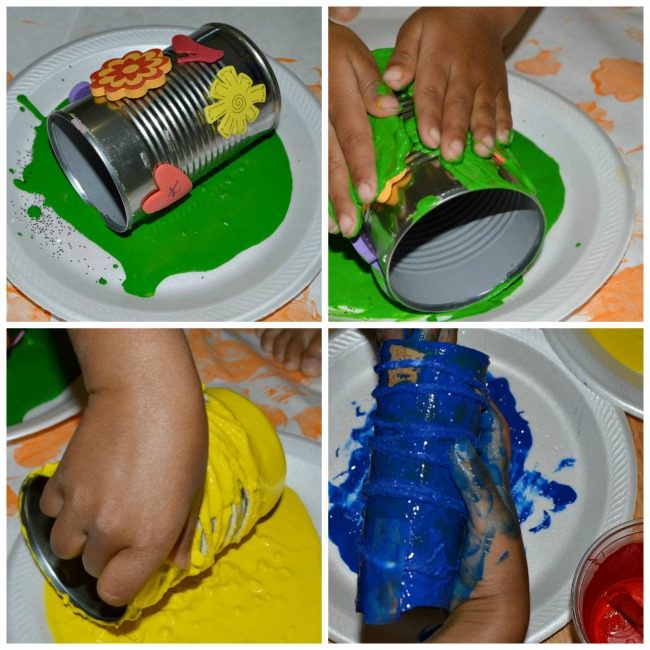
The kids got their little hands on the tin cans and rolled them with paint first.
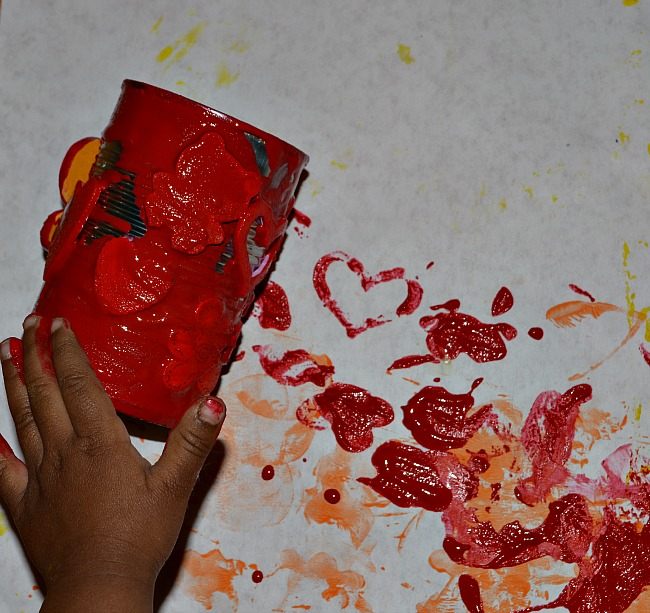
Next step was to simply roll around. Roll, roll and roll more. I did not expect a super clear print from the tin cans with stickers. It was more to explore the new way to paint.
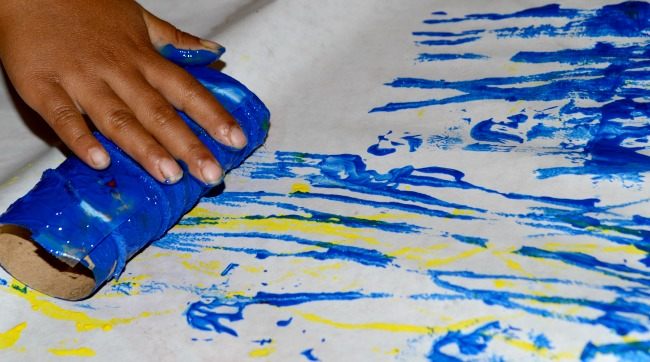
The yarn wrapped tin can was clearly the best for patterns. With an older child you could more intricate yarn patterns and get stunning results.
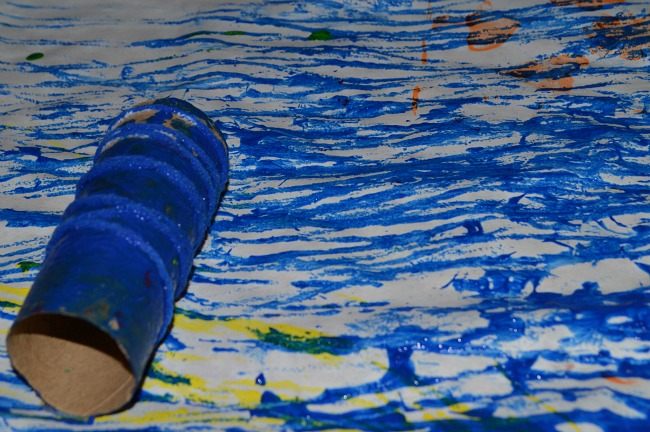
Here is what we had.
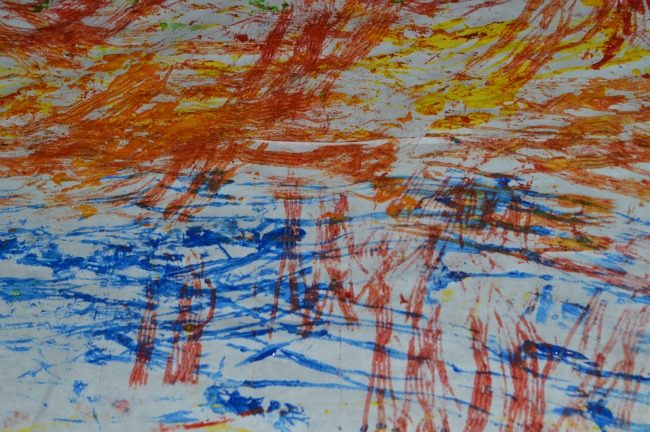
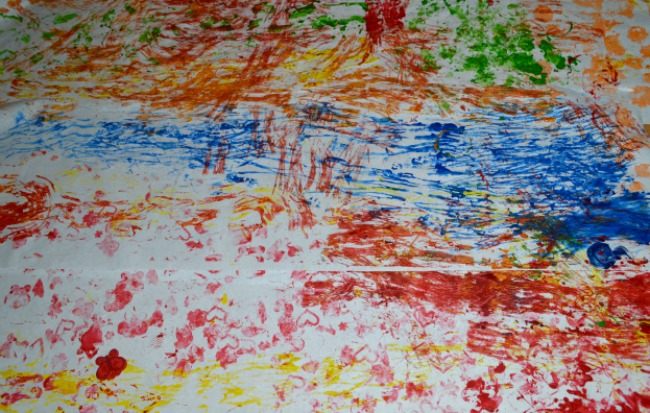
Our finished products.
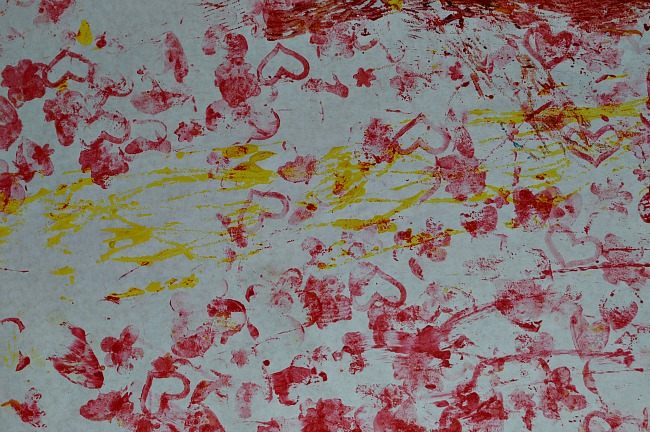
Some foam sticker roll printing results.
This is how we ended our art activity.
Thanks for stopping by our little space here. We encourage you to stick around and take a look at couple of our popular posts.
[divider top=”0″]
Follow us on Pinterest for more kids activities. If you love play based learning and enjoy doing activities with your kids, Pinterest truly is the place to be: For parents, educators and care-givers.
[divider top=”0″]
Some open ended art activities we have shared in the past.
  [/table] [/table] |
[table style=”1″]
  |
[/table]

Fun idea! Pinning this to do this summer.