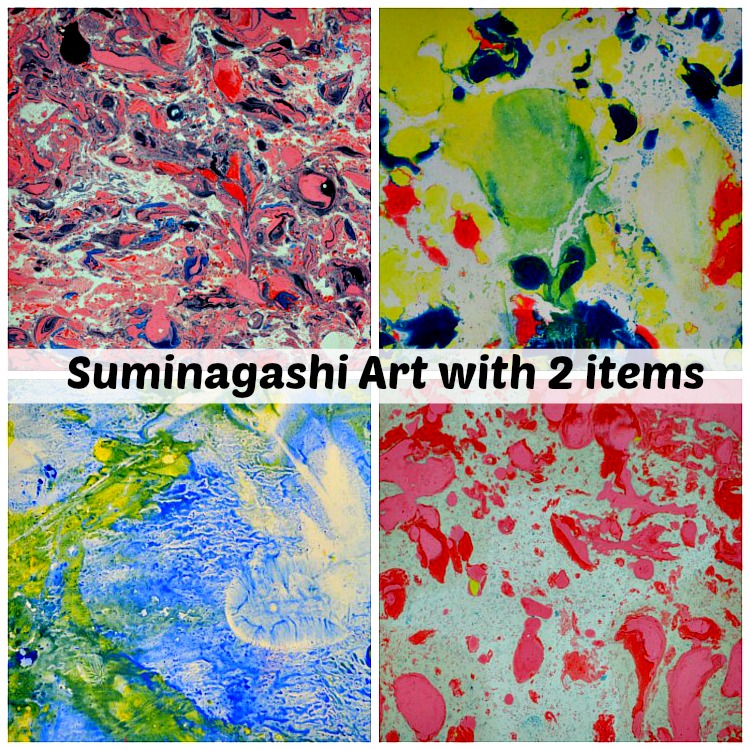
This art project is good for kids 4 and above.
If you been following our blog, you would have noticed that we have been sharing quite a few easy art projects for kids. When taking up art projects for kids, easy really is the key. You just need a few supplies for this one but be prepared to be amazed with your kid. Suminagashi art is an ancient Japanese technique for marbling paper using ink. It actually originated in China but has been practiced by the Japanese ever since. Sumingashi just means “floating ink” However, in this art project for kids we are using paints to create a similar effect. If you prefer to use an original store bought marbling kit, visit the following link. [box title=”Things we used” color=”#333333″]
- Thinned oil paints
- Shallow pan with water
- Medicine dropper/spoons
- Straws (optional)
- Thick paper
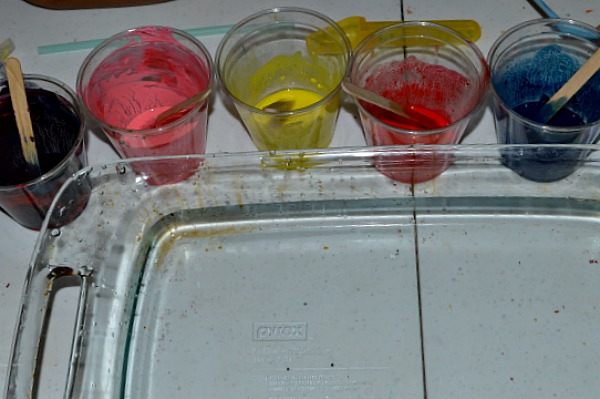
[/box] I used Reeves brand oil color. From my experience the quality of the patterns seems to differ brand to brand. I used two brands and found Reeves to be better. First I thinned out my oil paints in small clear cups.I used acrylic brush cleaning solvent to thin out the paints. Ths step is important because the consistency of the oil paint in tubes will not be appropriate for this art project. A solvent is needed to thin them out. With the paints in clear cups, shallow water in a pan, medicine dropper nearby and a thick paper ( we used drawing paper) I invited my pre schooler to experience this phenomenal art project.
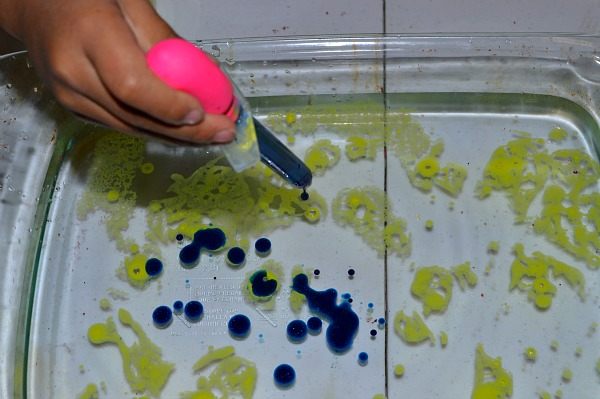
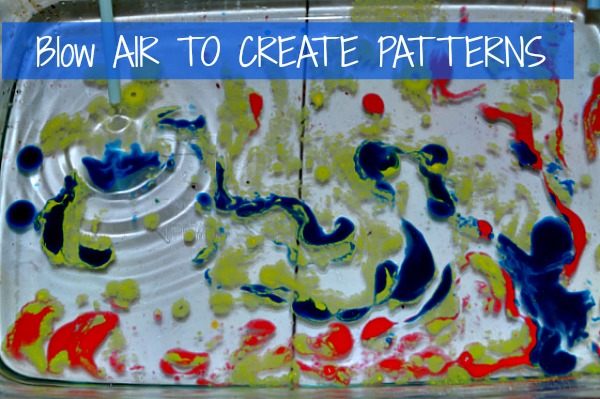
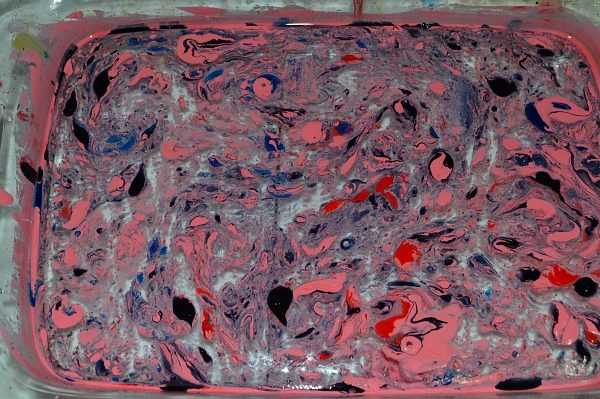
It is better not to reuse the pan ( for cooking) you use for this art project. Anyway my fabulous housekeeping skills are quite evident from the above image of my greasy glass pan. Yeah that pan was on its way out and we used it for our project. My older started off with dropping yellow, blue and red. As soon as the paint hits the water it starts to create a fantastic pattern.
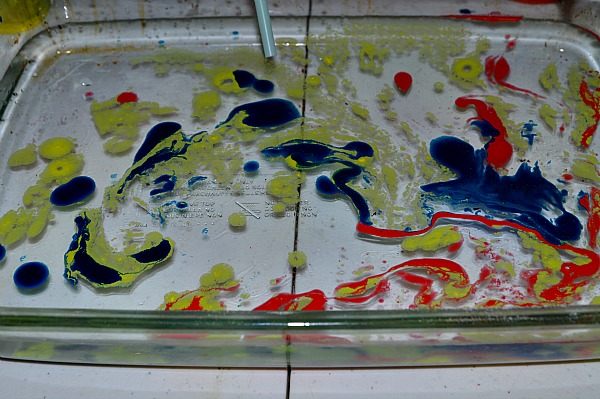
To create even more dramatic patterns, we blew air through straws and even stirred the water with the straw.
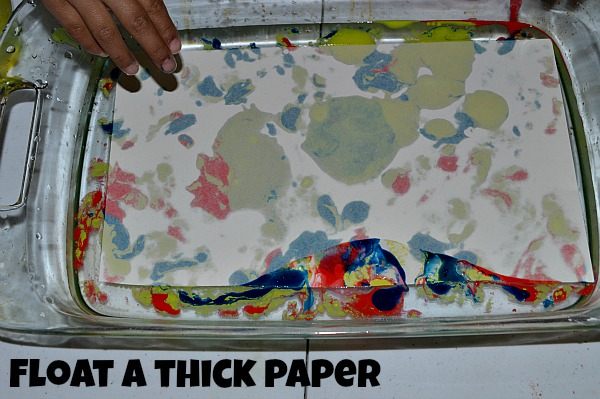
Once satisfied with the patterns created, we floated a thick paper on the pan. As the colors starts transferring, flip it up gently and reveal the awesomeness.
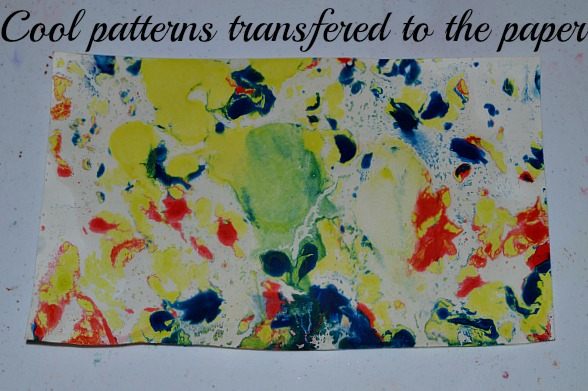
Tada! Oil paint patterns transferred.
Of course we did not stop with one. Art projects for kids are meant to be repeated over and again until the kid tires out right?
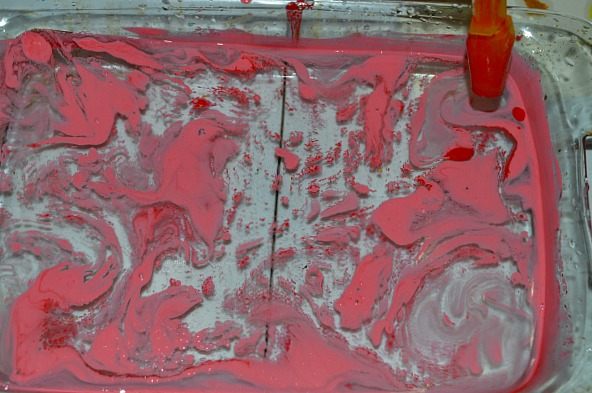
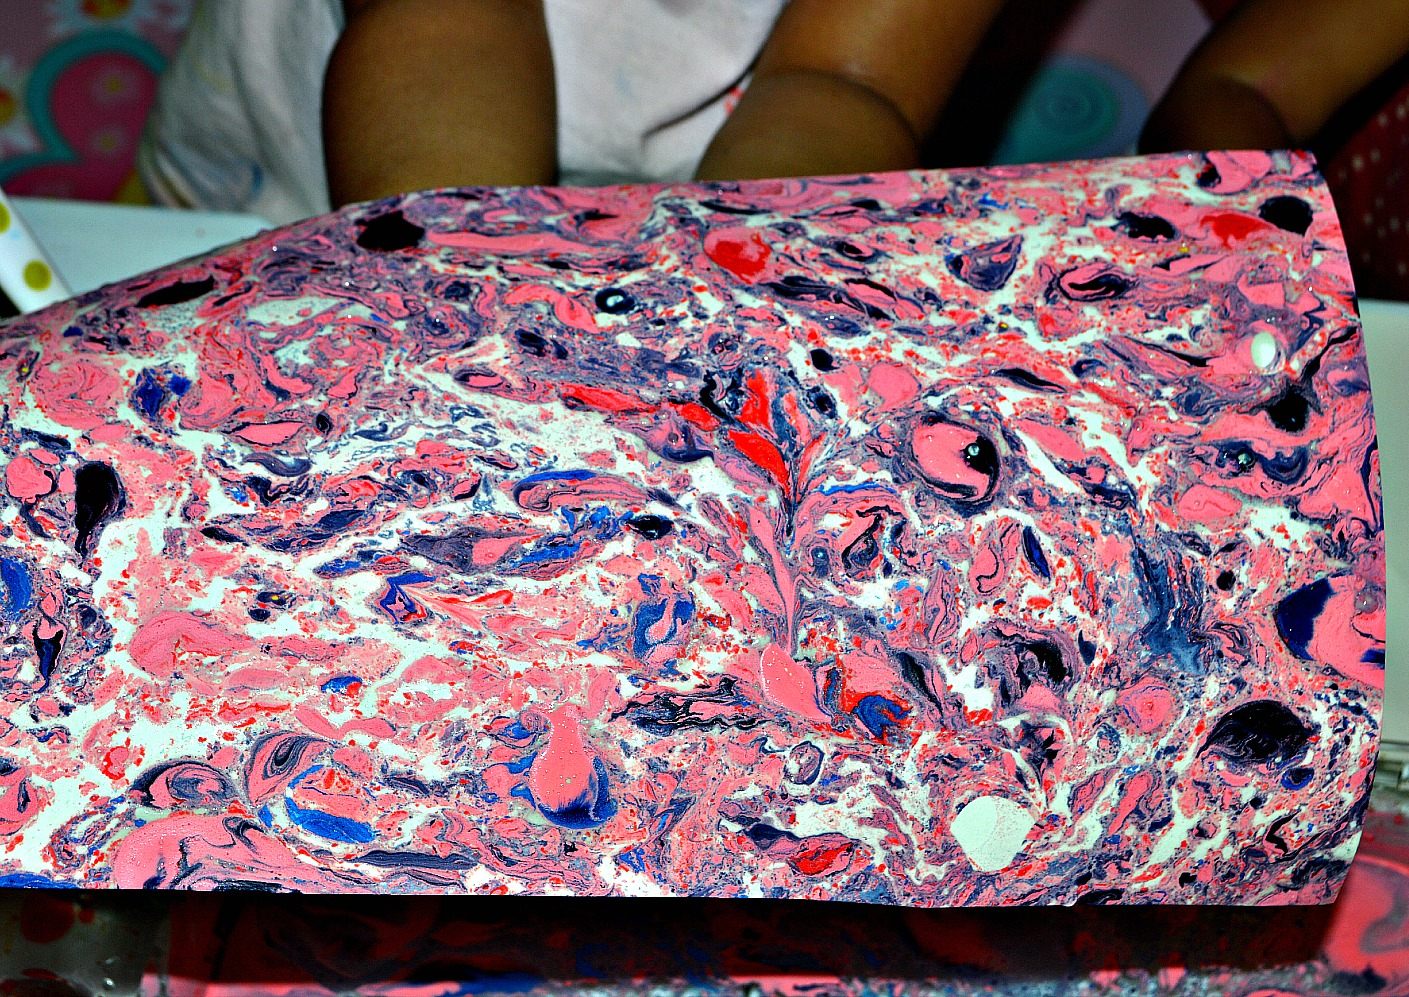
We added more colors to this one and stirred with a straw vigorously until all the colors started blending.
Our own marbleized paper
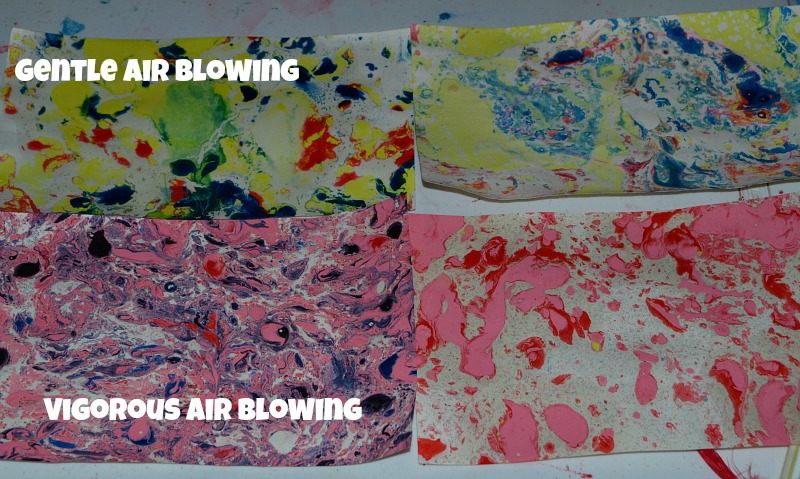
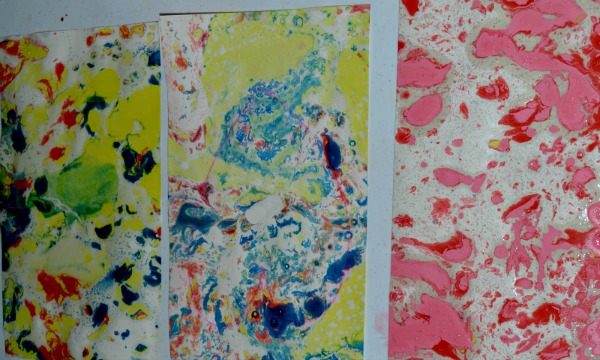
Here is the line up of our patterns created with gentle air blowing and not-so-gentle stirring
It was beautiful to see varying degrees of mixing creating unique patterns.
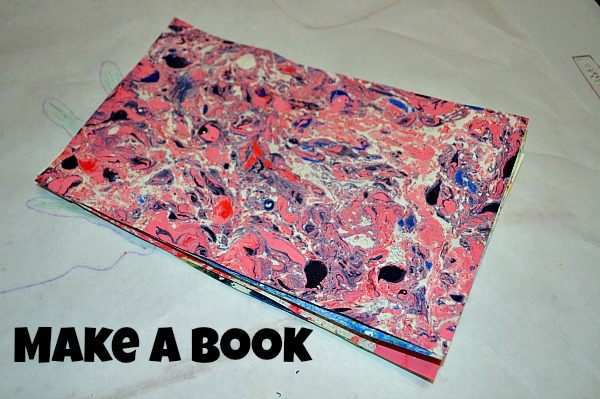
To extend this art project, you can decorate each paper with embellishments, turn them into cards by cutting out shapes or my favorite turn them into a book and store them as a nice keepsake for the time you spent creating with your child.
[divider top=”0″]
Below you will see some supplies needed for this art project along with other kinds of paint which will come in handy while creating with kids.
Thanks for reading
Please take a moment to comment
We encourage you to stick around and take a look at couple of our popular posts.
[divider top=”0″]
Follow us on Pinterest for more kids activities. If you love play based learning and enjoy doing activities with your kids, Pinterest truly is the place to be: For parents, educators and care-givers.
[divider top=”0″]
Contains affiliate links


I bought oil paints and I bought the acrylic brush solvent like you suggested and it wouldn’t thin the oil paints. Do I need to use an oil solvent instead of acrylic?
hmmm.. The brush cleaning solvent did work for me. I used an off brand from the craft store. However, I do know that turpentine is the best way to go when thinning oil paints. I just took a chance with the brush cleaning solvent and it worked for me. If you want a sure shot thing, you can’t go wrong with turpentine or linseed oil ( oil paint thinner) Let me know if these work out because this kind of marbling is so much fun for everyone.
What was the oil paint to brush cleaning solvent ratio? I love this! Thanks for sharing!
Add enough to get a smooth liquid without any lumps. To put it in perspective, you will get the consistency of washable paint.
I was first exposed to Suminagashi inks when I visited my son’s middle school class. I have been using them since with great success with kids aged 2 through adults. I have tried homemade alternatives that I researched on the internet, and none worked, I am very excited to try your suggestion of using thinned oil paint!
I bought large plastic cafeteria trays at my local restaurant supply store for paper marbling. I have also used them for painting with spaghetti, filling with texture items for the collage center.
This is AWESOME! I just bought a kit a couple of weeks ago and we haven’t actually sat down to do it yet. I absolutely love the way your turned out!!!! 🙂 When I get my post up, can I link to you? I won’t use any pictures, just refer to your blog. I already just shared on fb!:)
Sure Becky. I want to use the kit and try using the actual ink as well.