
This activity is courtesy of my mother in law. Having seen me hanging out with my girls and doing many projects with them, she started reminiscing about the days when her two sons were growing up. Although she claims she doesn’t remember a whole lot, there were a few memorable activities they did as a family. She explained us how to make Paper Mache Models
Since it was one of her boys’ favorite activities, I thought it would be kind of neat to “continue the family tradition” so to speak. It would have been amazing if only she had pictures of my husband and brother-in-law doing this.
[box title=”Stuff” color=”#b11616″]
- Any kind of paper torn into tiny pieces. (Paper shredder could speed this up)
- Blender/Mixer
- Fenugreek seeds (binder) – available in many health food stores.
- Googly eyes
- Molds – We used sand box toys. They were perfect for us.
- Crayola Finger paint or Kids washable paint
[/box]
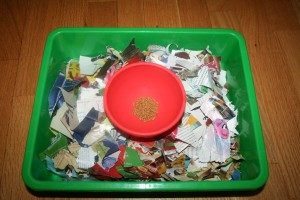
We used magazine pages and newspaper inserts. The girls simply loved tearing the paper. Big A did not believe me when I said “ yeah tear them into pieces”. She actually said “ Are you sure?”
Big A and Baby A were excited about tearing up the paper. Within 5 minutes, the excitement died down and Big A started singing “ It is raining, its pouring the old man is snoring.” while throwing bits of paper all over herself, her sister, the tray, the carpet. An amazing negotiator, that she is, she goes “Mom let me play with the tiny pieces. I promise I will clean up!” Once the fun died down, we actually soaked the paper in water. Notice, I conveniently forgot to mention whether the kid actually did what she promised to do. Moving on..
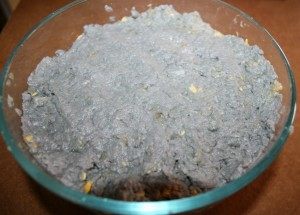
Soak the paper pieces and fenugreek in water for 24 hours. Hey, nobody said that this was quick set up- but remember this activity just needs 2 ingredients.
Once soggy, get your blender out and grind up the pieces to form a thick lump. Add water if need be. You can squeeze the water out when you working with the molds.
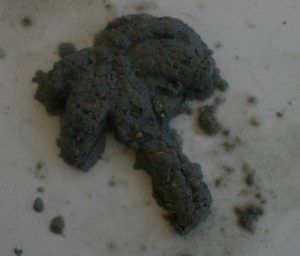
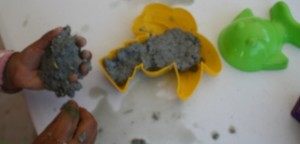
The paper lump is NOT pretty sight. Combine it with ground up fenugreek – it is not something that would make the kids go wow! BUT it is so disgusting to look at that the kids who are into messy play would absolutely love to put their hands in to the goo and squish around. Baby A kept constantly saying “ Yucky, yucky!” Big A was good that getting the paper goop into her favorite sand molds. However, she did not have the patience to set it out to dry. So for a while there, we pretended the paper lump to be mud and were making many animals, trees.
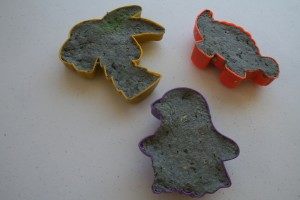
Later, she set out her molds to dry in the sun.
Well, it took about a day in the hot sun for the goop to completely set in the mold. I was able to easily tap it out of the mold.
The girls were amazed at the transformation. The Paper Mache Models were Ready!
[box title=”Learning points” color=”#b11616″]
- We talked about wet stuff, dry stuff.
- What made the wet goop turn into a dry model?
- What happened to all the water?
- Big A observed that the goop is not squishy anymore. She squealed at having made that discovery.
[/box]
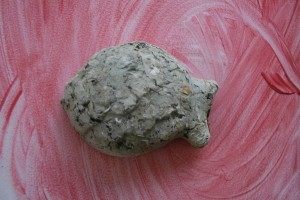
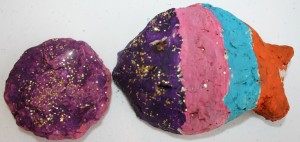
And look we made a fish, an airplane..
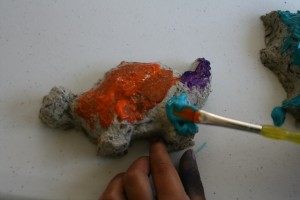
“Let’s color it”. It came naturally to her.
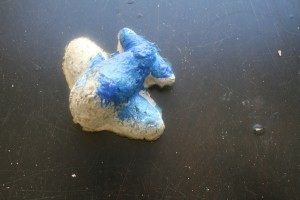
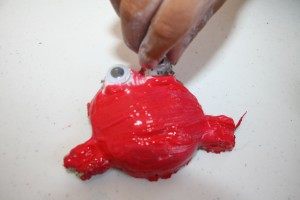
We set out the paints and brushes. This time we used crayola finger paint and washable kids paint. Finger paint stuck on really well and gave us better colors.
I helped her with the rainbow fish, rest were all her.
They are ready for display!
If you have older kids, you can use them as props in pretend play. I’m still worried mine might break them into pieces.
Actually, I’m looking for display ideas. Please feel free to share your display ideas in the comments section.
Thanks for reading!
Happy Sharing!

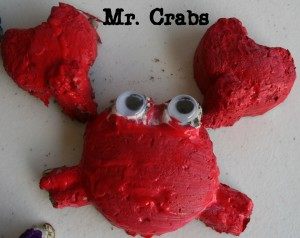
I love the crab. This is a great activity. I didn’t know you could make a solid model from paper mache. Thanks for sharing at Mom’s Library!
Using the sand molds make it fun for the kids.Thanks.
The crab is so cute