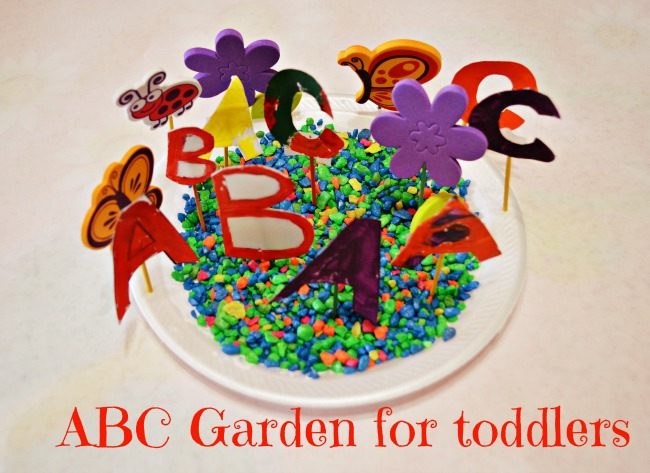
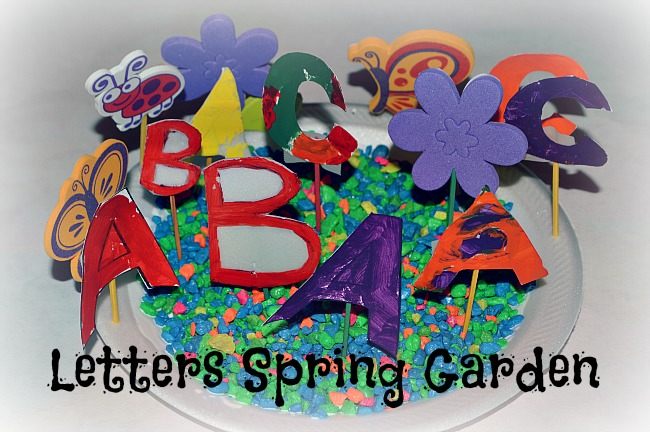
This spring craft doubles up as a wonderful tool for toddlers to engage in some hands-on letter recognition.
[box title=”Things we used” color=”#333333″]
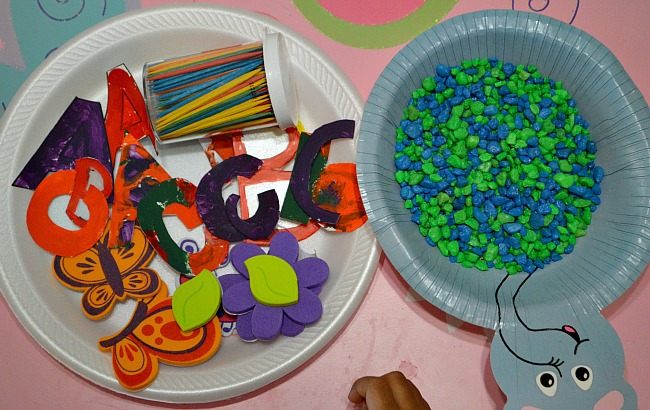
- Styrofoam Plate
- Card stock paper
- Acrylic Paint
- Aquarium gravel/dirt/tissue paper
- Foam bugs and flowers
- Tooth Picks
- Glue and Tape
[/box]
We this spring craft in 2 phases. As a quick prep, I roughly drew the 3 letters A,B,C on a Styrofoam plate and on cardstock paper and cut them out. I used a variety of sizes but stuck to uppercase. If working with a older toddler, a mix of upper case and lower case matching can also be incorporated.
With an older toddler, I would also do the cutting together with the child. Recently I have started to encourage my pre schooler to be involved in my activity set-up for her sister. It is a great way to develop sibling bonding while the older one helps set up the younger one’s activities. In this case, a preschooler can easily help cut out the letters. { It didn’t happen with mine though. I’m just saying it is definitely a possibility}
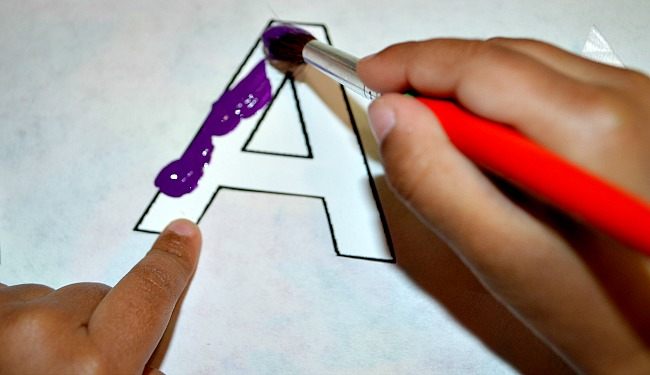
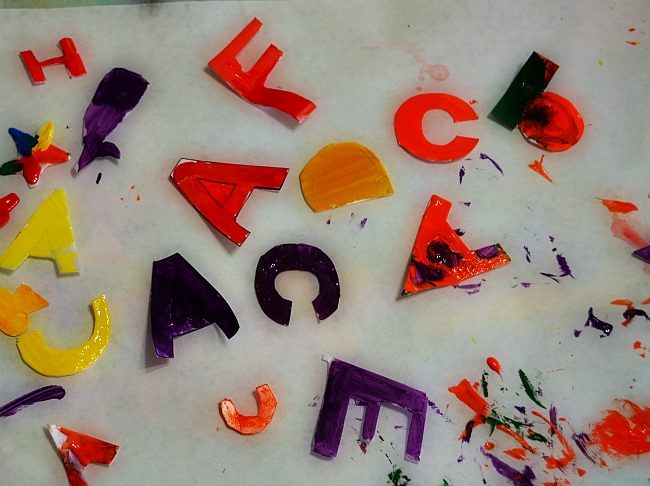
Once we had the letters cut out, my toddler was more than happy to paint the letters. We used acrylic for styrofoam letters and kids paint for paper letters.
We set out the letters to dry and came back to the activity at a later time.
Next was to prep the garden plate. Here you can use real dirt or tissue paper as ground cover. My kid has been wanting to play with the colored gravel from our fish tank and I thought this was good chance for her to explore it.
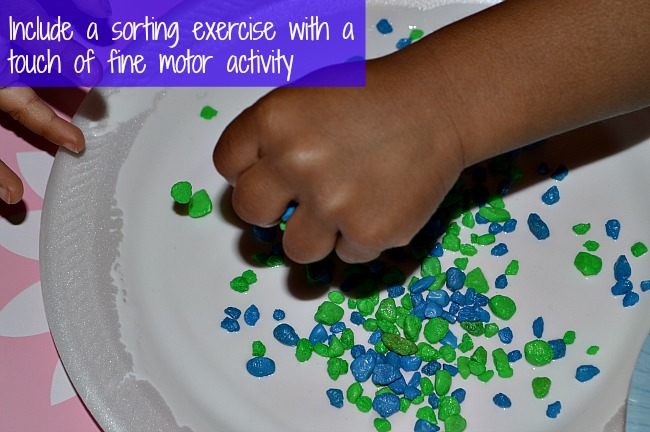
After an impromptu sensory play with colored gravel, we geared up to prep the ground. My toddler applied glue all over the plate and stuck the colored gravel by pouring and by actually pressing down ( Fine motor play alert!) We just used the color we had (blue/green. You can go for a more appropriate color.
We set out the plate to dry.Next step was to attach the letters to tooth picks. Since I’m involved in the craft with the child, I was comfortable with toothpicks for this craft. If you don’t want to use sharp objects, you can attach play dough to the ends and stand it up.
I secured the letters to the toothpick using tape by making sure only half of the toothpick was below the letter. This way the letters can be steady on the styrofoam plate.
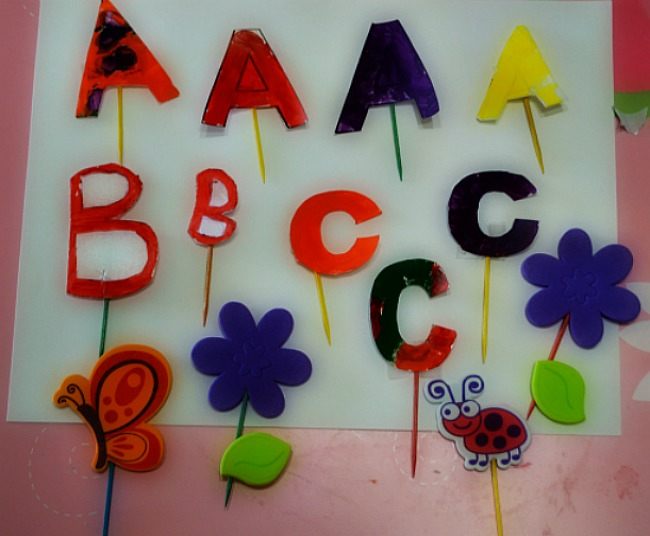
Here are our letters for the garden.
We also prepared our flowers and bugs to go into our ABC garden in the same manner.
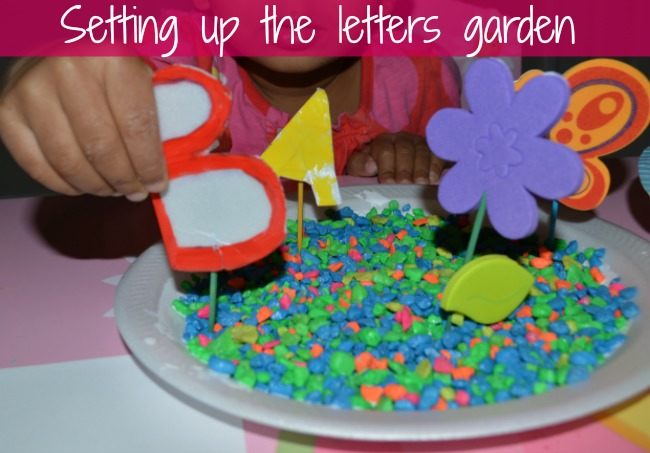
With all these little guys, my toddler had a grand time “planting” the letters to the plate ( fine motor alert)
In this spring craft, we reinforced letter recognition at least 4 times
1. Optional ( while cutting out the letters)
2. While painting the letters
3. While taping the letters to the tooth picks
4. While “planting” the letters to the plate
As a bonus you could focus on the color of the letter too.
As with many crafts, this again was a great way to develop those fine motor skills.All through this spring craft, it is very simple to talk about what my kid was doing with the letters while saying “ Oh looks like you are using red color to paint the letter A” We focused on only 3 letters at a time in order to not overwhelm the child.
Thanks for stopping by our little space here. We encourage you to stick around and take a look at couple of our popular posts.
[divider top=”0″]
Follow us on Pinterest for more kids activities. If you love play based learning and enjoy doing activities with your kids, Pinterest truly is the place to be: For parents, educators and care-givers.
[divider top=”0″]


You always have some awesome activities!
Hey loved your site..Excellent way to teach letters to toddler..I am mom of 3.7 yr old girl..Would love to try this garden with her !!