Table Top Art Gallery with Mini Easels
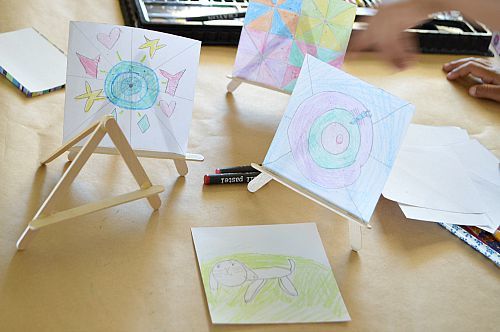
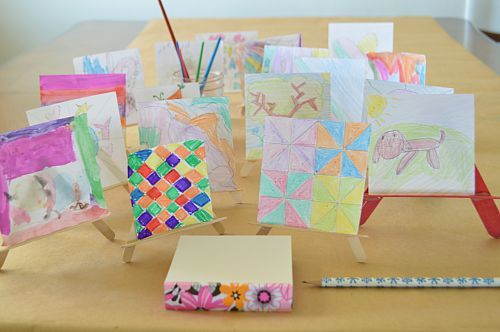
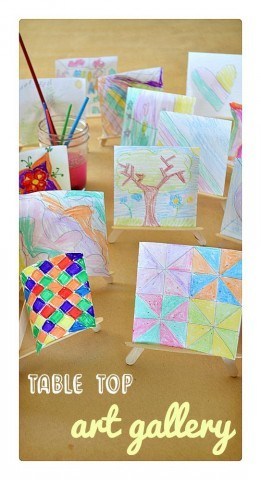
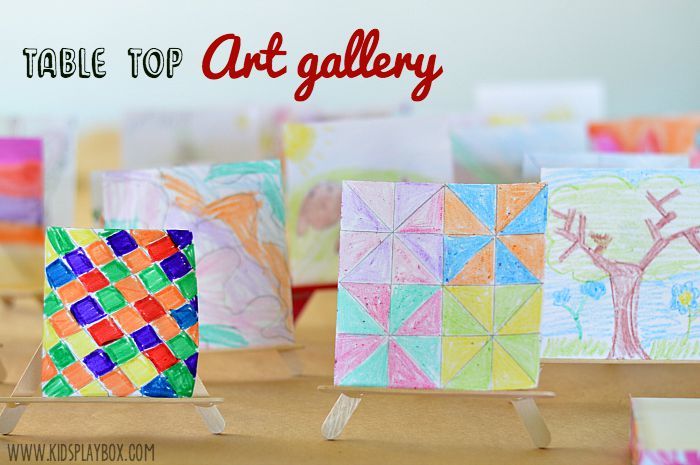
Will it not be super fun to turn your kitchen table into an instant art gallery? Remember our art studio in a big box? What a big boost for your kids’ creativity will it be? That’s what we ended up doing with all the cute craft sticks Craftprojectsideas sent us.
This post contains affiliate links. If you choose to shop through these links I will receive a small commission.
{More Art Projects for Kids here}
My kids always enjoy creating artwork on tiny pieces of paper. I don’t know why but I always catch them drawing up a storm on tiny notepads, post its etc. Creating a great working space for them draw, paint, write is very essential for them to unleash their creativity and be who they are. We don’t have any fancy art space but a great and functional writing/ creative art station
which is stocked with colored pencils, crayons, watercolors, oil pastes etc along with crisp white paper of various sizes. Before I get into the details, let us just bounce back to the project on hand. Creating a table top art gallery.
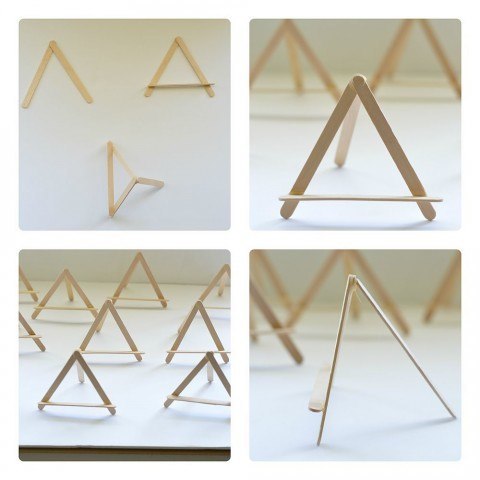
How to build a mini-easel with craft sticks
Grab your glue gun and your packet of craft sticks. The following images hopefully will guide you through the process of building your mini easel. I found it easier to complete one step for several easels before moving on as opposed to finishing an entire easel before moving on. First do step 1 of hot gluing 2 sticks across. Do this step for 5 easels. Then work on step 2 of gluing the 3rd craft stick completing the letter “A”. Do this for the 5 easels. Then finally finish the easel by hot gluing the 4 stick which holds up the easel.
How to set up the invitation to create
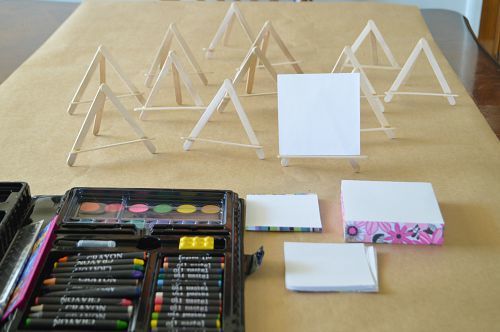
- Cover your table with butcher paper
- Set out the mini easels after they have dried throughly
- Set out small notepads or post its. I would even use mini cardstock paper
- Set out their favorite art supplies { crayons, markers, watercolors, colored pencils, rulers, pencils, erasers}
At this point the children steer the art project and start creating.
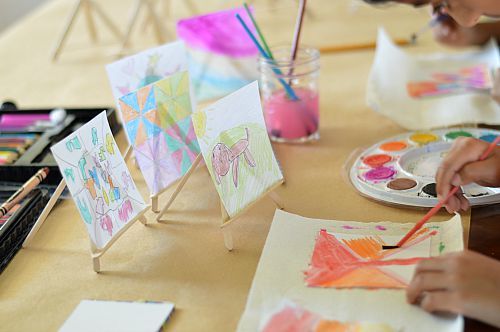
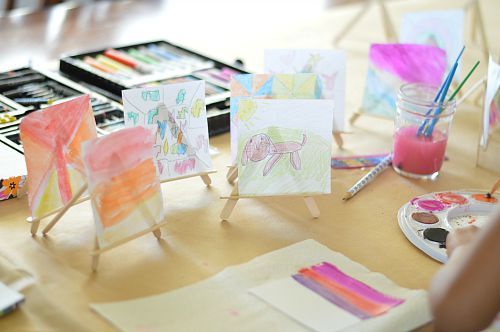
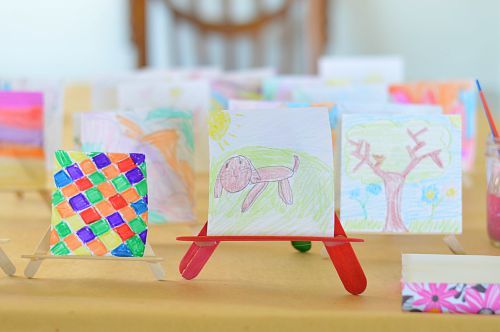
Mine tried a vaeriety of the supplies. They mostly covered up the entire paper while going for more concrete images and abstract ones.
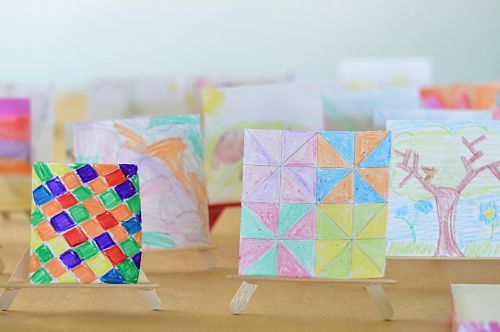
My older kid especially loves colored pencils and here are some of her creations.
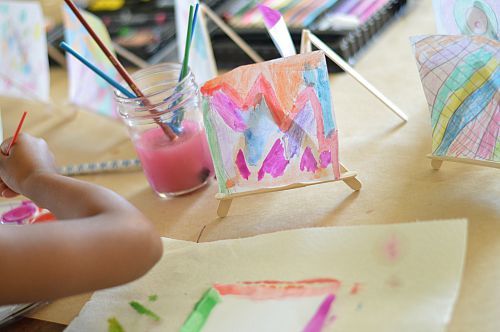
My younger one adores paint, markers and watercolors. If setting out watercolors be sure to include a few cut watercolor pads so the paper doesn’t curl. { Watercolor Art Projects here}
We even used jumbo craft sticks to create more easels. We actually ran out of craft sticks!
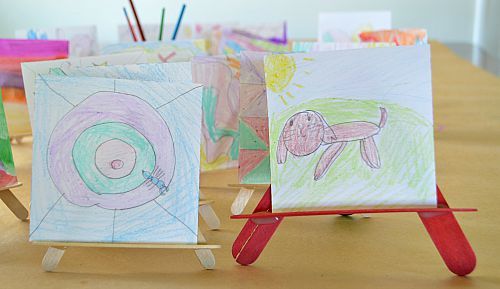
The older one loved using her ruler to create blocks of designs and patterns. Looks like BLOKUS?
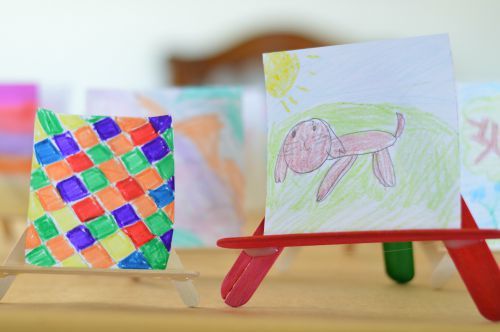
More art gallery goodness
There is always an art piece of our lovable family dog!
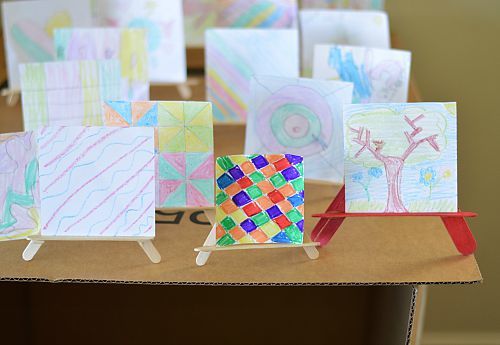
Finally the kids decided that they would want their art gallery t be on a big cardboard box we had on hand. They were reminded of our art studio in a box. They recreated it by arranging all the mini easels on top of the box and taping some more of their art inside the box. The gallery was complete with a “welcome sign”
Thanks for reading
Follow the board for wonderful ideas for organizing and building a creative, playful and functional space for your children.
Follow Kids Play Box’s board Play room organization on Pinterest.
Thanks to CraftProjectIdeas for sending us a kit full of goodies. This is NOT a sponsored post.
Pin this image to file the idea


