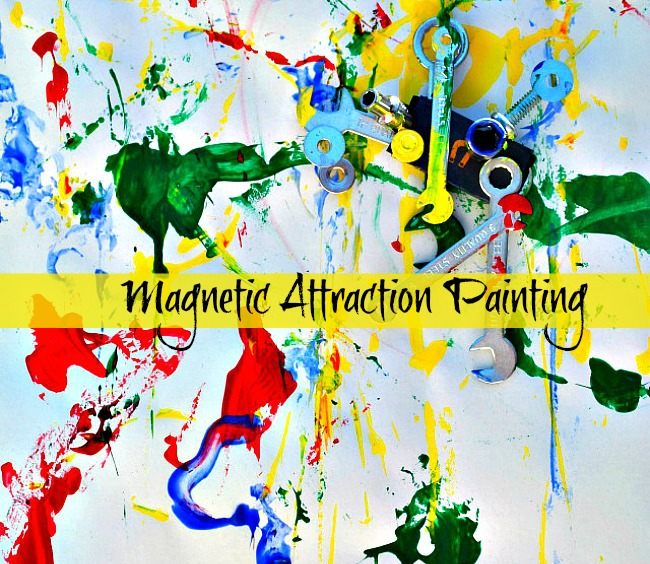
Art activities for kids using metal and magnet
Today we have Heather from the wonderful blog Crayon Box Chronicles share a fun open ended art activity.
Hi, I’m Heather and I explore sensory play, open-ended art activities, and science at Crayon Box Chronicles! I’m a former window designer from New York and now a home engineer — yes, I’m a chef, a mom, a doctor, a teacher, and a magician! I’m super excited to be here today at Blog Me Mom to explore open-ended art activities with you! Let’s dig into our nuts and bolts, pull out our heavy-duty magnets, and paint — magnetic attraction style! This simple, budget-friendly art activity is our latest addition to our homemade fun series and it mixes two of my favorite subjects — art and science! I love my son’s facial expressions when we play with magnets! He says, “wow” “oooooow” “magic mommy” — there’s the magician part! Let’s start our experiment.
- Art easel or thick cardboard
- Easel or butcher paper
- Tempura paint, various colors
- Heavy duty magnet
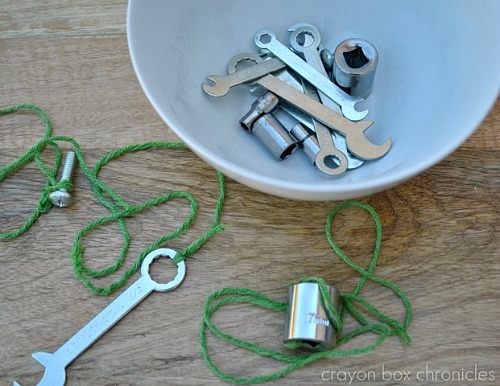
- Metal nuts, bolts, washers, mini-wrenches
- String
- Tape
- Paint containers
1. Prepare your canvas and hardware. Tape a large piece of paper to your easel or a sturdy piece of cardboard. We experimented both ways and I prefer the easel. It allows for more freedom to create, it’s much larger, and there’s a landing pad for the bolts. If you’re using cardboard, prop it up to create an angle. Next, attach string to your hardware. C preferred to just dip it by hand ― it’s more messy and more fun!
2. Now, the science — let’s experiment with magnet attraction. Have your child place a metal nut on top of the paper. Next, move the magnet back and forth behind the wood and watch the magic happen — magnetic attraction! I held the magnet most of the time. He loved to dip, then place and watch it fall! Your child will be amazed at the power of it, the magic, and or the sheer science! Discuss positive and negative attraction. Why does it move? What is magnetic attraction?
Science Alert: Magnetic attraction is the attraction for iron; associated with electric currents as well as magnets; characterized by fields of force.
Here’s his reaction to the bolts falling ― “crash” as he says!
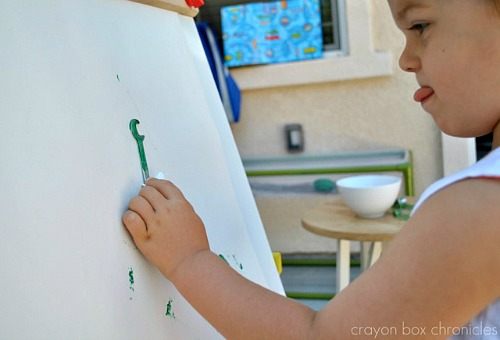
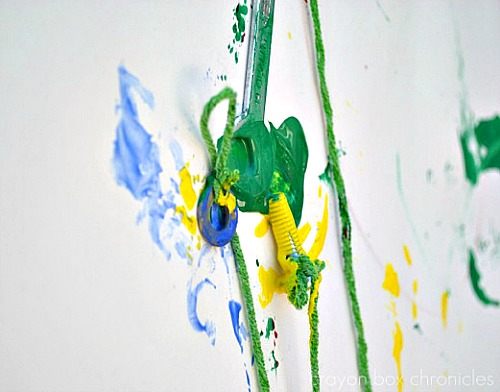
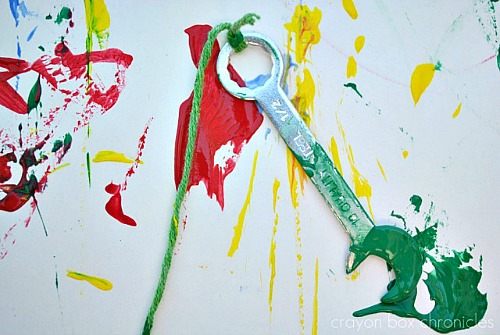
3. Now, the art activity— let’s experiment by adding paint to the nuts! Tie one bolt with string for each color paint. Next, dip each bolt into the paint and place it on the paper and be sure to “catch” the magnetic attraction from behind or it will just crash! While moving the magnet behind the wood your nut will paint your picture — it’s magic! Tip: Make sure the heavy magnet is touching the wood or cardboard from behind. We took our magnet from the base of our drill. It needs to be heavier than a fridge magnet to work well.
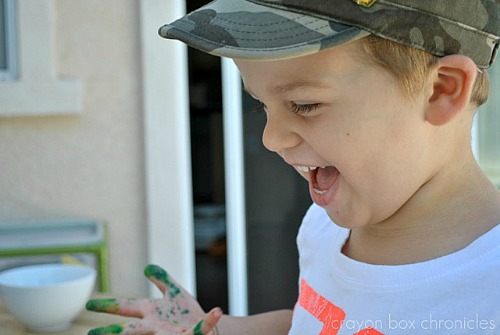
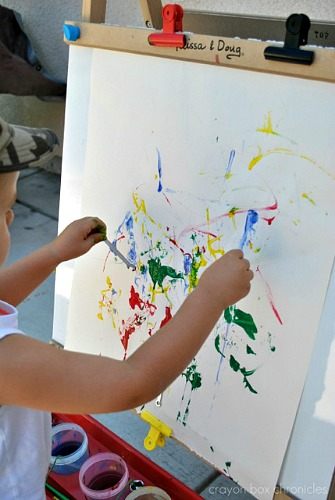
Here’s C really focused on “catching” the magnetic attraction. He kept giggling as I moved it around ― too cute!
I just love how they all stick together! For more fun, use 2 magnets. The string is helpful for dipping, but it’s not totally necessary.
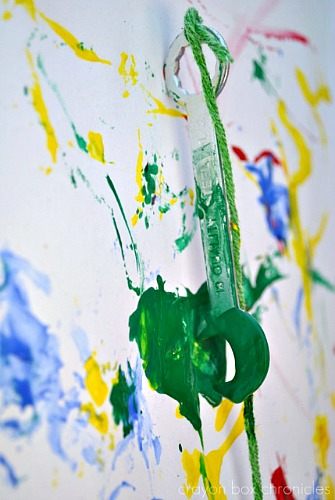
The mini-wrenches are my favorite! They left neat C impressions that dripped as they dried. The letter “c” for my little C ― funny!
This is my favorite capture! C was so impressed with the mini-wrench just floating on the paper! He replied, “wow Mommy, it’s floating!”
By the end C bypassed all the string and went right for the bowl of mini-wrenches, bolts, and washers, and continued painting. C just loves painting activities!
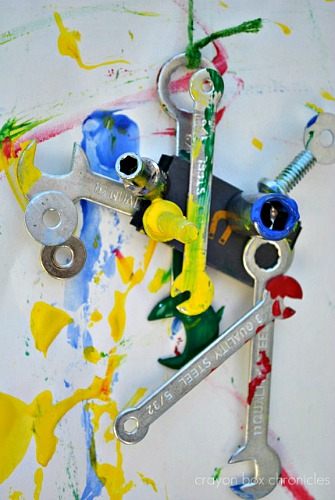
C began pulling all the hardware out of the containers after painting to create this beautiful recycled sculpture. I just love recycled art, especially metal. This is definitely a keeper for his art wall of fame! Engaging in open-ended art activities is so fun ― you just never know where your child will take you. {note} Please use caution when handling small objects and always supervise your children during play.
Thanks for reading
Heather is a full-time SAHM who loves to explore small world play and art with her son. Her budding paleontologist is three and full of energy! He loves dinosaurs, sea creatures, and trains. His imagination surprises her everyday. When she’s not constructing small worlds, painting with everything but a brush, or chasing her son with his dino tail at Crayon Box Chronicles, she’s spending time with her family. Join her on Facebook, Pinterest, Twitter, and Bloglovin’.
Affiliate Links to products or similar products used



Thank you so much Blog Me Mom for having us over to share!
Great Idea! Cant wait to try it.
Nothing better than watching a child”s imagination at work. You can see the sheer pleasure in C’s face. In this world of computers, its great to see old.school activities at play. Keep up the good work, ladies!
What a great idea!
What a fun activity and I love the possibilities! Still on the hunt for a paper roll as Michael’s is always out!
That’s a great way to incorporate some science into art-play! Where would I buy the strong magnets and mini-wrenches? — Are they available at a craft store, or do I need to head out to a hardware store (i.e. Lowes, etc.). Are they sold by the bag? Thanks!!!
Thank you Sandra! All materials can be found at your local hardware store. Michaels didn’t have the heavy duty magnets. The wrenches, bolts, and washers are recycled from our toolbox. Home Depot has a small wrench sets ranging from $3-$8.