Recycled Art Activity: Mixed Media Family Portraits
This post contains affiliate links. If you choose to shop through these links I will receive a small commission.
The children are going back to school in a few short weeks after a gloriously fun summer. New teachers, new classroom, new school, possibly a we new friends. Often first week of back to school season involves a few fun back to school art projects and other activities.
When we did this recycled art activity we didn’t envision it to be a good back to school activity. This art project just happened when we happened to notice a bunch of shoe box kids we have collected ( don’t throw away all those shoe boxes after you are done with your back to school shoes for your kids) { all art activities here }
Follow Kids Play Box’s board All things PAINT- tempera, finger, acrylic, water colors. on Pinterest.
Art with recycled materials : Mixed Media Portraits with shoe box lids
 Materials { affiliate product links below for your reference}
- Shoebox Lids
- Beads
- Glue
- Tissue Paper
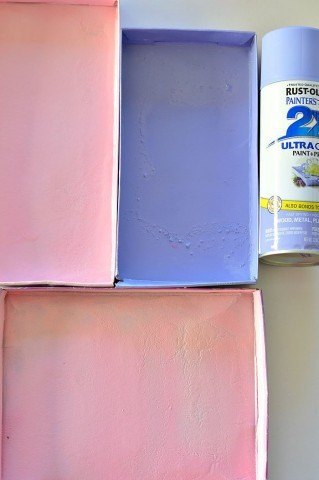
I collected three of those kids and gave them a coat of spray paint. I would probably stick with pink or any other lighter shade instead of purple since we are going to sketch on the painted lid. Once the lids dry it is time to create the portraits – self portraits family portraits whatever you wish. Set out the painted lids and a couple of fine tip permanent markers. Pencils if the kids prefer. Drawing with a pencil first helps the younger ones choose the image they want to create on the shoebox lid.
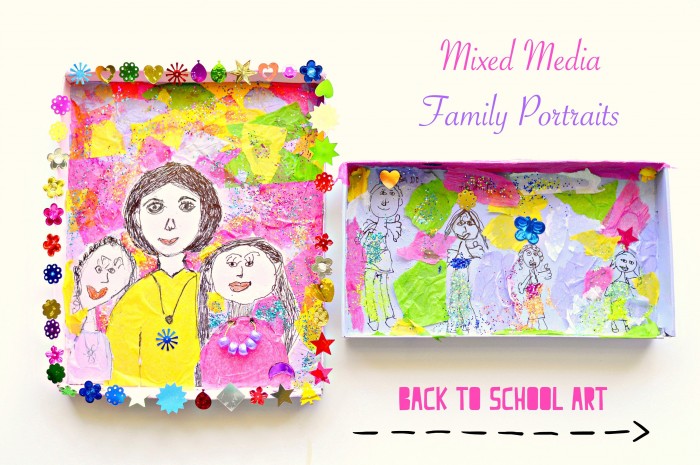
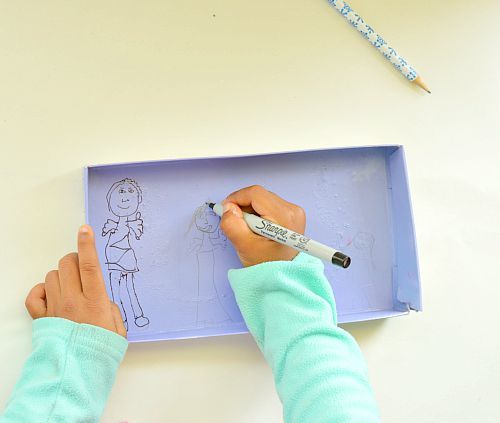 Both the children ( 4 & 6) chose to create family portraits on their respective shoebox kids.
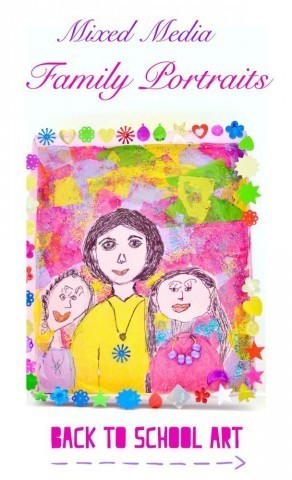
 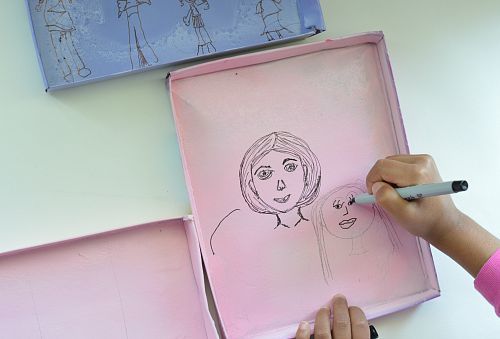 For the more square lid they wanted to go a different route . We took turns drawing ourselves. I finished mine first and the girls later drew themselves. This probably was the most fun aspect of this art activity.
 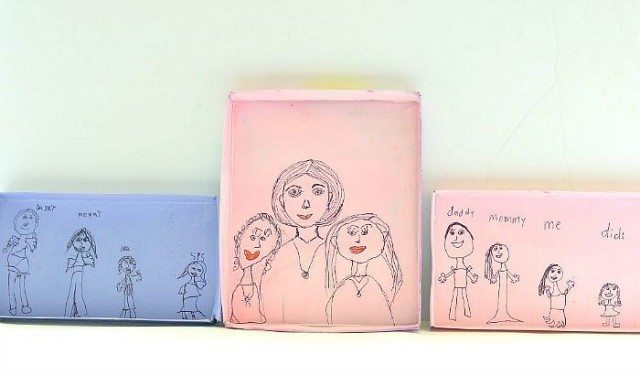 Then we let the family portraits sit overnight. It could be art project that can be done in one sitting but my kids took a few sessions. It’s up to them really! I usually let the supplies sit outside and they come and work on them every now and then. The next session involved sprucing up the recycled art. I set out colorful tissue paper, glue, glitter, beads and some sequins.
 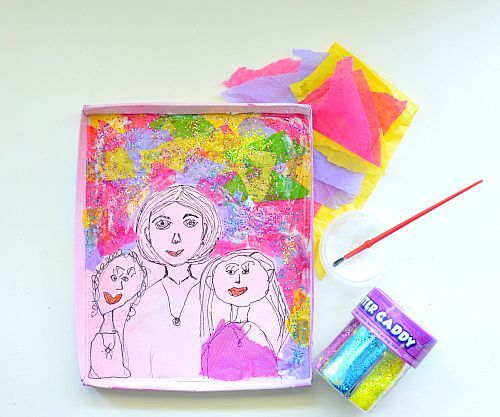 I don’t really have action shots of the process since this part of the art activity was done over a course of 2 days and was often done on a whim without a set plan or time. So camera did not come out. Decorating the family portrait involved lots of cutting, tearing, layering and gluing. Simple decoupage activity so to speak The children can cut the colored paper and glue them as s background for the portrait to simply make the figure stand out. Younger kids might need help with finishing off near the edges. Great practice for cutting and gluing. { Fine Motor Activities}
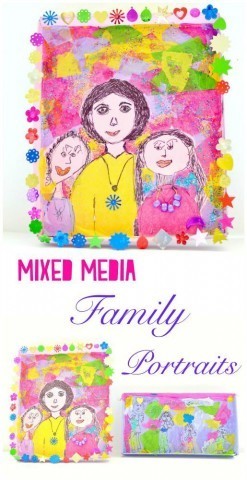
 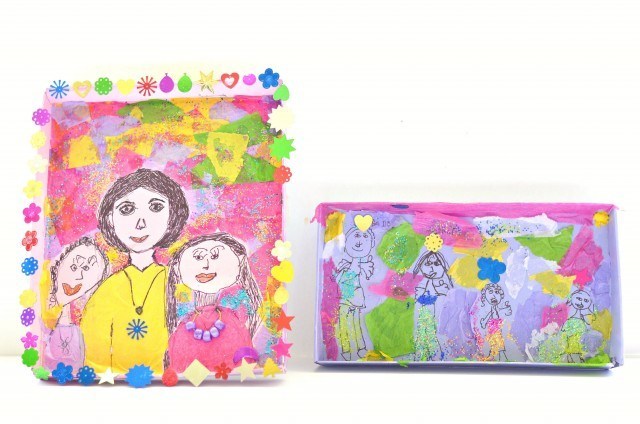 Once the kids are satisfied with the layering, one more layer of glue goes on top of the colored paper. Then a good shake of glitter on top of the glue to have the glitter stick to the colored tissue paper. Other details included are the border around the lid with sequins, clothes for the people using tissue paper and a necklace made using a small gold string and beads. The possibilities are endless!
 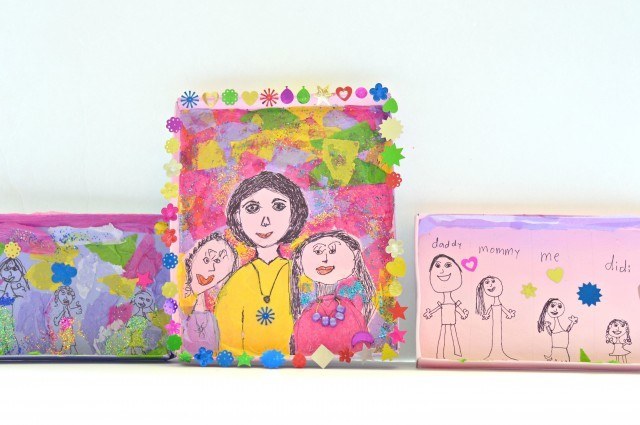 Art with recycled materials are the best, aren’t they? Remember our art studio in a box?
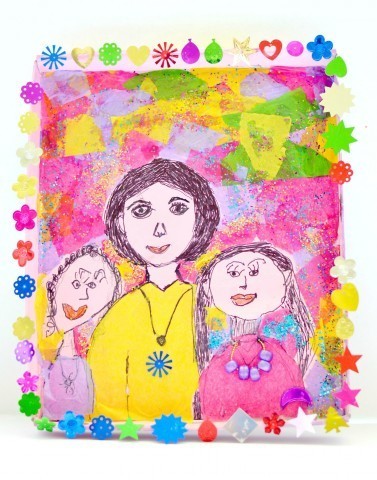
Pin these images to save this idea.
Some wonderful collaborative e-books we have released! A book filled with playful science and math activities
Check out our resourceful e-book filled with many preschool play ideas.  We have also collaborated on another e-book with simple and practical baby play ideas.

