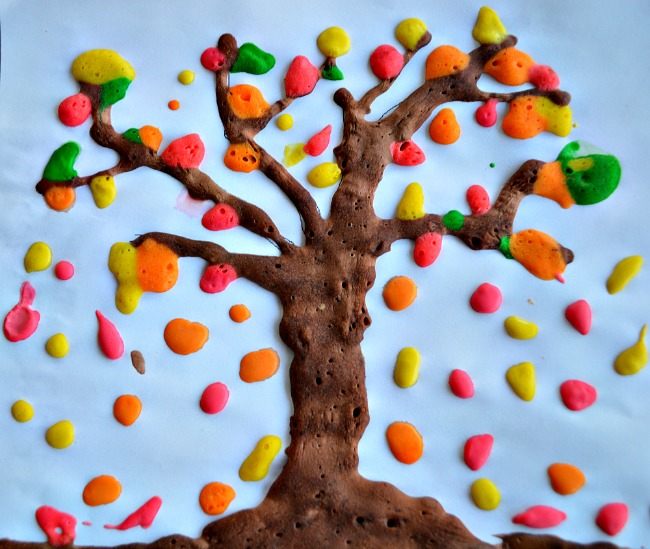
Fall Art Activities using puffy paint
It has been a while since we did any art activities around here. Although the kids engage in many forms of open ended art activities almost everyday we haven’t done a full-on art project per se. Looking back I guess we were on a messy play and sensory activities kick. Since we are doing fall crafts and activities to welcome the season change, we decided do immerse ourselves ( yes, that’s what happens when we do art activities here) in fall art activities.
We LOVE puffy paint! Last fall, we did a puffy paint leaf activity. Since the kids are a bit older we upped the complexity of this fall art activity and did a puffy paint fall tree art. It is great to look back and see how the kids have grown, especially my toddler’s development in the fine motor skills department.
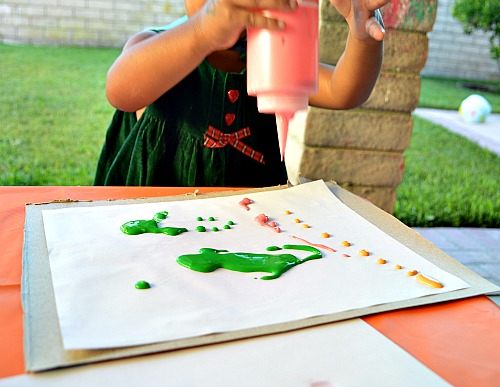
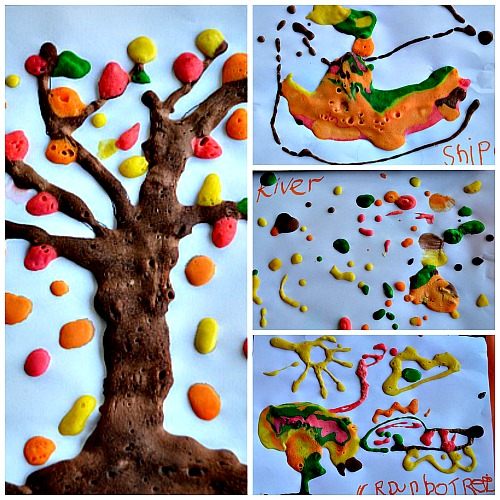
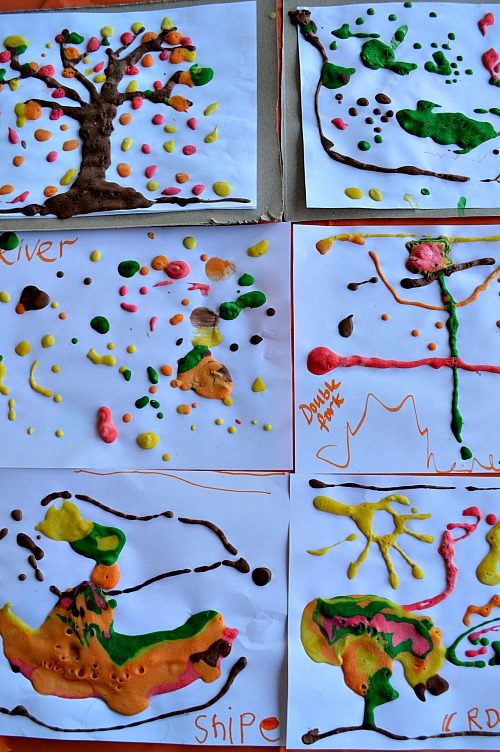
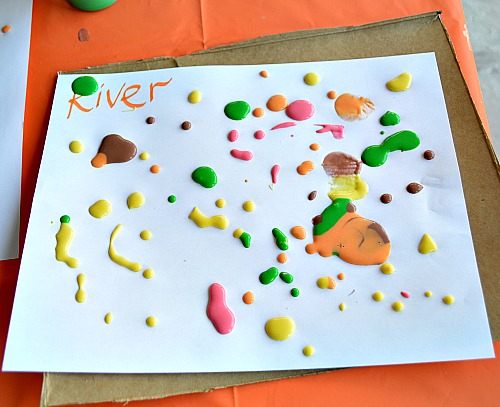
Please don’t write off this fall art activity as heavily parent-led, cute artsy craft. If you look down the post you will see the kids’ exploration. Having said that I have to say that my older child LOVES seasonal activities and loves to create. She takes pride in her creations and enjoys looking at her stuff adoring her room and our house in general. Besides, these art activities are just *invitations*. The kids always have the option of saying “no”, just like the way my toddler said on this particular day. “No, mom I don’t want to make a tree. Only a river and a turtle”. Scroll down to see a toddler’s puffy river and puffy turtle.
Materials:
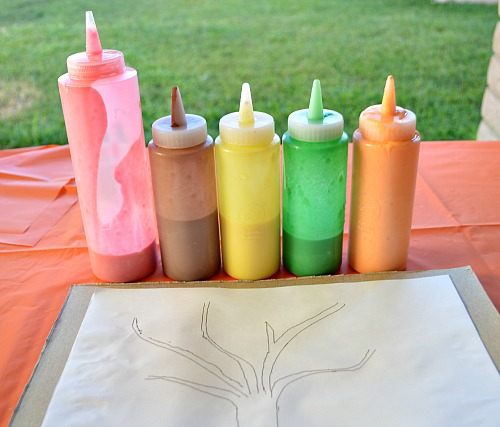
Puffy Paint in Fall Colors
Fall tree outline (optional)
Affiliate links to the products used at the end of the post.
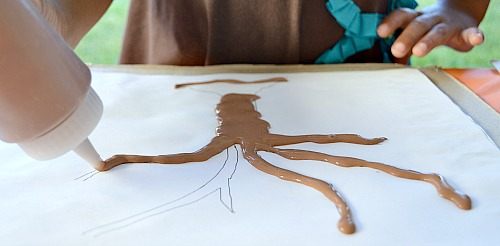
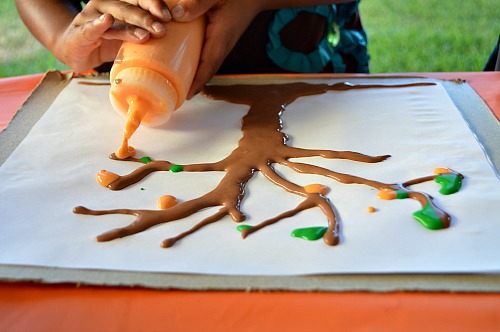
My preschooler jumped at the chance of doing an art project and got on to filling in the trunk with her brown puffy paint. She has developed amazing sense of control while working with materials like these. Doing shaving cream drip art activity, cotton rounds art activity and many art activities like those must have helped. My toddler’s control of bottles is getting much better as well.
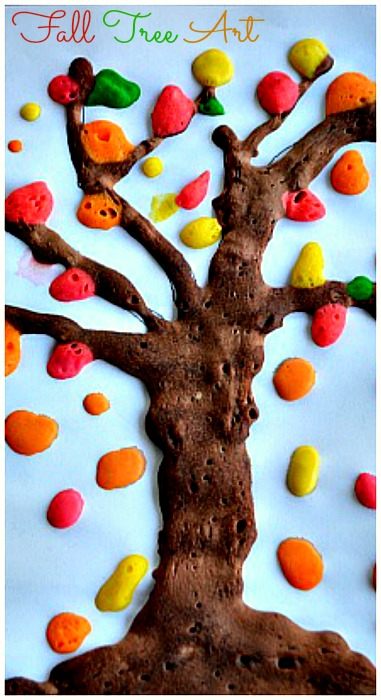
Just the filled up tree trunk got her excited while she kept repeating “Mom, this trunk looks just like chocolate”. This fall art activity is turning into a fun one!
Then she proceeded to use her fall colored puffy paint to create the leaves for the now dubbed” chocolate tree” She did not need any directions and was good with creating small dots as leaves. She even tried to get the leaves realistic as possible. Her art work has gotten very precise and deliberate and she works in stages and chooses her colors. Every now and then she would ask ” Does this color look nicer next to this color or the other one” I usually don’t answer those questions and gently have her decide on her own with a ” What do you think?” She usually makes a decision and goes with a combination. I’m loving her developing color sense!Easy Art Activities like these increases my kid’s already present interest in art.
That’s my toddler creating a river. Usually she has to do the same art project her sister is doing. This time I was glad that she chose something all by herself!
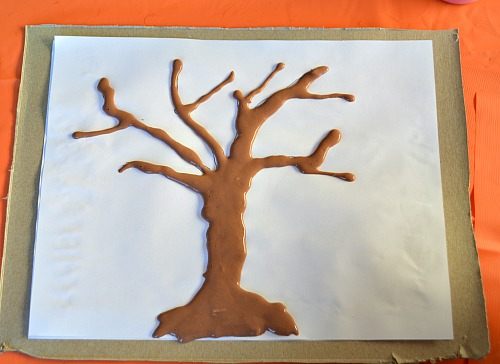
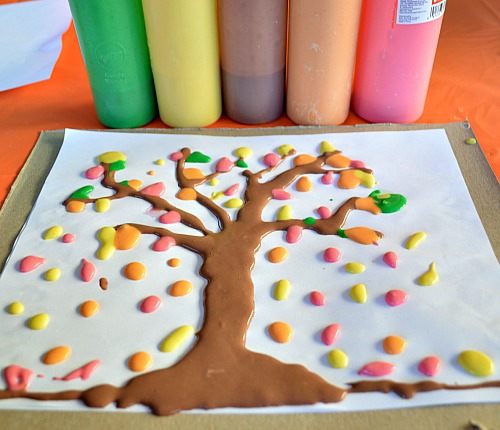
This is how the fall tree made with puffy paint looks before “puffing it up”.
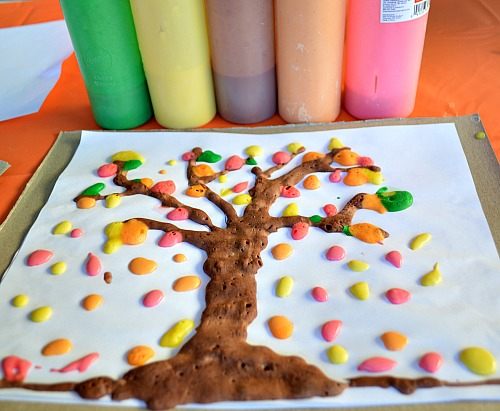
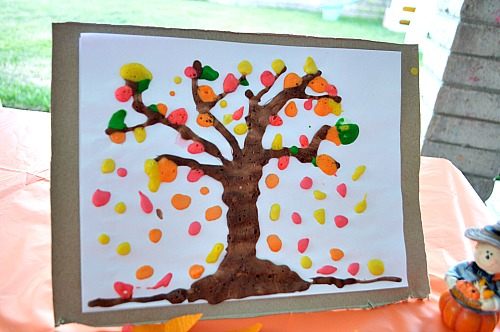
We popped the art in the microwave for 30 seconds in 10 seconds intervals and it came out looking gorgeous like this.
More of the kids’ products. I have to say my older daughter and I were on the same track with the trunk. Both of us thought the tree trunk looked VERY REALISTIC! I mean it looks like an actual tree trunk. Don’t you think?
The art looked great outdoors.
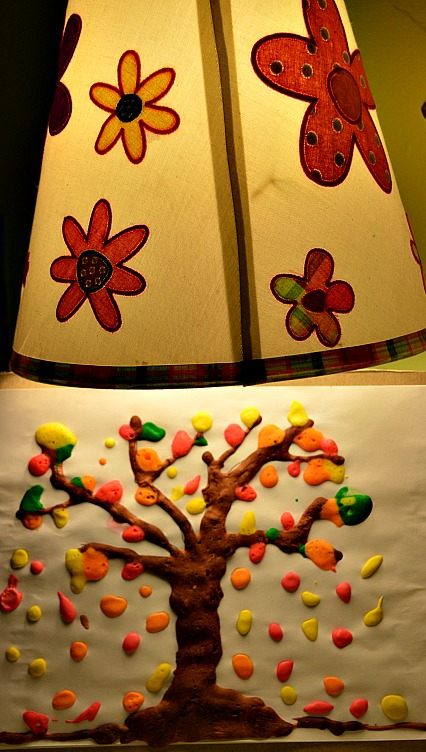
And indoors. Granted it is a lousy picture in low light conditions. But I think the fall tree art will look stunning in your kids’ room.
Oh it was a fun evening for all the three of us.
Quick Tip:
For puffy paint projects it is recommended you use thick paper or cardboard. I used to use cardstock paper. But it turned out to be a pricey affair because of the sheer number of art the kids churn out.
Now I present you with my frugal method.
I don’t want to cut out many pieces of cardboard. I lay down regular white sheets of paper on an outdoor table we usually use. The paper takes the paint well. Once you are ready to microwave the art, just place them on a cereal box ( cut out a rectangular piece) and zap them in the microwave. Once the art is puffed up remove the sheet and use the same cereal box to zap the next one..This way you can use white sheets to do this art project. I even have a couple of them framed. I keep them for about 2 weeks before throwing them out ( I have seen cases of mold)
Alright so the recipe?
I used a modified version of Housing A Forest’s puffy paint recipe.
Check out the original recipe and see all her kids’ GORGEOUS art. Tammy is a high-school art teacher and she knows her stuff!
- 1/2 cup all purpose flour
- 2 tsp baking powder
- Liquid water colors ( I just love these)
- Water ( Just enough to get a batter like consistency)
Use a whisk or your hand to remove lumps.. Lumps just kill the fun.. I have to say the liquid water colors gave the paint a beautiful color. My fellow liquid water colors “obsessee”, Asia from Fun At Home with kids has written a killer post on ways to use liquid watercolors. Do check it out! You will fall in love with these guys.
Thanks for reading
Affiliate Links to similar products used.
Check out our resourceful e-book filled with many preschool play ideas.
We have also collaborated on another e-book with simple and practical baby play ideas.

I noticed that there is no salt in this recipe, is it omitted accidentally. Also how long does this paint last (how do you store them)? Thank you for this great idea, 8 am planning to use this art project this weekend 🙂
How long do we put the paper in the microwave
Depending on the amount of paint you use anywhere from 10 seconds to 30 seconds on HIGH.
Anna, sorry about your personal experience. Blog ads should not be popup. It is on sidebar or the banner. If you provide me the type of device you are using, I can follow up with advertisers to see if any script is misbehaving. Thanks for your patience.
This is a nice idea.. i wonder if my 2 yrs old can play this?
Could I use regular food colors?
Yes, food colors work too.
Your fall trees are beautiful! I love Puffy Paint! I am planning on puffy paint pumpkins for my preschool and Jr. preschool classes. Would it work for me to put the paint in a bowl and have them “paint” the pumpkin with a paint brush? And I have never put the puffy paintings in the microwave! I can’t wait to try that! Thank you!
The kids will really enjoy the “puffing” part! It instantly creates a 3D effect for the art. You can certainly give the “puffy paint” in a bowl with brush and make it like a more open ended sensory play/art. But the art will not really “rise” up as they would when painted with squeeze bottles since the brush tends to flatten the paint a bit more than the bottles do. Hope you and your class enjoy the art project.
This looks like so much fun! I’ll be featuring this on The Crafty Crow soon!
Thanks for featuring Cassi