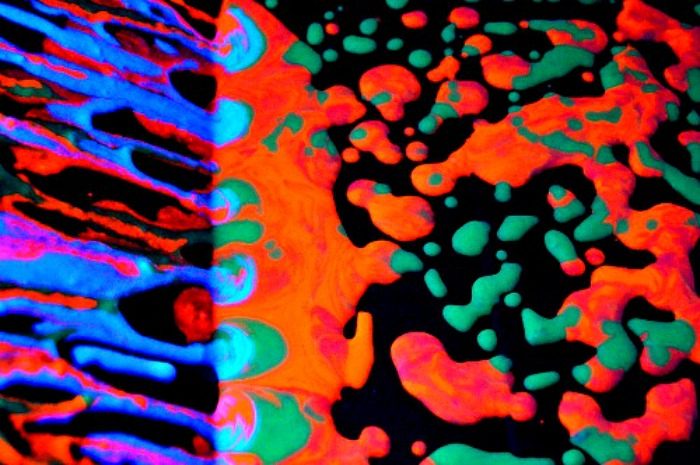
Homemade Paint Recipes : Glowing Puffy Paint
Engaging in art activities for kids in itself is fun. Add to the fact that you get creative with homemade paint is icing on the cake! Make this simple glowing puffy paint and enjoy with your children
Glow in the dark activities for kids has been popular for a while now but we haven;t quite gotten deep into that realm simply because I could never find the elusive black light. Finally After seeing Babble Dabble Doo’s glowing process art I purchased the light online and the purchase was worth every single penny. I under estimated the fun factor which comes along with glow in the dark activities. Oh My God! We couldn’t stop with the squeals, giggles and the “ wow.. look at that. How beautiful” Let me stop gushing over this glowing homemade paint recipe and move on the actual art project.
The recipe is the same one we have always been using. The ever-so popular microwave puffy paint. Although this time I didn’t quite get the measurements right and the paint did not puff big enough it was still a gorgeous process even if the paint doesn’t puff. The pictures will you the story!
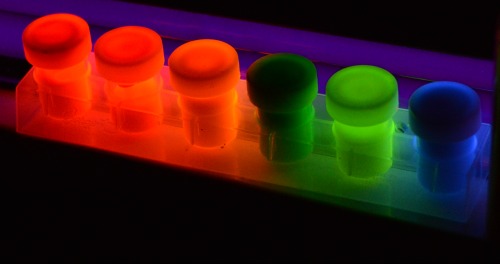
The fluorescent paint we used to get the glowing pigment was purchased online.
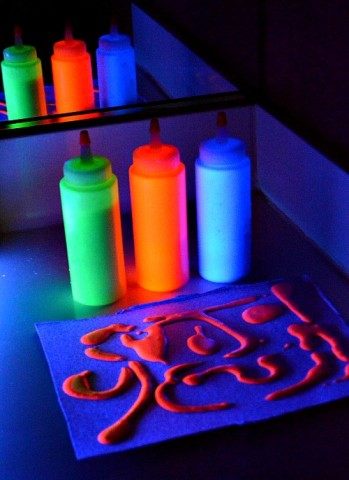
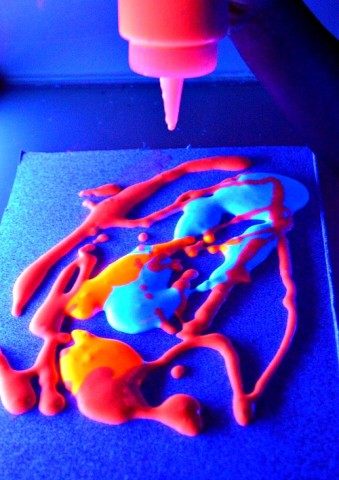
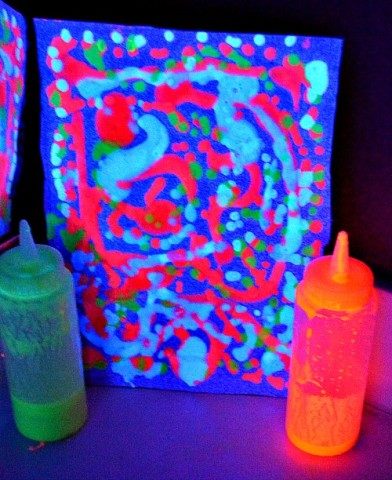
With 4 bottles of glow in the dark homemade puffy paint we found a nice dark spot and set out cut up cereal boxes as canvas. You just need heavy material to do this art project. We go with cereal boxes or cut up card board boxes.
The children were let loose with the squeeze bottles filled with these gorgeous homemade paints.
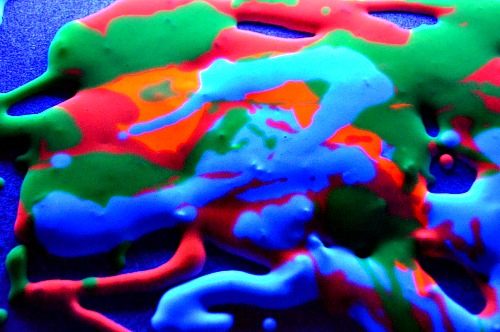
They squeezed and made glowing puddles.
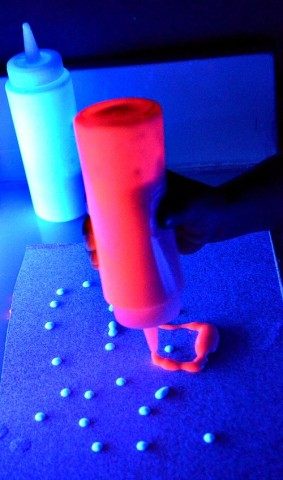
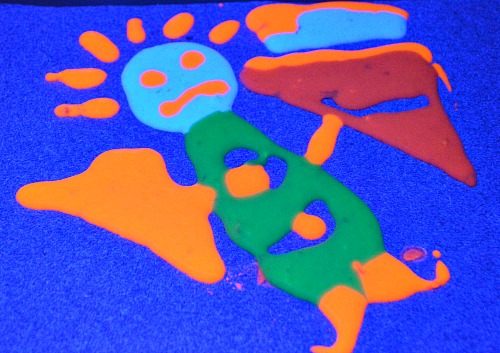
My older one ( 5.5 yrs) loved making dotty pictures
My toddler really wanted to empty the entire contents on a single sheet. She also made sure she emptied the entire bottle on the same place.. haha for the little ones it was all about the process.
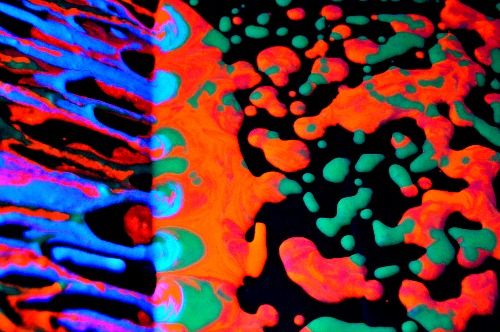
We experimented with pour painting using this homemade puffy paint. I bent a cardboard sheet and placed it at angle. Then we started pouring all he colors over the slanted side. The flowing glowing paint was a beautiful sight!
After microwaving the art
Homemade Paint Recipes : Glowing Puffy Paint
Materials { Links to products provided for your reference}
- Black Light
- Fluorescent Paints
- Squeeze Bottles
- Flour
- Baking Powder
- Cereal Boxes/cut up cardboard
Process
Add water to ½ cup flour until you get a nice thick mixture which flows freely. Make sure you remove all the lumps. Add the 2 tsp of baking powder
Choose a fluorescent color tub and empty its content.
To have the brightest glow one tube of fluorescent color is needed for about ½ cup of flour. You can do 1 cup too but the glow will be kind of subdued. You can scroll up and see the difference. The brightest orange is ½ cup flour and the pink is 1 cup flour.
Once the art is done zap it in the microwave for about 30 seconds in 10 seconds intervals.
Thanks for reading
More art activities for kids on our category page
Homemade art and play recipes here
I love Learn Play Imagine for her creative homemade paint recipes.

That is right Ana, I have also planned to do this for the kids in our family
How expensive are the fluorescent stuff? Is this cheaper than buying it? And does it only puff after being microwaved?
How do you get the glow stuff to come out of the tube? I cut one open and I shook it and it really didn’t come out very good at all. Is there a trick to get the stuff out?
I just used a small spoon to scoop out the paint and added it to the puffy paint ( in the squeeze bottles). Use the paint with a black light on in a dark room, you should have a pretty good paint.
This turned out so awesome! I love the puffy paint texture and marbling 🙂 Bravo!!!!
For a black light, go to any mall and find the store called “Spencer’s Gifts” they still sell black lights. They sell both the florescent tube style as well as the bulb style.