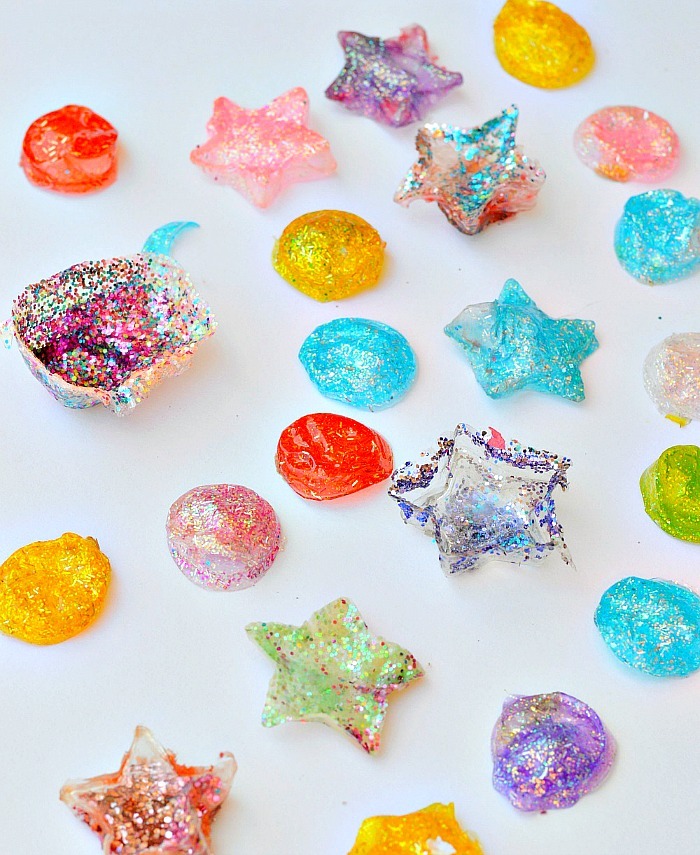
Play Recipe: One ingredient homemade treasures for play
Make these super simple treasure gems with just one ingredient. Use them in play, learning or any kids activities.
When the kids even younger { 2 &$} we love a good play recipe that kept them engagaged and satisfied their sensorial needs. We still do! It’s crazy that I’m even writing this play recipe post since this was made just for my kids who love to hold on homemade treasures. They are always the kids who gravitate towards all things miniature and are big collectors of odd things they find on our walks. We had our sparkly gems and treasures for a long time and the kids used them as props in many of their pretend play and role play kids activities
Ready to make super shiny gems and treasures that your kids will adore?
Set up : 5 minutes
Supplies { affiliate links included for your reference}
- Elmer’s Washable Glitter Glue
- Easy Push Pop out round Mini Ice Cube Trays with Flexible Silicone Bottom, Pack of 3
- Star Shaped Ice Cube Molds
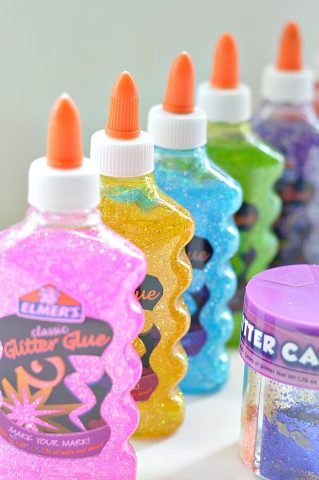
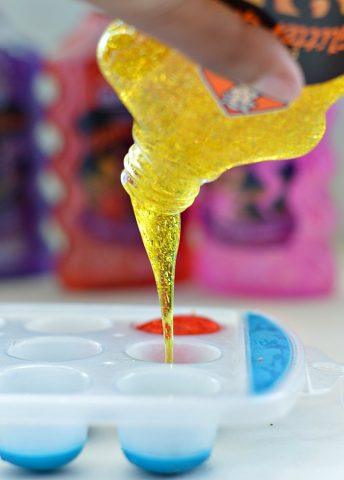
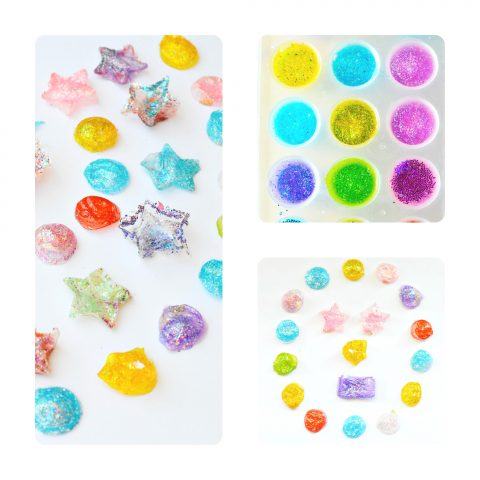
We filled out our ice cube trays { we used star shapes and circular ones} with glitter glue and set them out to dry.
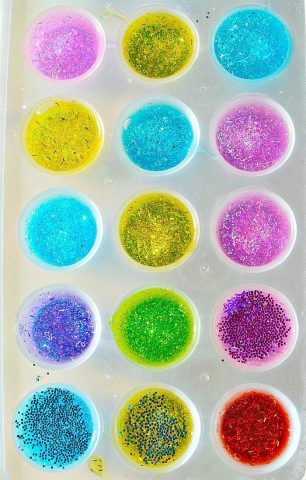
This one is from our earlier attempt where we used white glue and glitter. You can try this as well but the translucent gems that we got from using glitter glue totally trumps these guys.
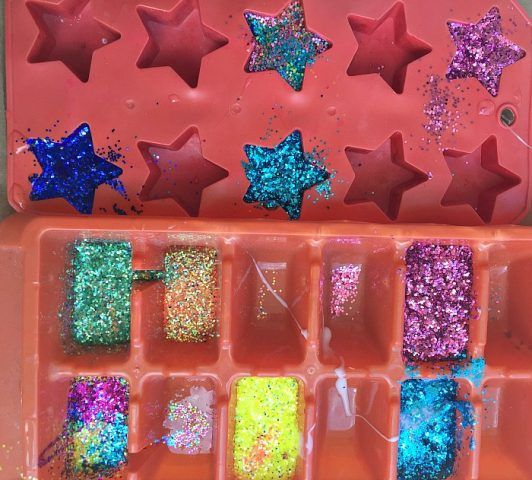
Like I said earlier since I was not planning on posting this project I did not click pictures of the drying process. It is very simple and straightforward though.
Set the glitter glue filled ice trays in the sun and check everyday. After a couple of days you should be able to turn them upside so as to give the bottom part a chance to dry. This is where this easy push pop out mini ice cube trays came in handy. But any silicone ice cube tray should work since they are very easy to manipulate while trying to pry out the dry glue gems.
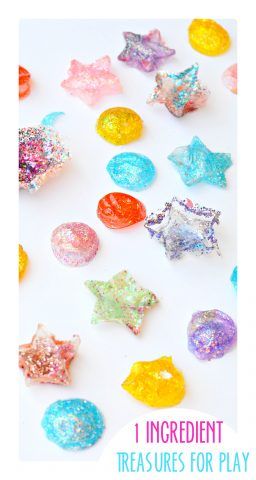
The dried glue gems are amazing to look at.
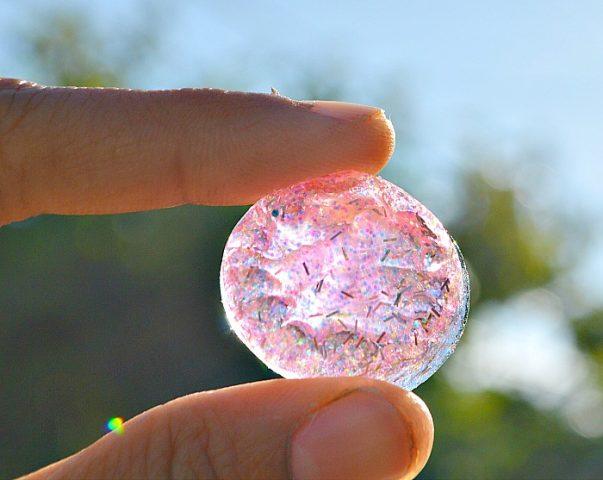
Hold them up against sunlight and they look quite mesmerizing
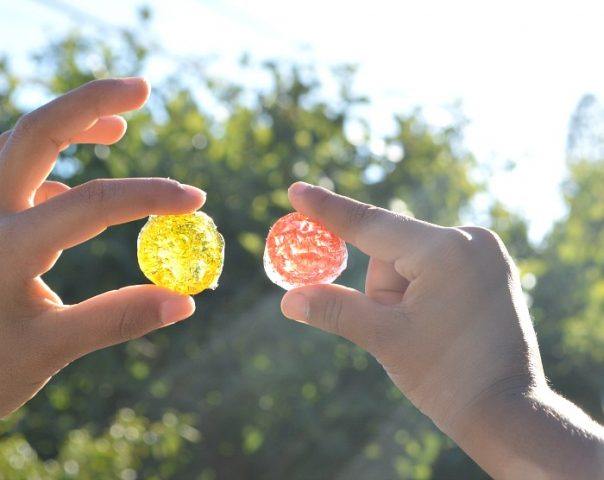
These stars are our favorites. They dazzled in the sunlight and the kids couldn’t wait to play dragons, princesses and the treasure chest with them.

Once the glue gems dry trim off the edges for a cleaner cut.
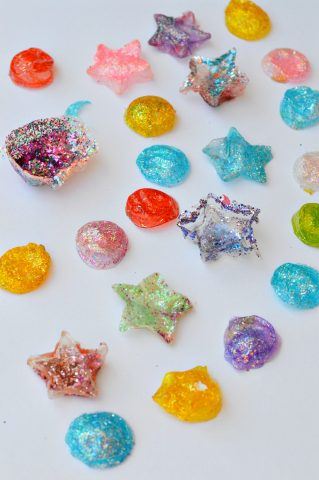
I’m in love with the gold pieces
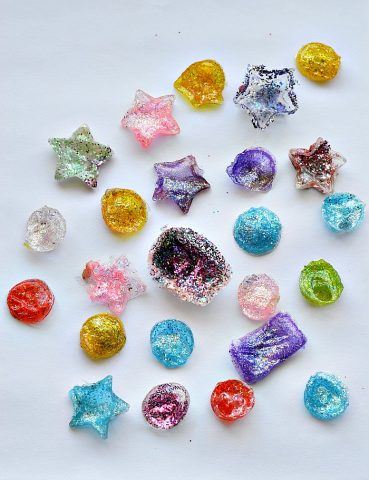
Use them as manipulatives and use them for learning or for open ended art projects.
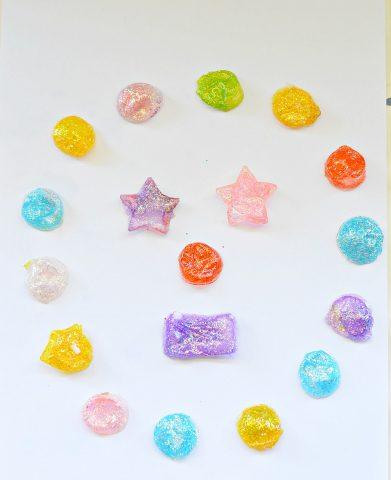
Yes, she had to have a crown.
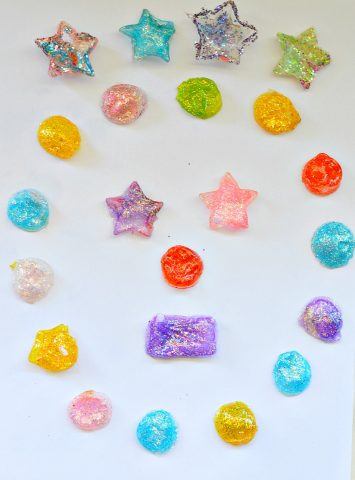
Our kids paired them with wood cookies {upcoming post} and Shopkins for pretend play sessions.
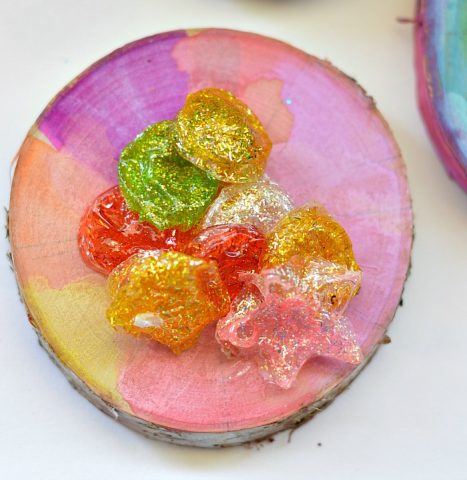
Here is the simple process of making your own glue gems and homemade treasures for play and learning
- Fill up silicone ice cube trays with glitter glue
- Let them dry for 2 days in the sun
- By now you should be able to flip the dried glue gems.
- Turn them over so the bottom part dries
- Pop them out after 1 more day
- Trim the edges for a clean cut
- At the end of 3 days you will have sparkly, shiny glue treasures made with just one ingredient
More play recipes here
Pin this image for future
Want to check out all supplies options?
Some wonderful collaborative e-books we have released! A book filled with playful science and math activities
Check out our resourceful e-book filled with many preschool play ideas.  We have also collaborated on another e-book with simple and practical baby play ideas.


