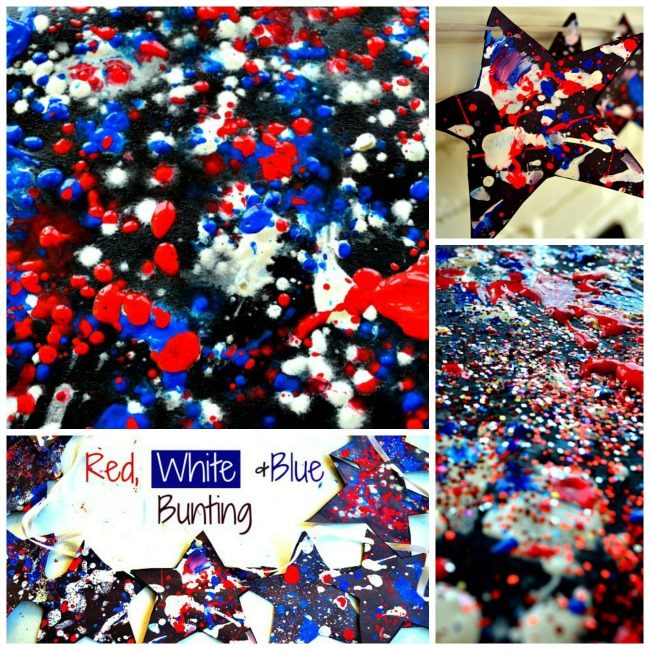
July 4th Art using a simple splatter technique.
We have been hearing fireworks for a good week now and the previous year my family and I enjoyed the fireworks display. Can’t wait to hit the beach this time!
While talking about the significance of July 4th my preschooler instantly posed this question ” Huh mom, countries can be independent? I thought only kids HAVE to be independent” The sassy question obviously stemmed from the very many mom talks about not screaming ” Mooooom for every.small. thing”
Since my kids are on the younger side I planned on doing a simple July4th art activity to give us an opportunity to talk about the holiday.
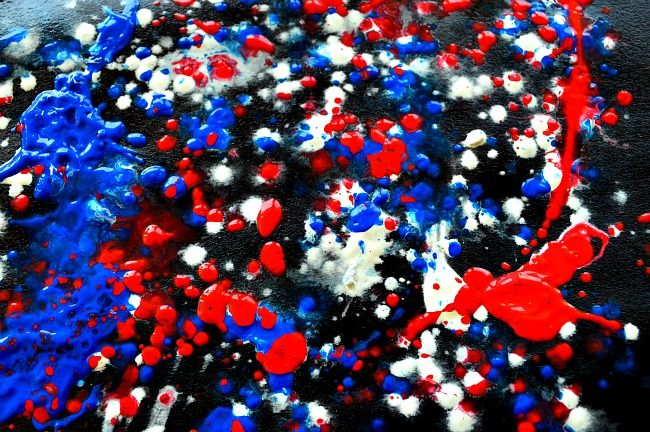
If you have been following the blog you will have read our recent two large-scale splatter painting art activity. We painted with balls and more recently had a blast painting with squirt guns. Today we are exploring Pollock style splatter painting in reds, whites and blues.
All you need are red, white and blue kids paint, black construction paper and an old toothbrush.
July 4th Art: Splatter painting 3 ways and display idea.
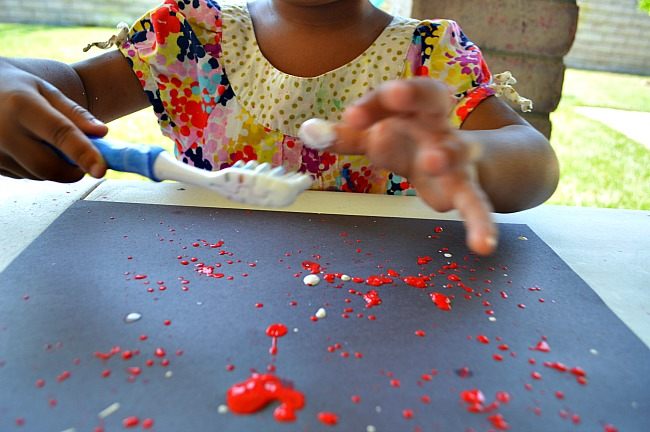
This simple art technique was which was so much fun and was met with many giggles and silly tricks. Both the girls tried all the 3 techniques. Here is my toddler trying the most hardest of the 3. We dipped the toothbrush in a bit of water and then in kids paint. I showed her to use her left the thumb to push down the bristles of the toothbrush top to bottom while facing the paper. She tried and did good although paint splattered all around the paper. [It is very important to do this art activity outside on a surface well covered. Just cover your outdoor table with paper and try this one.]
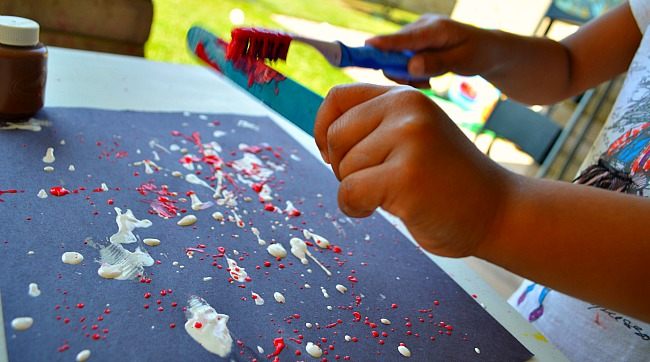
The second technique involves using a craft stick. Holding the toothbrush in one hand use your craft stick to push down the bristles and splatter paint on the paper. My 4 year old however found that holding the stick and moving the brush was easier.
The final one was true Pollock Style . Holding the paint dipped toothbrush, my preschooler just flicked the brush on to the paper and got big globs of paint on it with many speckles all around it to create a beautiful effect.
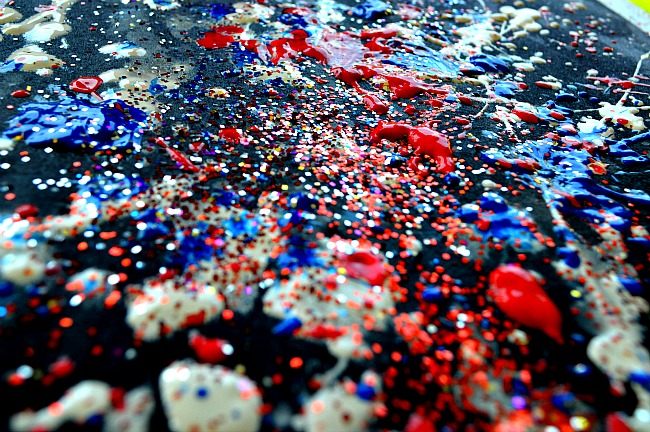
We adorned the product with copious amounts of red and blue glitter.
Quick tips:
While creating this July 4th art try to start off with the white paint first. The splattering red and blue have a much better effect if they land on the white paint.
Try to wet the paper before splattering. The colors are more vibrant and the kids let out may “ooohs and aaahss”.
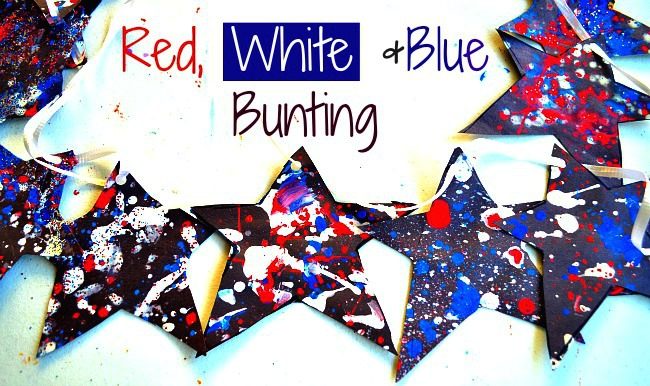
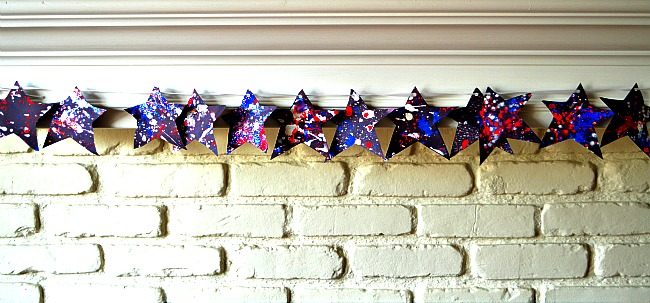
That’s the end of the July 4th art session. You can let the art work be and enjoy them as is. I wanted to display it- for once and this time painter’s tape display on the wall is not going to cut it. So once the paint dried I quickly cut out stars from the art work and strung them through a twine and made a simple bunting of sorts.
Remember our Easter Clay ornaments?
I like the way our fireplace looks. But please make sure if your child is ok with you making something out of their work. One time I got the stink eye from my older for creating something with her art work . Please check with your little ladies and gents after all it is their product.
Affiliate links




These turned out so pretty! I love the bright colors on the black paper, and I really like the star garland you made with the splatter paintings.
Water spill on the black paper turned out to be a good thing…The colors were vibrant