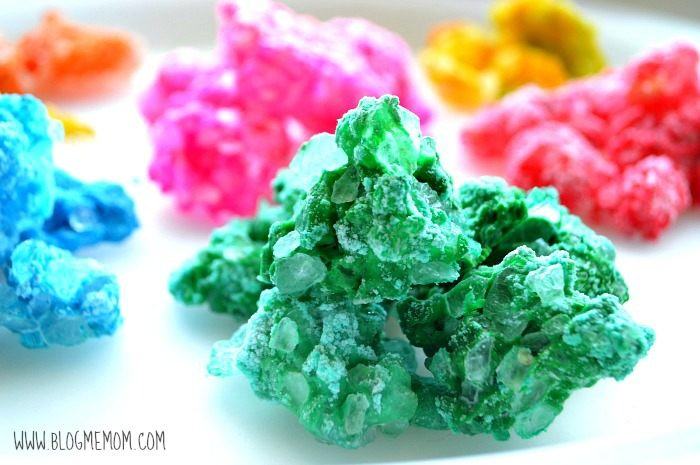
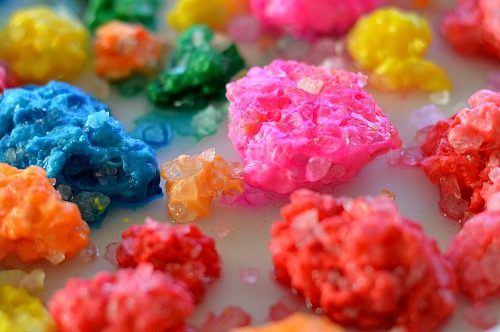
Gotta love bright colors right?! We love liquid water colors and they did not fail us in this sensory activity. We made sparkly, shiny rocky gems and jewels for play and learning. Any project that turns into a mixing and pouring type of sensory activity is always a great hit.
This post may contain affiliate links. If you choose to shop through these links, I will receive a small commission. Thanks for supporting the blog!
You will need rock salt ( ice cream salt), liquid watercolors or food colors and glue for this project. { Use ice cream salt to make crystal play dough too}
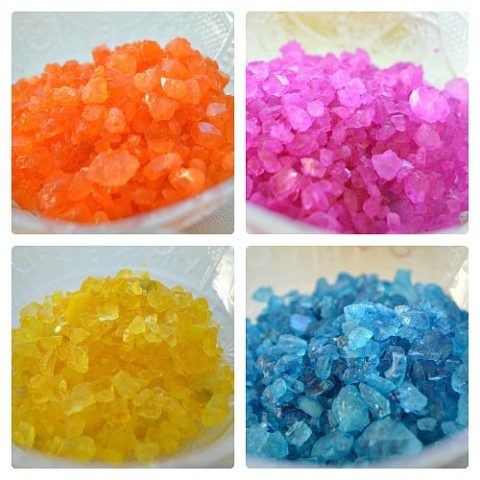
Start off with colored rock salt. {Edit: after you color your rock salt please set them out to dry. I let them dry overnight. Here is a post by Two Daloo explaining the coloring process}
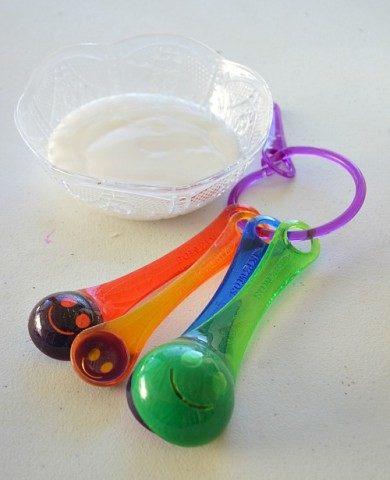
Set out white glue
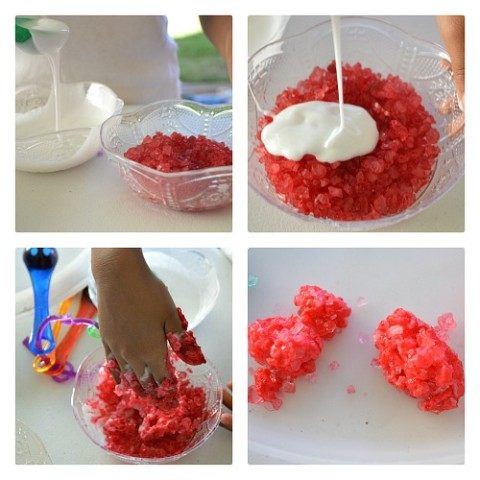
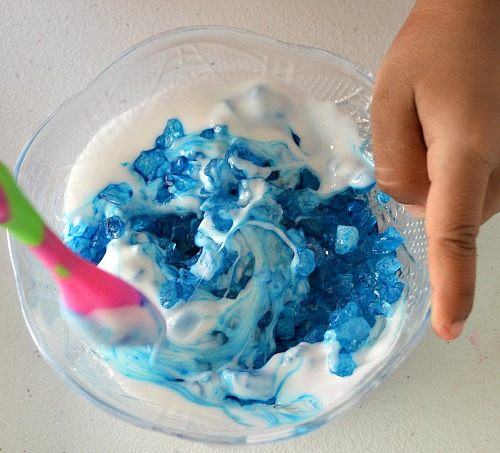
Mixing the white glue with the colored rock salt is a wonderful process in itself. The kids can practice measuring, pouring and mixing.
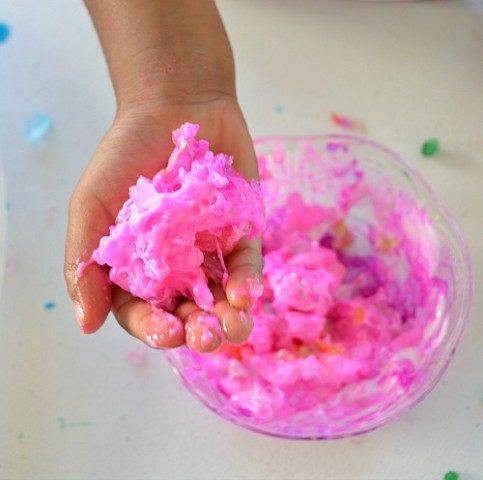
Either use your hands to mix
Or a spoon.
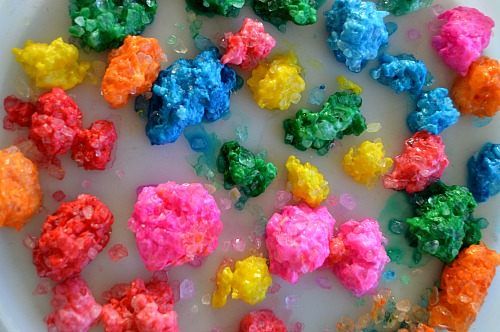
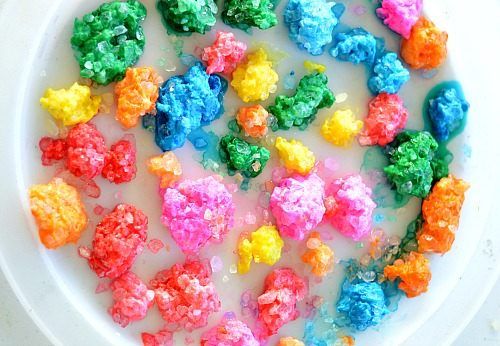
Make multi-colored gunky balls and set them to dry
Be astounded with the beauty of it all and take multiple pictures!
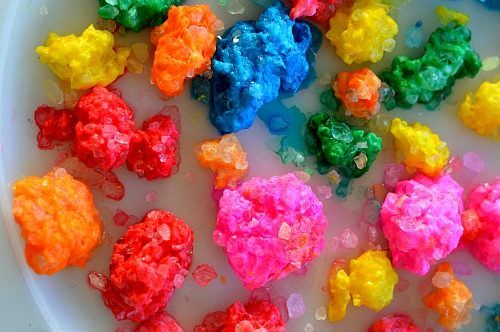
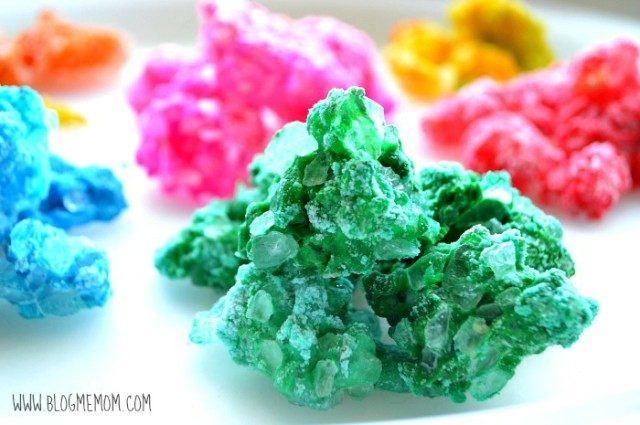
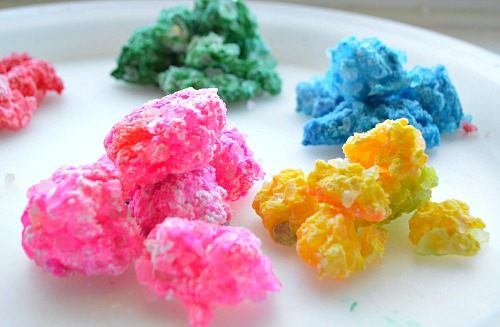
The glue and salt mix to create an instant gem/jewel effect that only enhances when they dry.
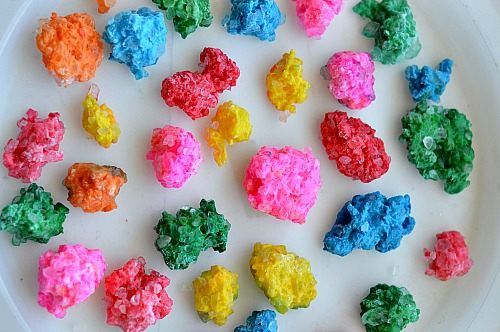
You can sort them by colors and talk about real gems and how they are formed.
Or the kids can use them in their pretend play as treasures.
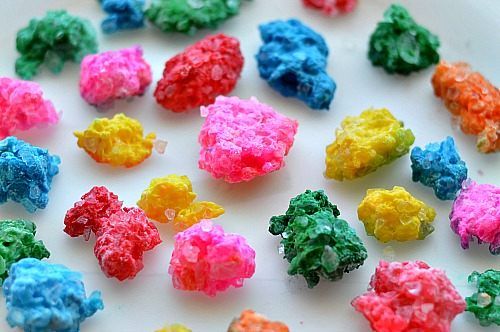
Once the gem are dry they are pretty sturdy but not sturdy enough to be thrown around like real stones!
Yep, that’s our emerald right there.
For all our art and play recipes check out the link.
Measurements:
DIY Gems and Jewels
This recipe is a popular one often found in many kids activities book like this one The Everything Toddler Activities Book.
I developed on it and made colored salt instead of adding all the ingredients together ( which works too)
To make multiple colors start off by coloring 1 cup of ice cream salt for each color. Add cup of rock salt in a plastic baggie (sealed) and add few squirts of liquid watercolors or food colors. Start shaking the bag to spread the color. Once you are satisfied with the color, lay the colored salt on a cookie tray to dry.
You can also color the glue and add the salt.
Take 1/4 cup of glue and add your 1 cup of colored rock salt little by little. As soon as the salt hits the glue the glue turns gunky. Keep mixing (either with your hands or a spoon) until all the glue is balled up with the salt.
Set all the glue-salt balls ( make desired shapes) on a clean dry flat container.
It takes 2 daysto dry. Once dry use them as you wish in play. Older children can study and learn more about different gem stones. We colored them accordingly ( emeralds, Jaspers, sapphires, gold etc)
Thanks for reading
Feel free to pin this image
Check out our resourceful e-book filled with many preschool play ideas. Both the books are on SALE! ENDS 9/14/2014
We have also collaborated on another e-book with simple and practical baby play ideas included in the above links



This didn’t work for us either. I used ice cream salt food coloring and Elmer’s glue like suggested. We let are rock salt dry over night. And all that happened was are glue balled up and the food coloring came out of the salt. Any suggestions of what we did wrong here?
This didnt work for us. The color came off of salt with the glue and water from it as well. My kids were disappointed
Hi Lily, did you let the colored rock crystals dry thoroughly?
I’m going to try this
Those came out so cool and the colors are so vivid!