Art activities using 1 minute homemade puffy paint
We have made puffy paint before with flour before. However this time we are using a super quick puffy paint recipe which is so easy to whip up.
Both the kids LOVE making their own paint. The kids always enjoy making their own art and play materials – we have made cornstarch clay, body paint and face paint, even sweet smelling cloud dough and fresh flowers play dough.
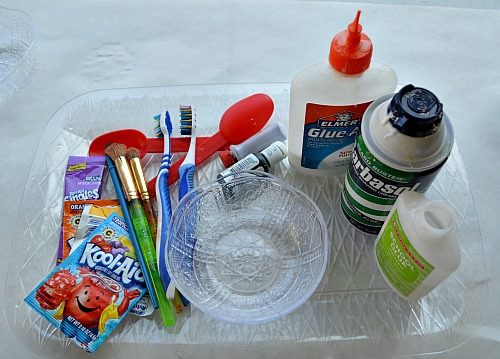
[box title=”Things we used” color=”#333333″]
- Shaving Cream
- White Glue
- Food Colors
- Kool-Aid (optional)
[/box]
So what did we do?
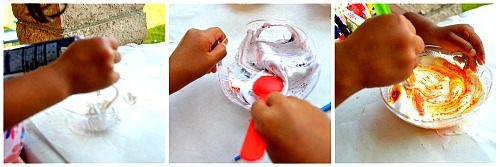
Equal parts shaving cream and glue with a few drops of food coloring or Kool-aid to make the paint scented.
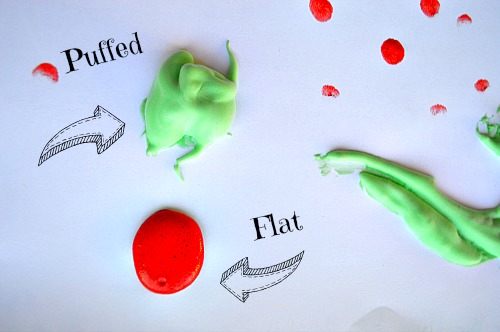
The most important to remember while mixing is to do it light and swift motion. Just like baking – keep it light and airy to get the best puffed up effect after the art project dries. I stopped mixing when I got good, stiff peaks. We over mixed a few and the paint was flatter than the others but STILL GREAT fun that smelled delicious.
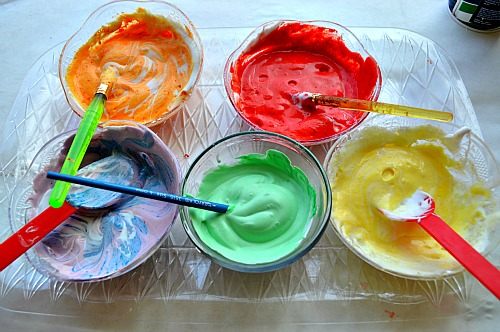
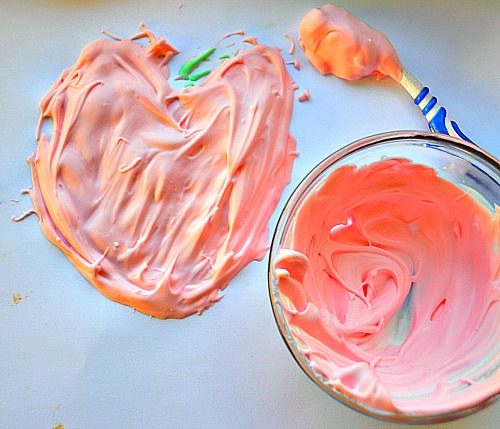
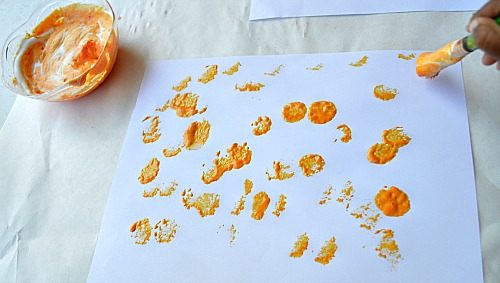
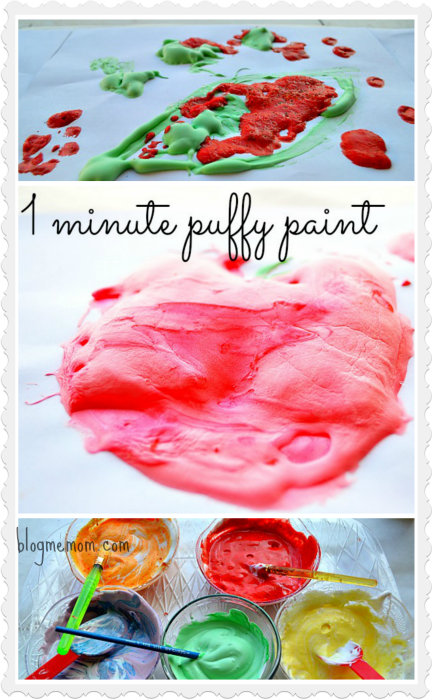
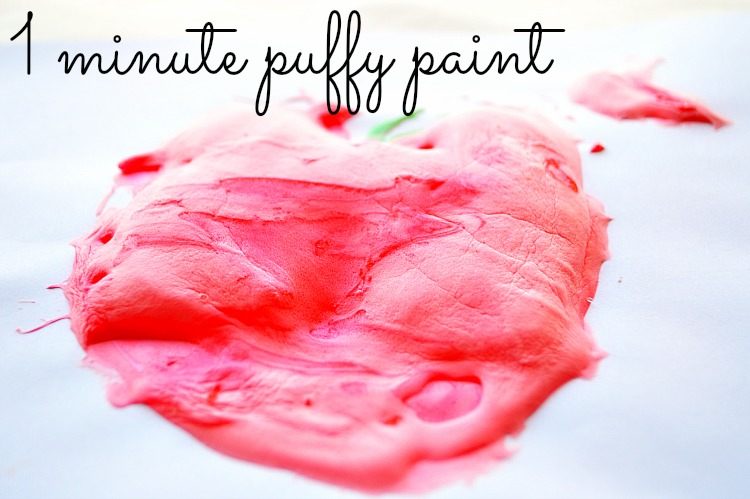
Here is an example of the texture
Kool-Aid Puffy Paint Vs Food Color Puffy Paint
Pros for Kool-Aid scented Puffy Paint
The scent- the entire art activity was enjoyed by the kids partially because it smelt wonderful.
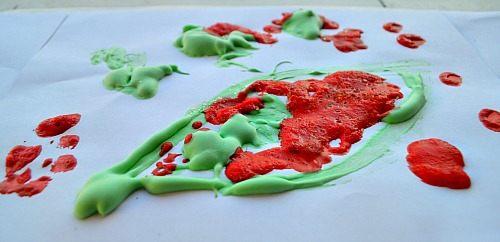
When the Kool-Aid puffy paint dries they leave these AMAZING fizzing textues
One small con is that the drink mix tends to water down the puffy paint a bit. The red puffy paint you see is the one with Tropical Punch Kool-Aid. I used a whole packet. Instead I’d recommend to use a couple of table spoons for the scent and add food color to get the vibrant colors.
Food Color Puffy Paint.
While the fruity scent is absent, the colors are supremely vibrant and don’t tend to soften the puffy paint. The shaving cream glue combination remains fluffy and airy. Check out the following images. I used food color to make this pink puffy paint. ( actually red, I just did not add much red)
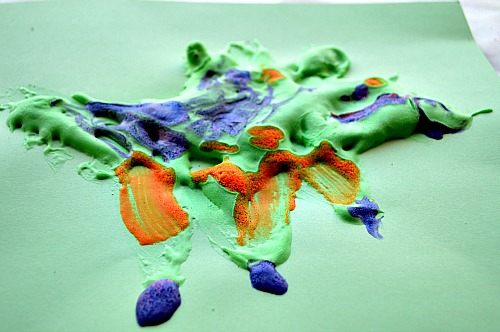
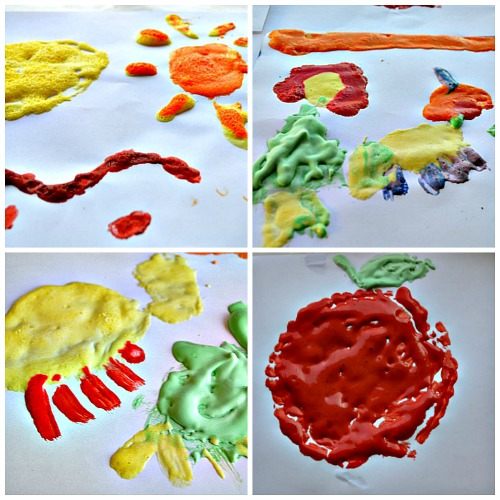
This is how the art looks once it dries
A Stegosaurus my daughter made.
Puffy Paint toddler activity
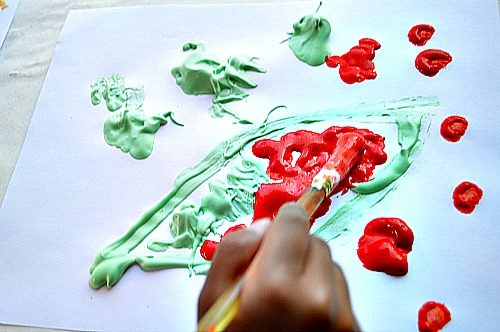
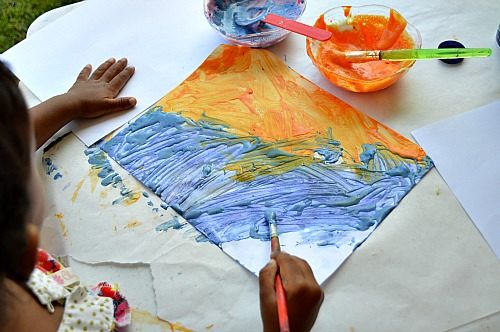
So while my older one was creating figures, designs and patterns what did my toddler do? Oh she was having blast getting paint all over the paper She did splatter on the paper with a stencil brush.
Then suddenly her goal became to cover the paper with puffy paint.
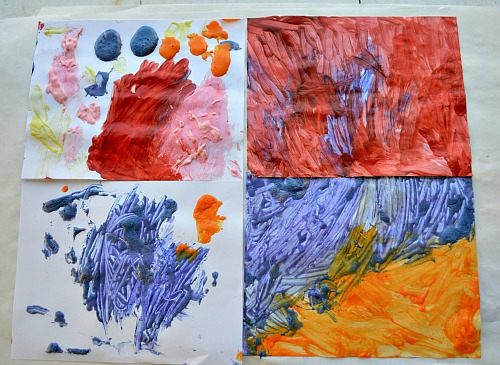
All of my toddler’s art. They were not puffy but boy! did she have fun!
Some more art
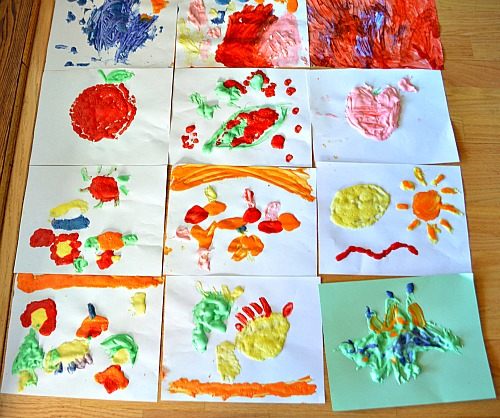
All of our completed art. You can see that my preschooler’s and mine are super puffed up!
The artwork remains puffy for about 2 days. After that it goes flat but still looks BEAUTIFUL!
Recap:
Mix equal parts shaving cream and glue.
Do not over mix and make the mixture flat
Keep it light, fluffy and airy
Encourage an older child to dab on a picture to get a puffed up effect as opposed to painting the regular way.
Enjoy the bright smiles and lots of ooohs and aaahs
Feel free to pin this image
Thanks for reading

