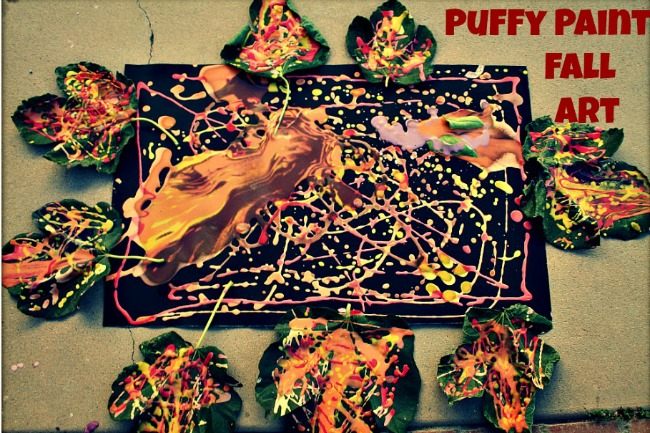
Fall Activities: Leaves Art with puffy paint
Puffy Paint- just the word sounds fun. The activity itself couldn’t have been more fun. The funnier part however was the day the girls chose to do this activity. We made fall art on a really HOT day!
To make some amazing puffy paint right at home, I used the recipe from Mom to 2 posh lil Divas
[box title=”Ingredients for puffy paint” color=”#b01212″]
- 1 cup white flour
- 2 Tbsp baking powder
- 2 Tbsp salt
- Water
[/box]
Start adding water gradually until you reach a consistency of pancake batter. The older one for some reason did not like a thicker consistency so I made a little runny. The choice is clearly yours. Remember I you are keen on puffing it up in the microwave, make it a bit thicker.
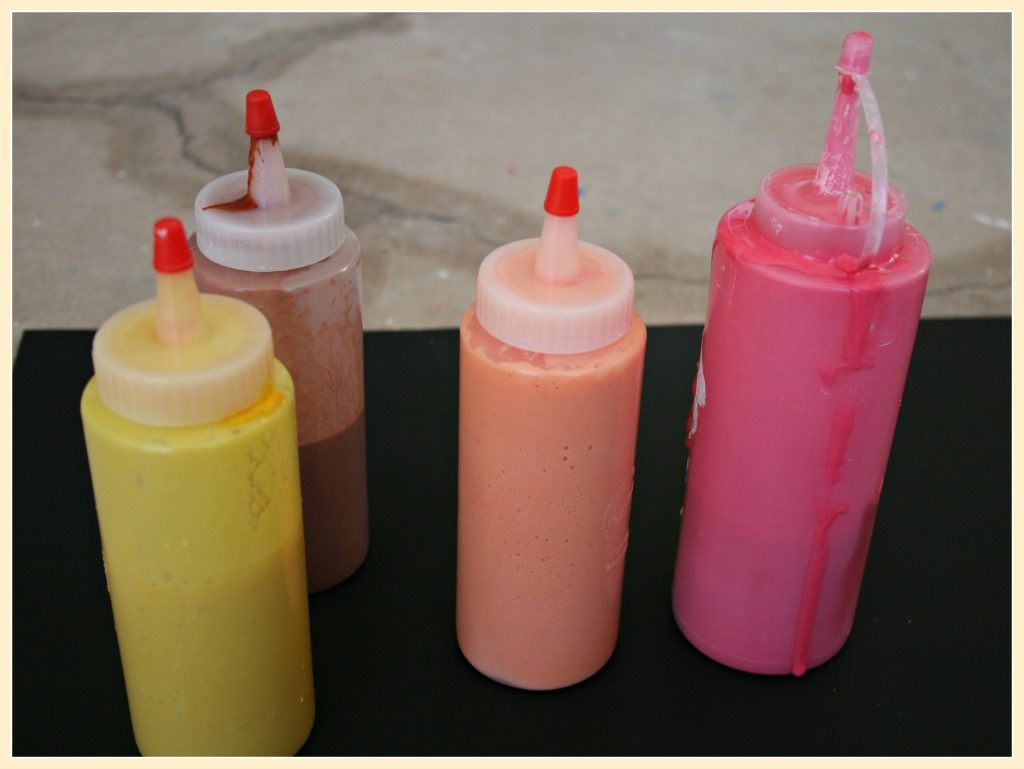
After the “batter” was done, we separated them into bowls and added food colors to each of them. We made orange, yellow,blue and reddish pink( can never get true red from the food color). How could I forget purple and black with October creeping up on us really fast ![]()
Now armed with our puffy paint,we gathered the following.
[box title=”Things you need” color=”#b01212″]
- Puffy Paint
- Squeeze bottles
- Black poster board
- Cups and spoons if you have toddler who will empty the contents in under 2 seconds.
[/box]
We put the puffy paint in different squeeze bottles and were ready to play.
I love black poster boards – makes art very dramatic.
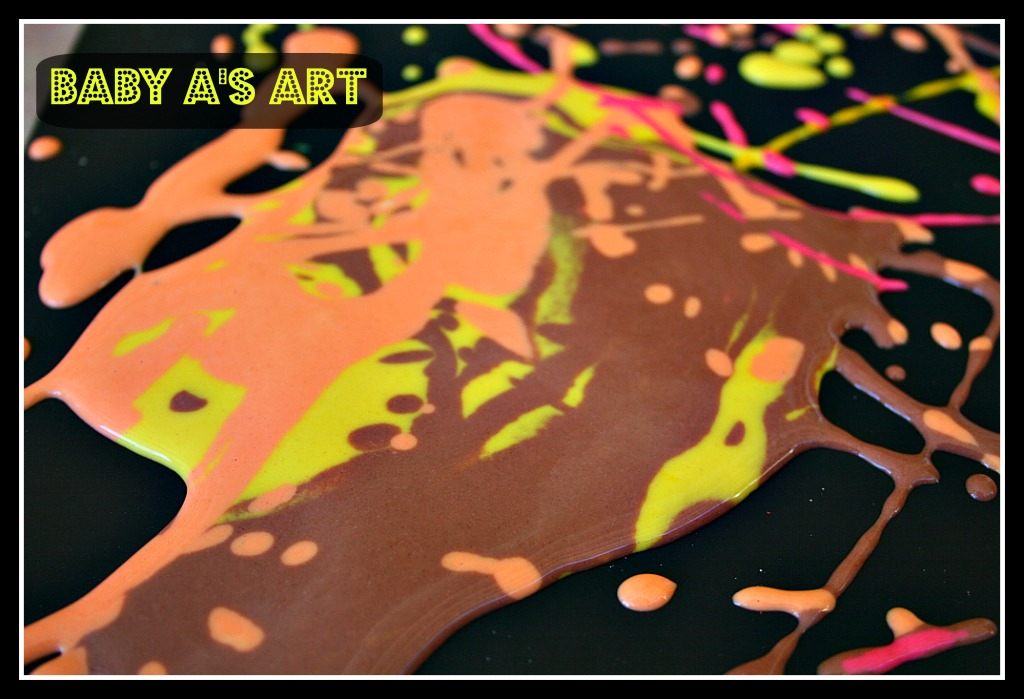
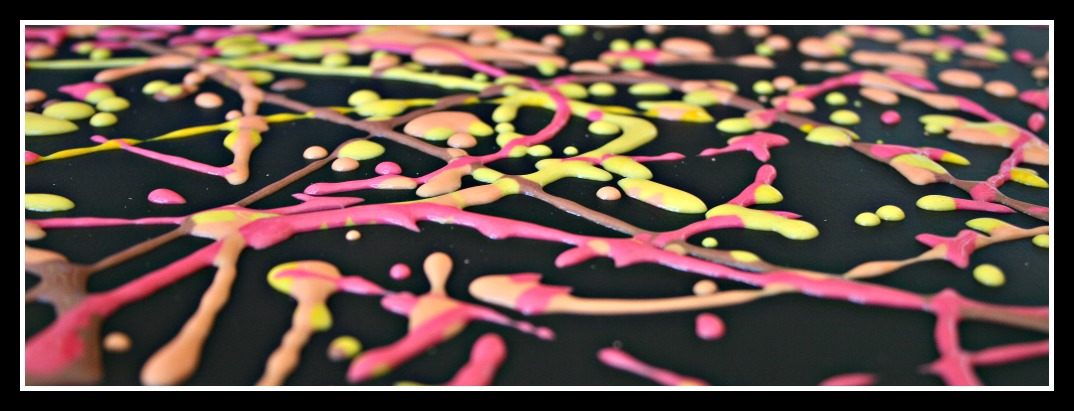
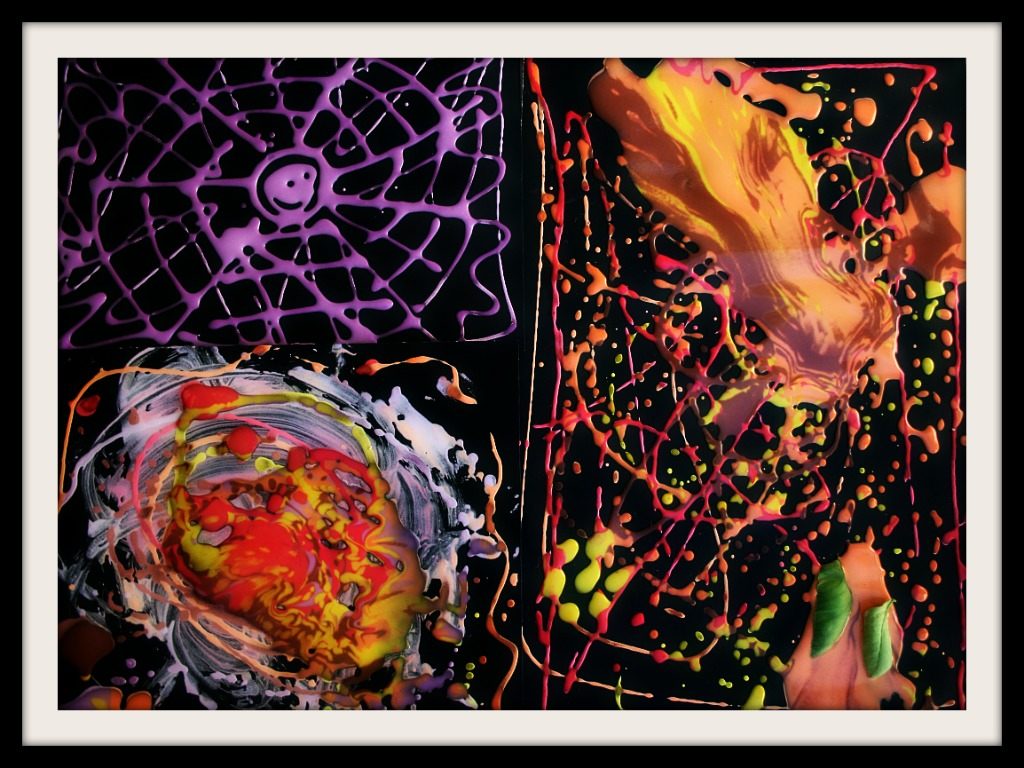
I cut a big black poster board into 3 parts with the idea that the girls can make different patterns. It worked out good for me because the toddler did make pretty rivers of puffy paint on the poster.
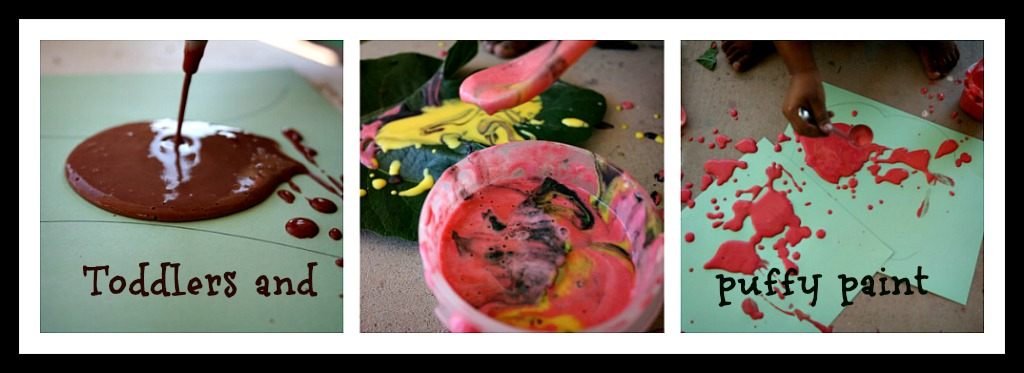
Let me ask you this – Do toddler and squeeze bottles full of paint go together? here she would have emptied the entire contents in less than 2 seconds. Keep squeezing until all the paint is gone. I let her explore squeezing the paint for a while and then quickly gave her a cup and spoon with paint in it. That definitely worked since she more fun scooping and pouring paint on the paper. After a few modeling exercises, she seemed to get the hang of the squeeze bottles too.
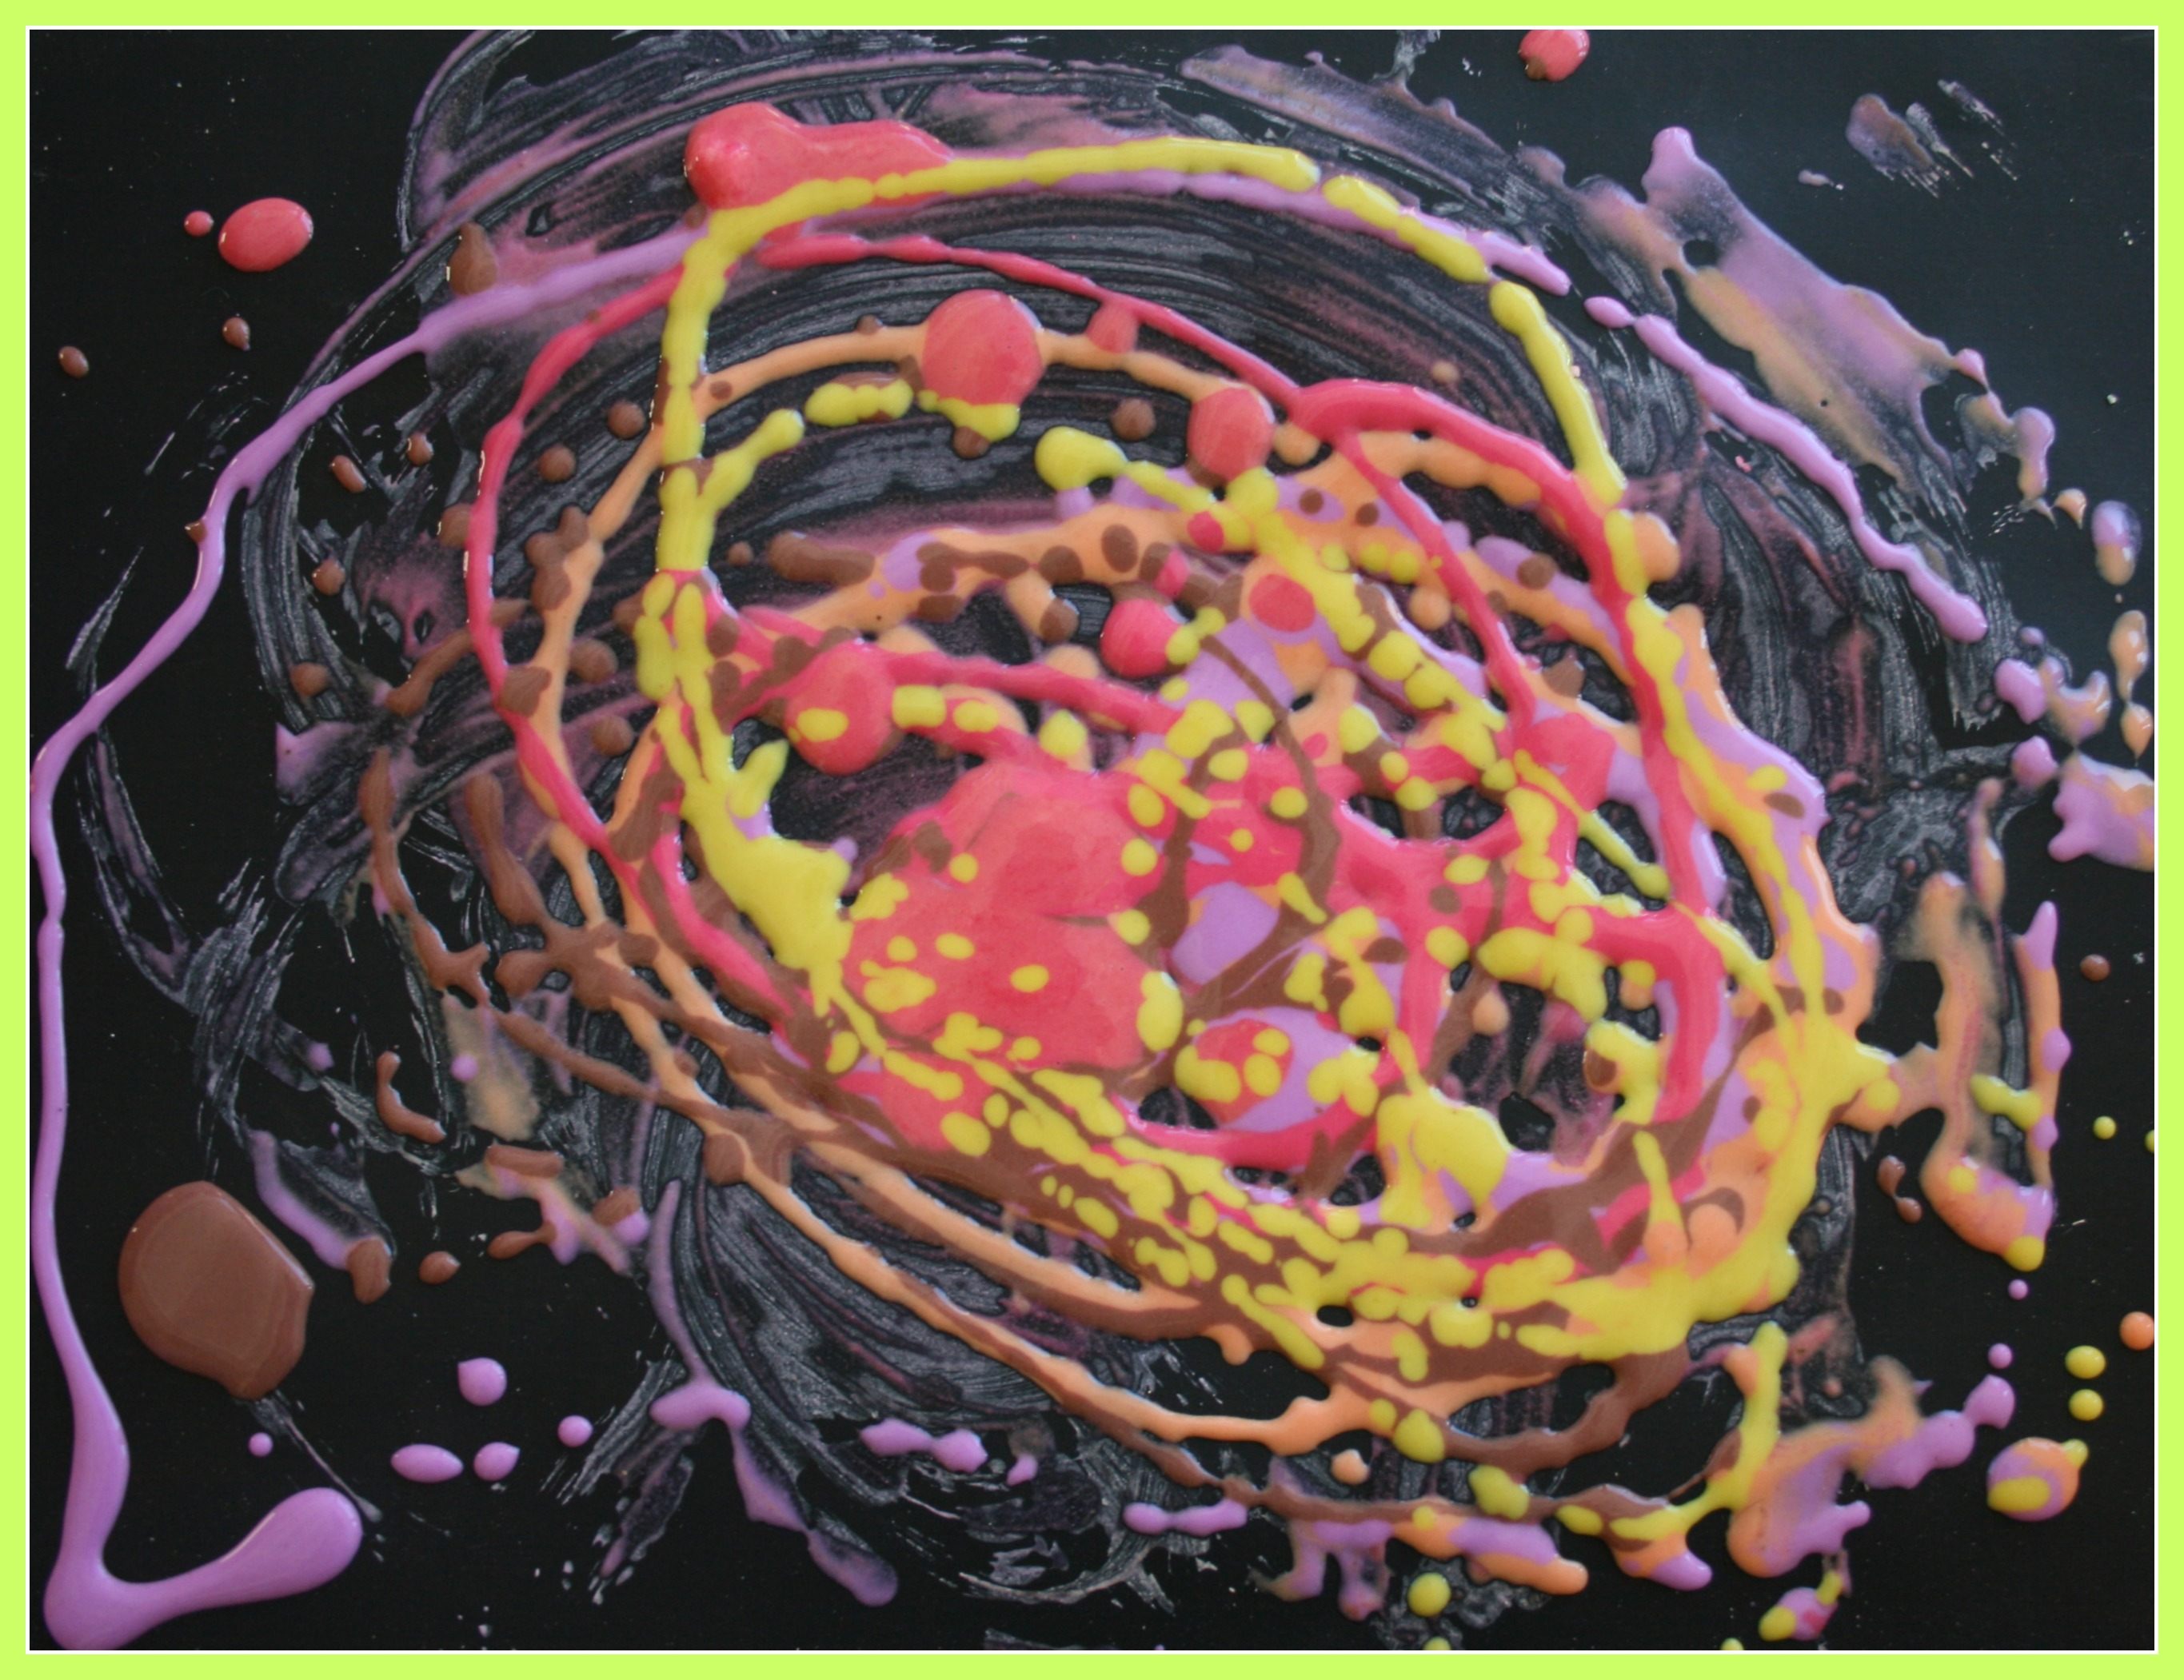
Big A’s part of the poster board. Owing to her age, her control of the bottle was much better.
The older one was really into this activity making intentional patterns.
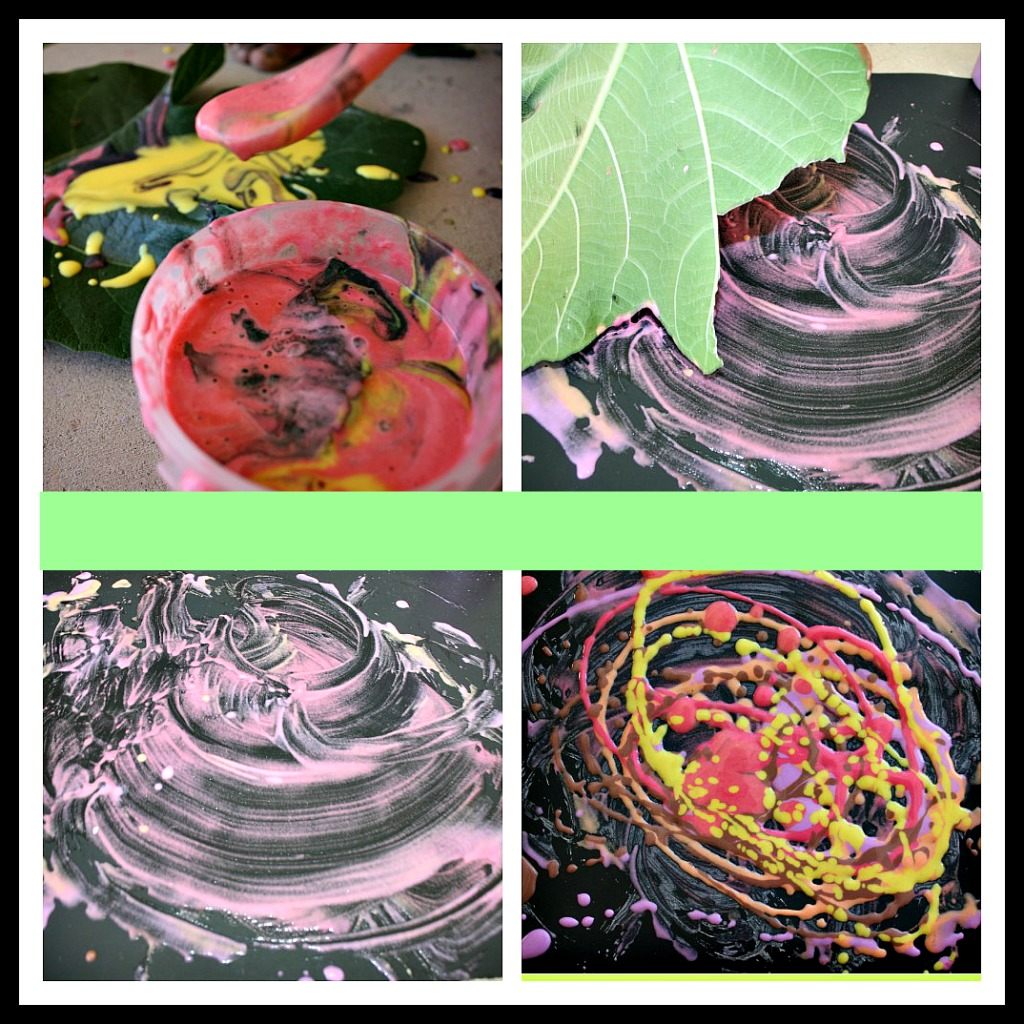
Here she a great new process of making art.
Take a leaf smudge the existing patterns and then make a new one on top.
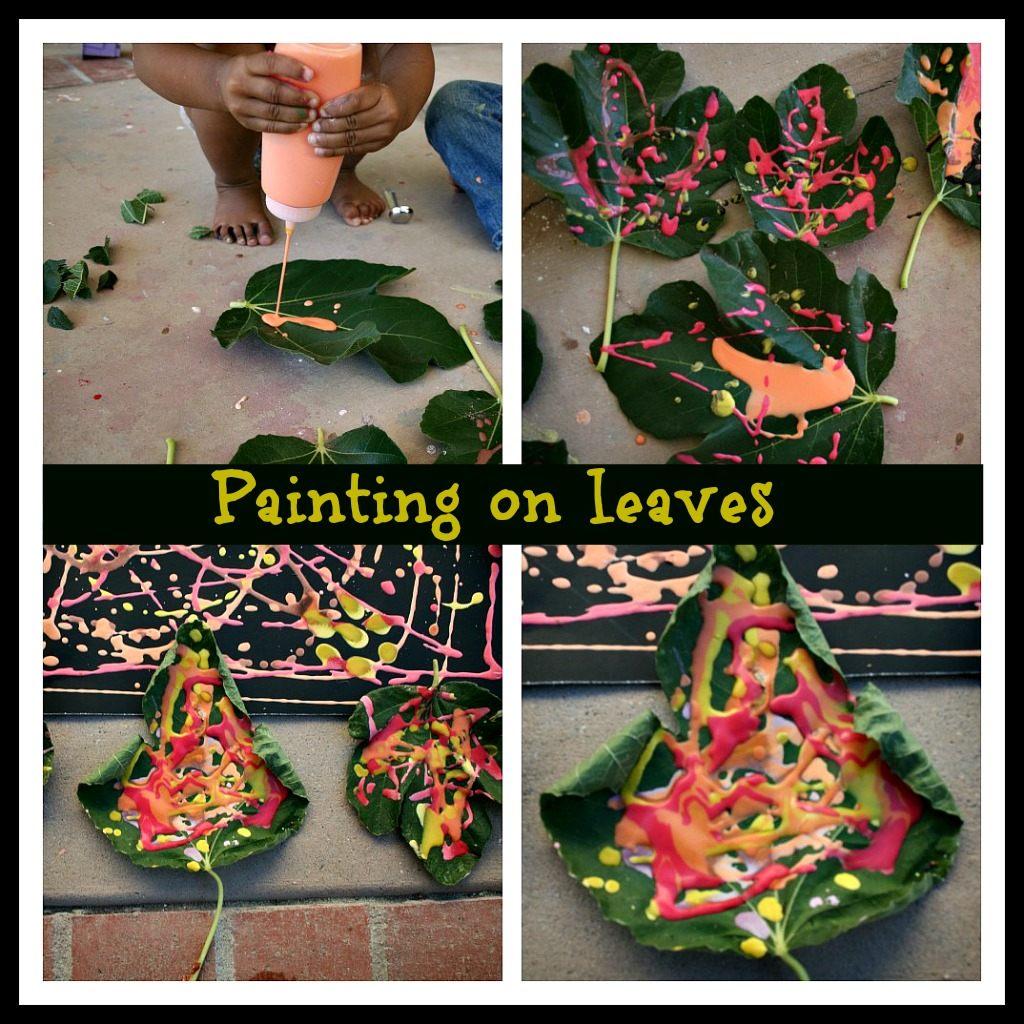
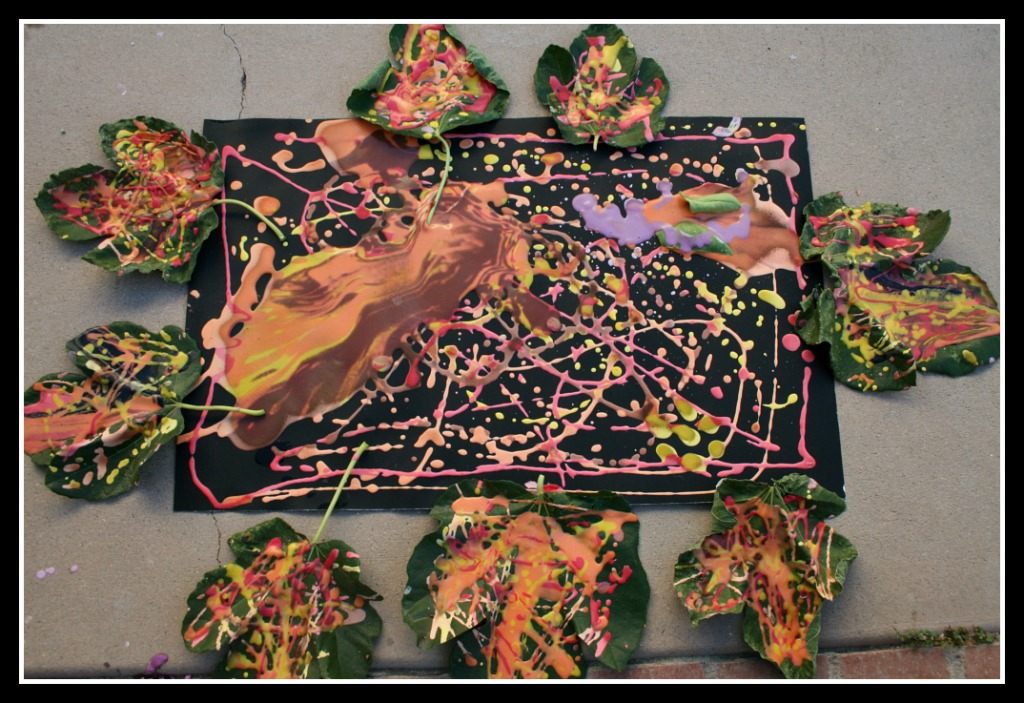
Once we filled out the poster, older one proceeded to paint on the leaves.
Well, if the leaves don’t change colors in Southern California, we will change it for them
Big A doesn’t get to experience true fall so we talked in theory about the change in colors of the leaves during the new season.
Here are some shots of the painted leaves
Mom did not hesitate when the kids invited her over to join their fun. Mom’s creation for the upcoming season. 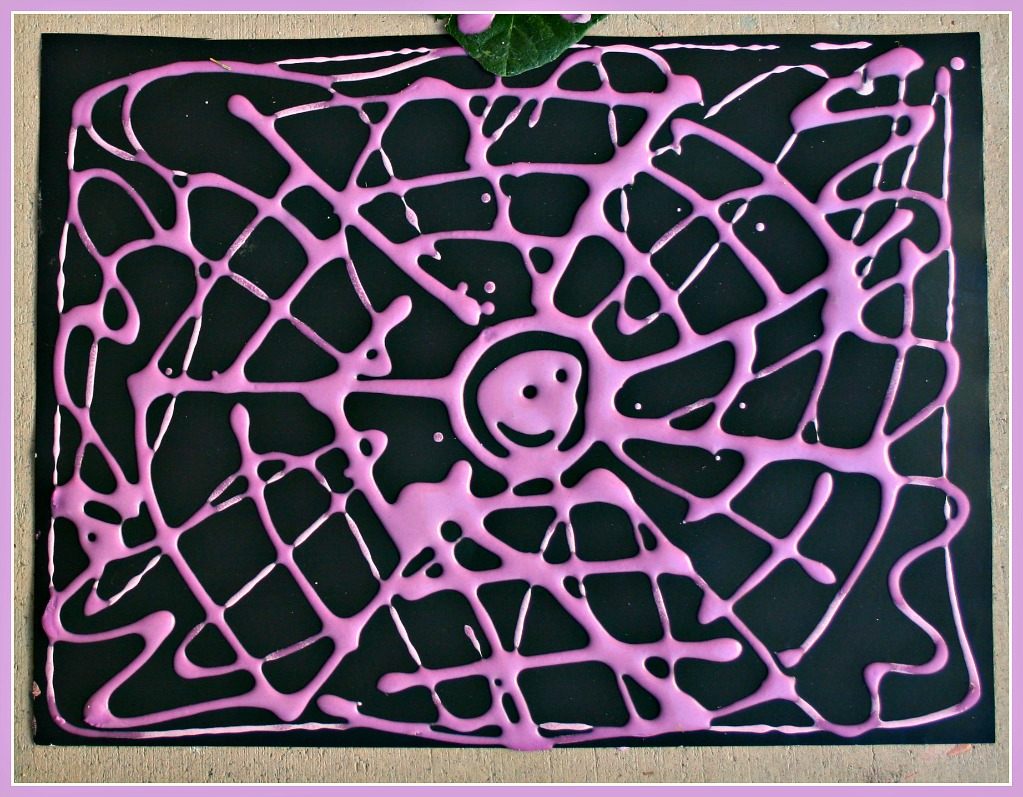
Usually, once the painting is done, the artwork is microwaved for a few seconds for the paint to puff up. That’s some microwave art- But we skipped that step since I was not sure if it will puff up because my batter was runny.
However, the work still looked great once it dried.
Did you all save your art work even though it is made from an edible source? Any tips? I’d love to hear from you.
Click here to see how we painted on trees
Thanks for reading
Happy sharing
Please take a moment to comment
[box title=”Learning” color=”#b01212″]
For the toddler
- Colors recognition for younger toddlers
- Practice controlled painting.
For the pre schooler
- Gave us a good change to learn and talk about fall.
[/box]

What fun!! Thank you for sharing at Sharing Saturday!!
I really liked how the paints turned out. The colors are really vivid. What a fun activity. Thanks for sharing at Mom’s Library!
Beautiful and fun!
Thanks for sharing on Kids Get Crafty!
Maggy