Sensory Activities for Kids : Popping Putty Goo
This post contains affiliate links. If you choose to shop through these links I will receive a small commission.
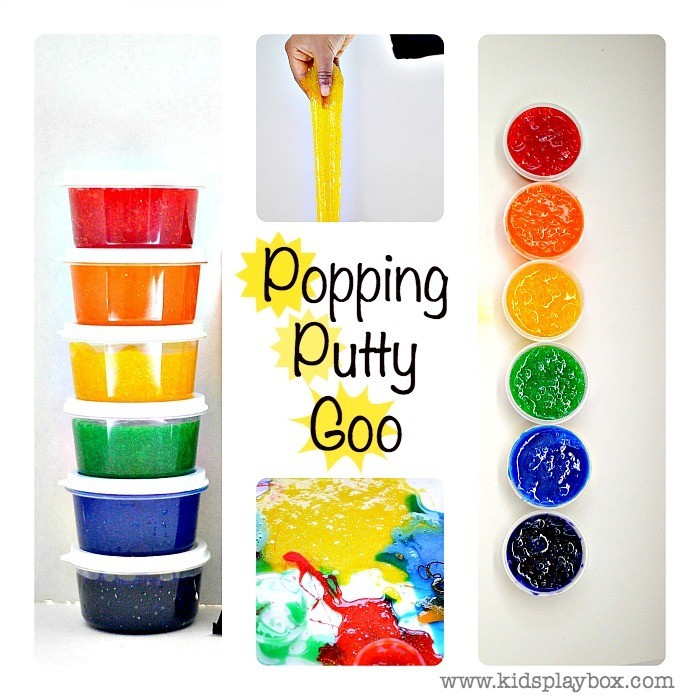
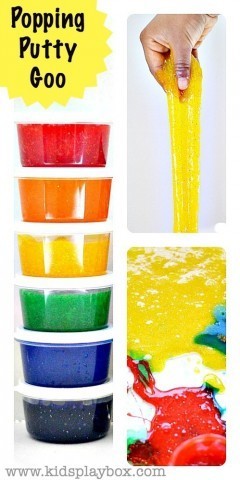
Play with homemade silly putty in rainbow colors. Then add a bit of pop to them and enjoy this sensory activity while playing with the resulting putty goo.
Follow our fun sensory activities for kids board
Follow Kids Play Box’s board Fun Sensory Activities for Kids on Pinterest.
To make the rainbow homemade silly putty, you will need
Method
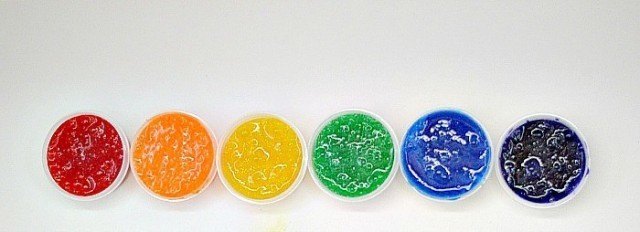
In a small bowl, add 2 TBSP of clear glue. Add 1 TBSP of warm water. Add 1 squirt of your gel food color { we LOVE Amerigel- link above} and mix them all. Now you will have your colored glue. Slowly add 1 TBSP of liquid starch and keep mixing. Add 1 more TBSP of liquid starch. But this second TBSP must be added in small increments. You may or may not need to use the entire spoon. When you are satisfied with the stretch, just stop adding the liquid starch and pack it up. If you add the starch slowly, you will have created your silly putty. { Slime fixing tips and tricks on this fantastic post from Fun at home with kids}
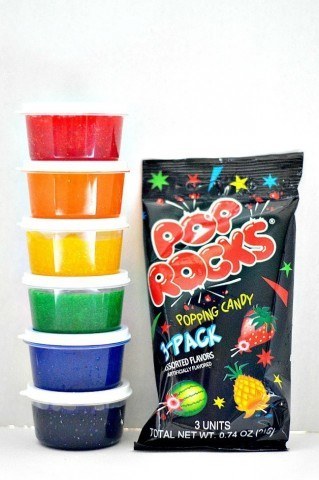
I used disposable souffle cups to temporarily store the souffle cups { they would make wonderful party favors}
Sensory Activities for Kids : Playing with silly putty
{ All our sensory activities for kids here}
{ Our low-mess sensory bins here}
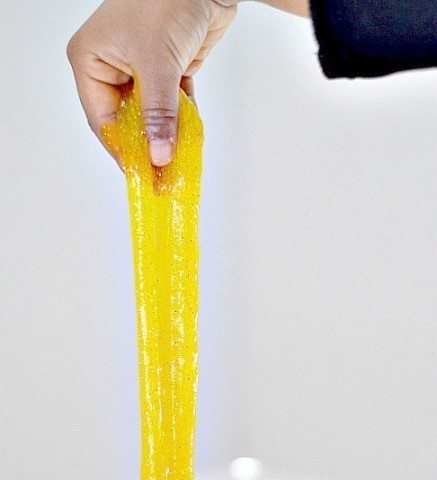
This yellow slime has some glitter in it. Well, everything is fab with glitter. Amiright? No?
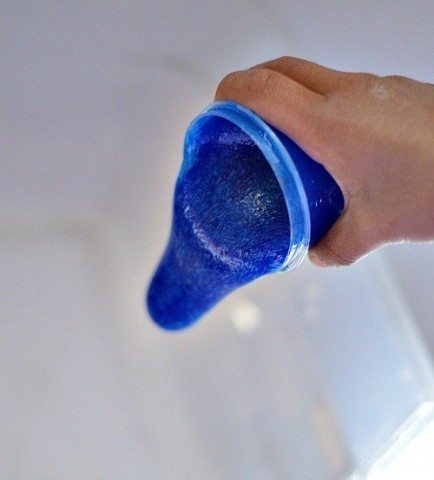
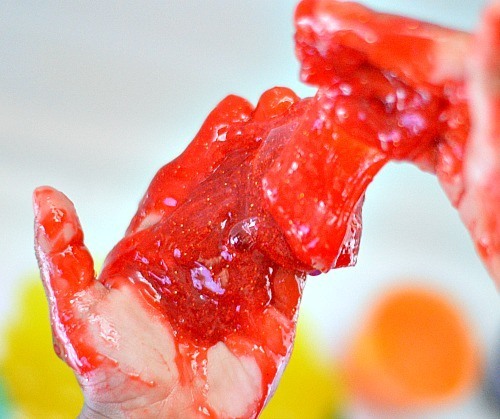
Just playing with the silly putty was an amazing feeling.
The kids just grabbed and squished all the colors.
After just playing with the regular silly putty slime, it was time to add some sound effects to it.
Tip [Be sure to place all the silly putty inside a flat container like a under the storage bed. { We like to use storage boxes like these } Clean up should be easier if the sensory activity is contained inside a specified area.]
Now it is well known { and explained to me by our very own super talented recipe creator Asia ( of Fun at Home with Kids)} that adding anything other than food color/water color to slime changes the chemical composition and breaks the bonds that make this component a polymer. But that didn’t stop us.
It’s all about experimenting and going through the process of “What if”. So we went ahead and tried it and the results were expected. Those poor bonds were badly broken ha!! But oh boy! the process was amazing.
So we added about 1 TSP of pop rocks on each colored silly putty. Add more less, add less, experiment!! Once the candy hits the putty they start popping. { The trapped carbon di oxide gets released and cools down}
The children found it exciting to be engaged in sensory activities like these; ones that engage all their senses. It was great playing with homemade silly putty that POPS!
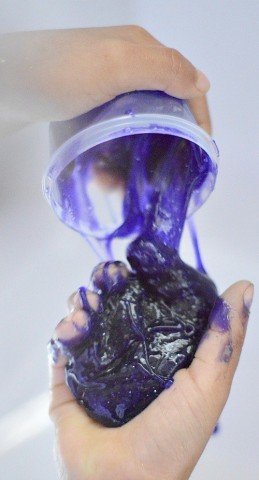
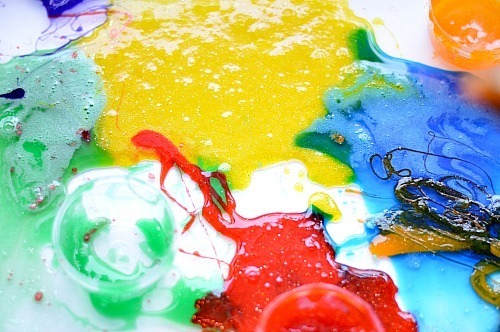
Without the pop rocks the putty gets stretchier as you play. When you add the “sound effects” the silly putty becomes more of a gelatinous goo that still POPS! The 4 year thoroughly enjoyed the pops while she squished, pinched and pulled the silly putty. After a while of playing with this slime that makes so much noise, we were left with putty goo! Oh colorful, gorgeous putty goop.
Clean up
Fill up the container with warm water and let it sit for 20 minutes. Then just wash off the putty and you should have your container sparkly clean.
Thanks for reading
Feel free to pin this image
Have you seen our
- Borax-free, 5 minute, microwave slime
- Rainbow edible water beads
- DIY treasure gems and rocks
- No-cook Marshmallow Playdough
- Edible Sand
Some wonderful collaborative e-books we have released!
A book filled with playful science and math activities  Check out our resourceful e-book filled with many preschool play ideas.
  We have also collaborated on another e-book with simple and practical baby play ideas.

