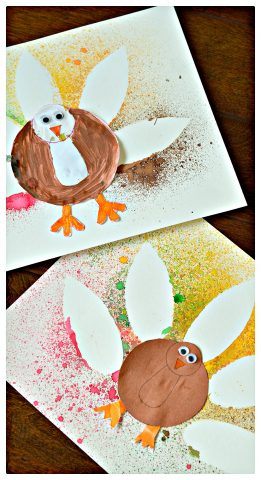
Thanksgiving Crafts for Kids : Spray Painted Turkey Art
Time to pull out your small spritzer/spray bottles and create gorgeous, colorful negative space turkey art for Thanksgiving. You know, any kind of resist art always turn out amazing! That’s its charm. There is no going wrong with resist art projects and we have done a fair share of ours – heart resist art, animal figures resist art, crayon resist art, spray bottle resist art with letters, glue resist art, cracked wax resist art
For this Turkey season, we are creating colorful turkeys with spray bottles and resist technique. We end up with 2 beautiful turkey art projects.
Materials {affiliate links below}
Liquid Watercolors
Spray Bottles
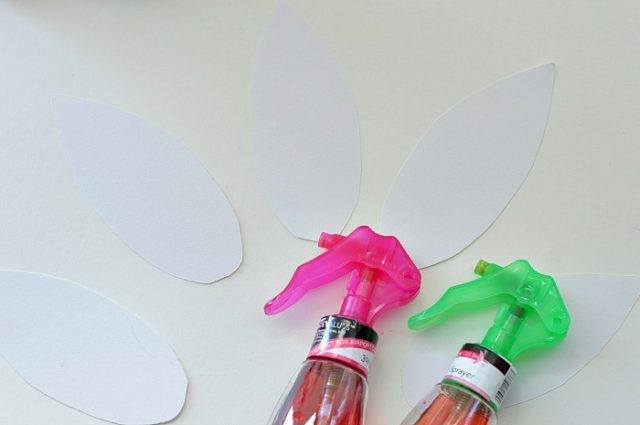
Turkey Art Project for Thanksgiving : Using spray bottles and liquid watercolors
Set up:
Fill your mini spray bottles with diluted liquid watercolors.Either small spray bottles or even 2oz mist bottles are perfect for this project. Mix 2 TBSP of liquid watercolors + 4 TBSP of water in each bottle { one bottle per color}. Adjust the quantity according to your needs. I just added 1 TBSP of watercolors and just enough to get a good color. Scroll down and the 3rd picture has the entire amount I made for the project. We still have left over that we are going to use for another art project. You don’t need a lot and you WILL not be sorry that you purchased the amazing liquid watercolors linked above. The colors are simply stunning.
Place a high quality Watercolor Pad on your art space. Really, you need a super thick high quality watercolor paper. Go for a larger/Jumbo/XL variety since your turkey is wider.
Use a simple turkey feather pattern or template. I used this easy pattern to print and cut out my turkey feathers. The paper you use to print and cut out the turkey feathers also matters – you don’t want to use regular printer paper since it will immediately buckle up as soon as the liquid hits it. I used a little thicker art paper so that turkey feathers stay in place. If you don’t mind losing a sheet from your watercolor pad, take a sheet from that pad and use it to cut out your turkey feathers.
Alternatively you can also cut out the turkey feathers from a sheet of contact paper and stick it on the watercolor paper/pad to ensure that the feathers do not move during the art project. That way you get cleaners feathers when you are done.
Now time to SPRAY!
Hold on to the feathers one by one and spray all around the feathers choosing one color at a time.
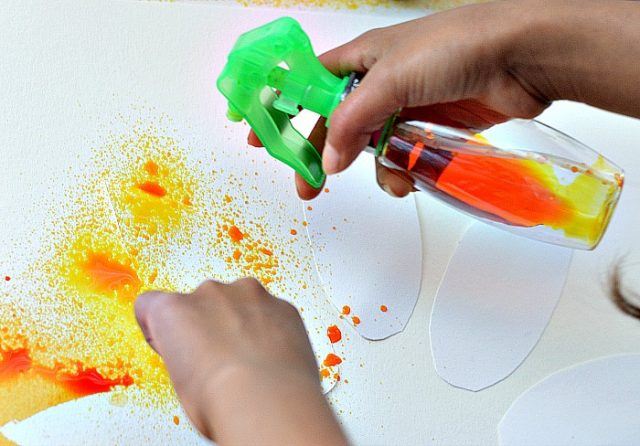
Don’t make the same mistake my child did {lol} and NOT remove the feathers until the entire turkey art is done.
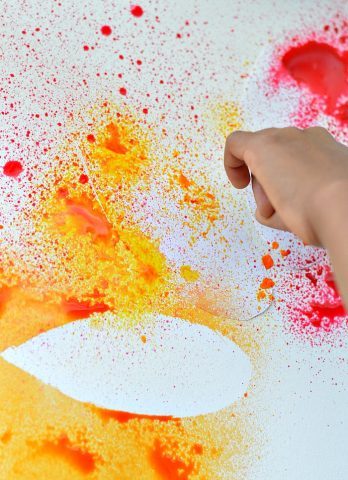
Your turkey art project will look like this once all the feathers are sprayed over.
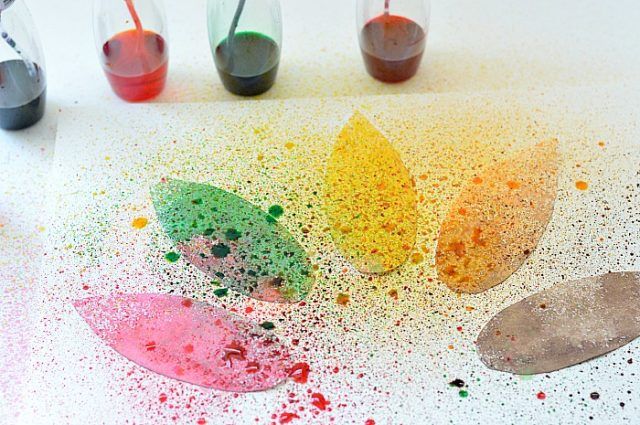
Give it a second.
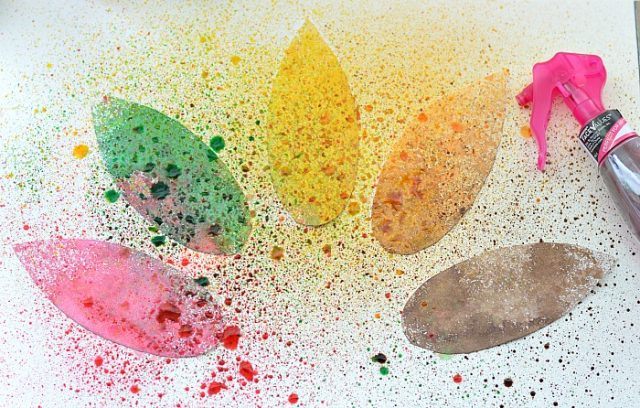
and admire the amazing colors of the turkey’s feathers.
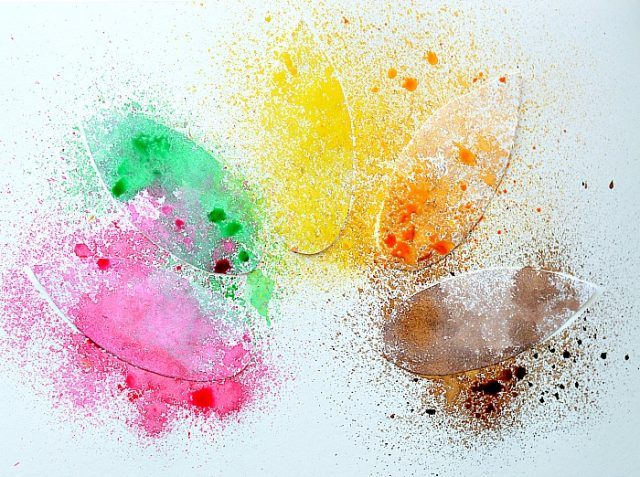
Gently remove the turkey feather one by one
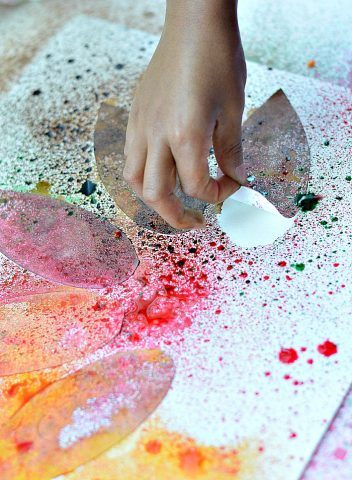
Hopefully the watercolors did not seep through. {If you use contact paper as feathers then you can be guaranteed that the water will not seep through as long as you stick it right}
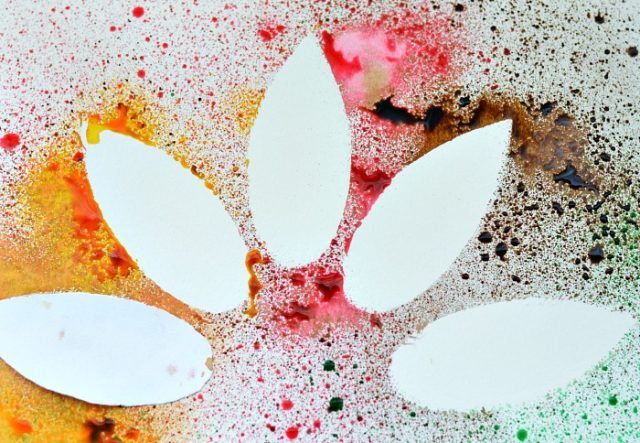
There you have your turkey feathers resist art
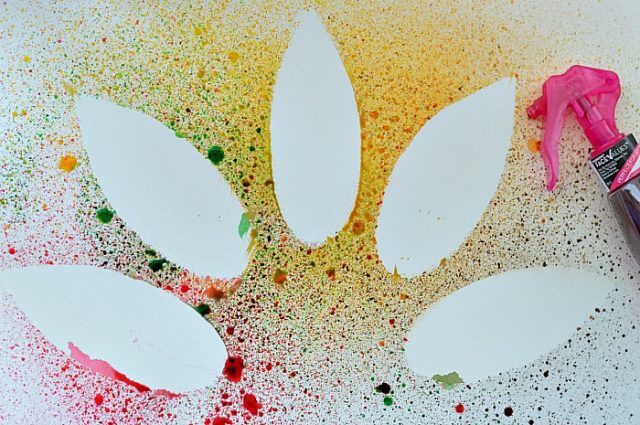
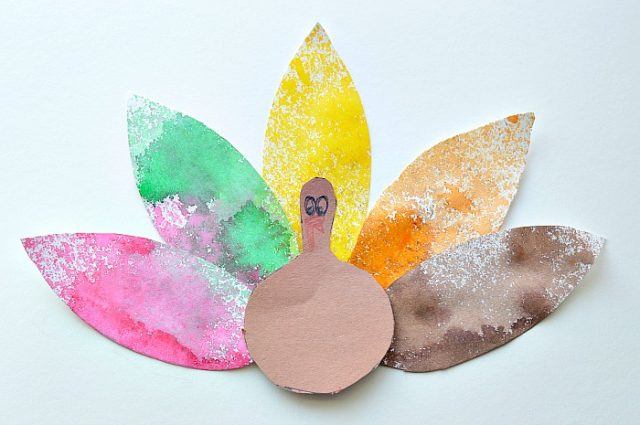
Now time to turn that into a turkey with some brown construction paper, markers and googly eyes. I used this turkey template for this turkey art project.
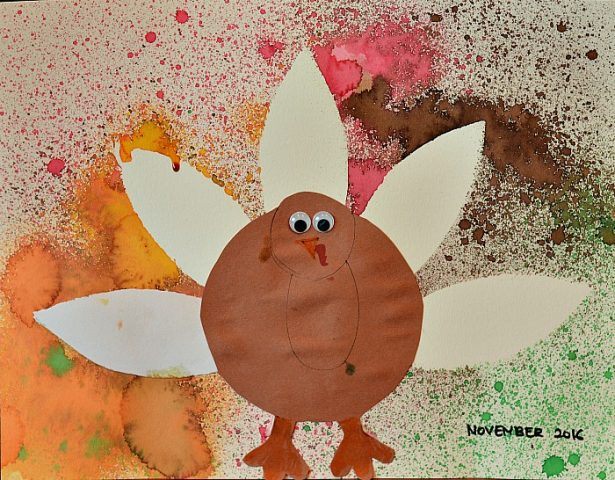
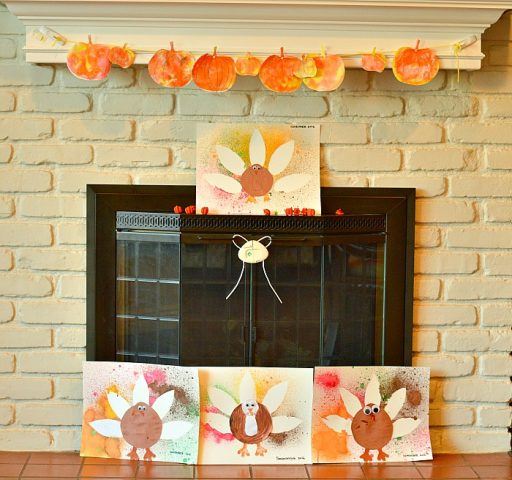
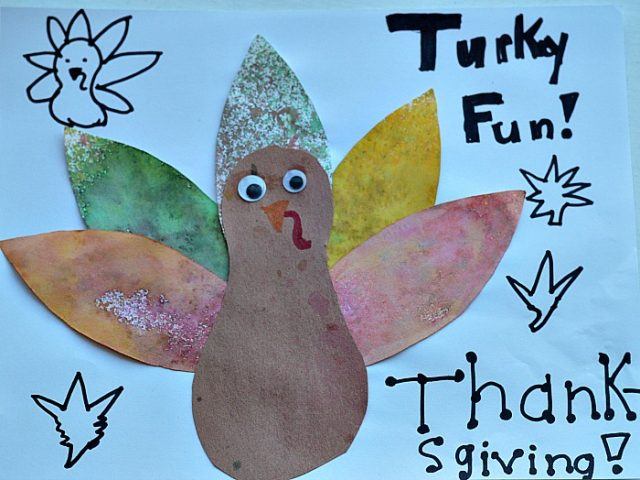
Love that each of my child’s turkey has a different personality.
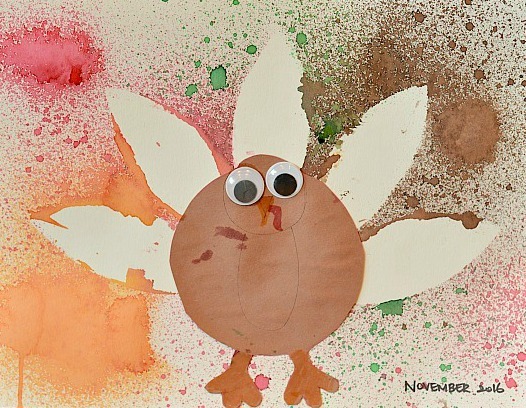
Some of the feather’s got the spray paint on them. They still cute adorable though!
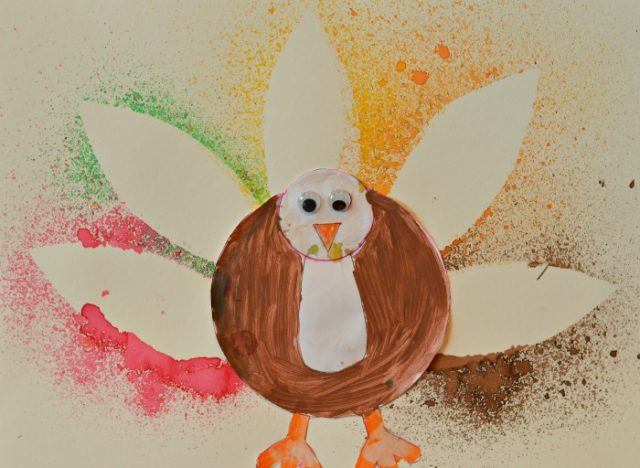
Such a happy little turkey.
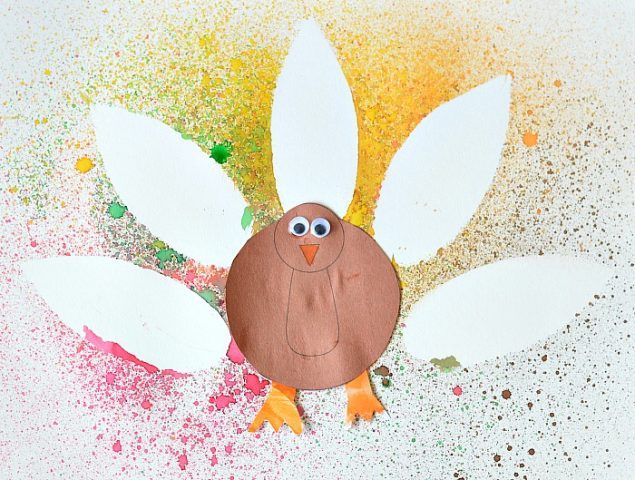
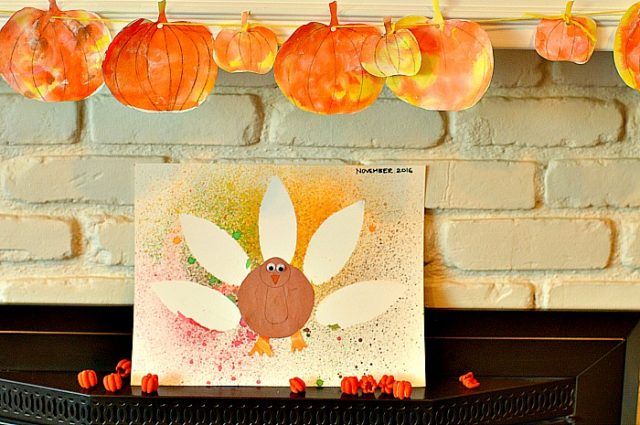
We placed one on our mantle and wrote the year and month on it. This is only our second Turkey Keepsake.
We placed the rest near the fire place and it instantly gave our fireplace a much needed festive look. Those cute pumpkins are from our popular pumpkin fizzy art.
Let the leaves you removed from the art dry for a bit and create another set of turkeys with them.
That’s my 8 year old designer who loves lettering currently.
Thanks for reading
Happy Thanksgiving!
All our Thanksgiving crafts and activities here
